
Best Way to Sand Hardwood Floors | 5 Expert Tips
The Best Way to Sand Hardwood Floors: Expert Tips for a Perfect Finish
When it comes to restoring or upgrading your hardwood flooring, knowing the best way to sand hardwood floors is essential for achieving a smooth, professional finish. Proper sanding not only ensures your floors look stunning but also extends their lifespan and prepares them perfectly for staining or sealing. This comprehensive guide will walk you through the necessary steps, tools, and expert tips to sand hardwood floors effectively — whether you’re a homeowner undertaking a DIY project or a professional flooring contractor in the UK.
Introduction to Sanding Hardwood Floors
Sanding hardwood floors is a critical part of flooring installation, renovation, or maintenance. It removes surface imperfections, old finishes, scratches, and reveals the natural beauty of the wood. In areas like London, Manchester, or Birmingham, homeowners often prefer neutral tones and durable finishes, making effective sanding essential to achieve these aesthetic goals. For those new to the process, understanding the importance of proper sanding techniques will help avoid common pitfalls and yield excellent results.
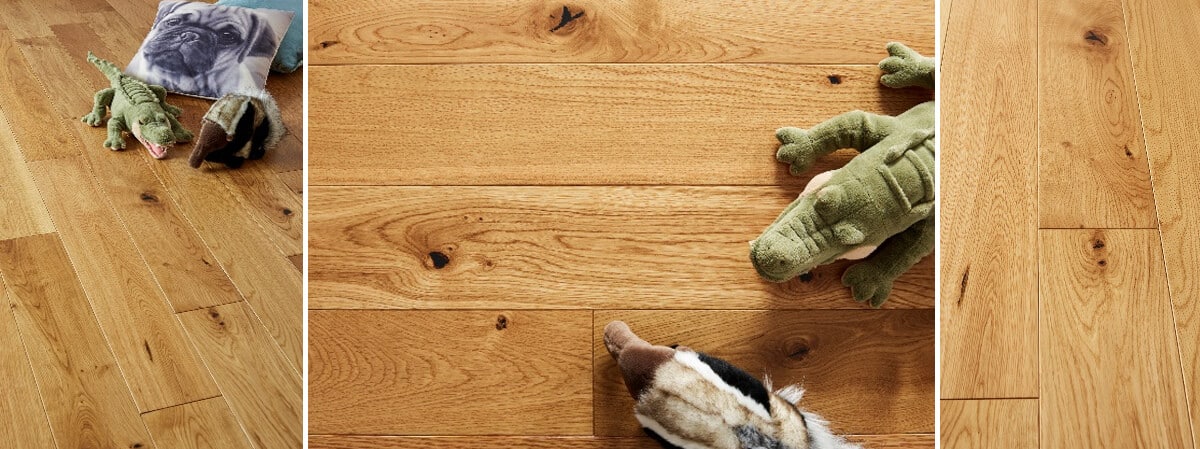
Understanding the Types of Hardwood Flooring
Before beginning the sanding process, it’s important to identify your flooring type, as each requires a tailored approach:
- Solid Hardwood Floor: Made from a single piece of wood, these floors are durable but require careful sanding to prevent damage. Explore options like Buckingham Solid or Herringbone Solid flooring for classic, timeless designs.
- Engineered Hardwood Floor: Constructed with a top layer of real wood over plywood or fiberboard, these floors are less prone to warping and can be sanded fewer times. Popular products include The Primes Engineered Flooring and Haro Engineered Flooring which balance durability with aesthetic appeal.
- Parquet and Herringbone Floors: Patterned floors that require precise sanding to preserve their intricate designs. Specialist ranges such as Burghley Multi Ply Flooring or Hardwick Multi Ply Flooring offer excellent options for these artistic layouts.
Tools and Equipment for Sanding Hardwood Floors
Using high-quality tools is vital for achieving a flawless finish. The essential equipment includes:
- Sander (drum, orbital, or belt sander)
- Edging sander for corners and edges
- Vacuum and dust containment systems
- Sandpaper with varying grits (coarse, medium, fine)
- Protective gear such as masks, goggles, and ear protection
Step-by-Step Guide to the Best Way to Sand Hardwood Floors
1. Preparation
Start by clearing the room, removing all furniture, and inspecting the floor for protruding nails or staples. Use a nail set to countersink any nails, and ensure the surface is clean and dry. For expert advice on flooring installation and maintenance, consider consulting Nationwide Hardwood Flooring Company.
2. Choosing the Right Grits
Begin with a coarse grit (36-40) to remove old finishes and imperfections. Progress to medium (60-80) and finally fine grit (100-120) for a smooth, even surface, ensuring a uniform finish.
3. Sanding the Main Surface
Use a drum sander carefully, moving in the direction of the wood grain to avoid scratches. Keep the sander level and overlapping each pass to prevent uneven spots, ensuring consistent results.
4. Edges and Corners
Use an edging sander to reach tight corners and edges. Be cautious to match the finish with the main surface, which helps create a seamless look across the entire floor.
5. Dust Removal
Thoroughly vacuum and clean the floor between each grit change, and after completing sanding. Maintaining a dust-free surface is crucial for proper stain adhesion and achieving a high-quality finish.
6. Final Sanding and Inspection
Do a walk-through, inspecting for scratches, rough patches,或 uneven spots. Sand again with the finest grit if necessary, for a perfectly smooth, professional finish.
Tips for Achieving a Smooth, Professional Finish
- Always sand with the grain of the wood to prevent scratches and imperfections.
- Maintain even pressure on the sander, avoiding excessive force that may gouge the wood.
- Switch to a finer grit if the surface still feels rough after initial passes.
- Ensure good dust management—using dust extractors or vacuums— to prevent specks and imperfections.
- Test stain and sealant on a small, hidden area first to ensure compatibility.
Common Mistakes to Avoid
- Skipping proper preparation, leading to uneven results.
- Using incorrect grit progression, either too aggressive or too gentle.
- Applying too much pressure on the sander, which can damage the wood.
- Failing to clean dust thoroughly before applying finishes.
- Sanding against the wood grain, which causes scratches and affects the appearance.
Local Considerations in London and the UK
In London and surrounding areas, there is a high demand for quality flooring that matches the city’s diverse architecture styles. Popular neighborhoods like Camden, Shoreditch, and Notting Hill often feature beautifully finished wooden floors that require expert sanding and refinishing. Consulting local flooring contractors ensures compliance with UK standards and proper use of materials. To see examples of local hardwood flooring projects, visit our portfolio.
Hiring Professional Floor Sanding Services
Though DIY sanding is possible, hiring professional floor contractors provides superior results. Professionals have access to advanced machinery, technical expertise, and knowledge of UK building regulations. For optimal results, seek contractors with experience in various wood types—including oak, engineered, and patterned floors like herringbone—and proven track records of delivering high-quality finishes.
Maintaining Your Sanded Hardwood Floors
Proper maintenance is essential for preserving the beauty and durability of your floors. Regular cleaning, avoiding excessive moisture, and using recommended polishing products will help extend their lifespan. Using protective finishes such as polyurethane or oil tailored to your specific wood and environmental conditions will also boost longevity. For more information on maintaining your floors, visit Wood Magazine’s guide to finishes.
Conclusion
Understanding the best way to sand hardwood floors is key to achieving a stunning, durable surface that upgrades your property’s aesthetic and value. Whether undertaking the project yourself or hiring specialists, knowing the process ensures a professional outcome. For expert advice and top-quality flooring solutions, contact Nationwide Hardwood Flooring Company at 07940 528 315 or inquiries@nhfcompany.co.uk. Our team is committed to delivering affordable, high-quality flooring tailored to your specific needs.


