
Wood Floor Restoration DIY: 9 Easy Steps
Wood Floor Restoration DIY: Bring Your Floors Back to Life
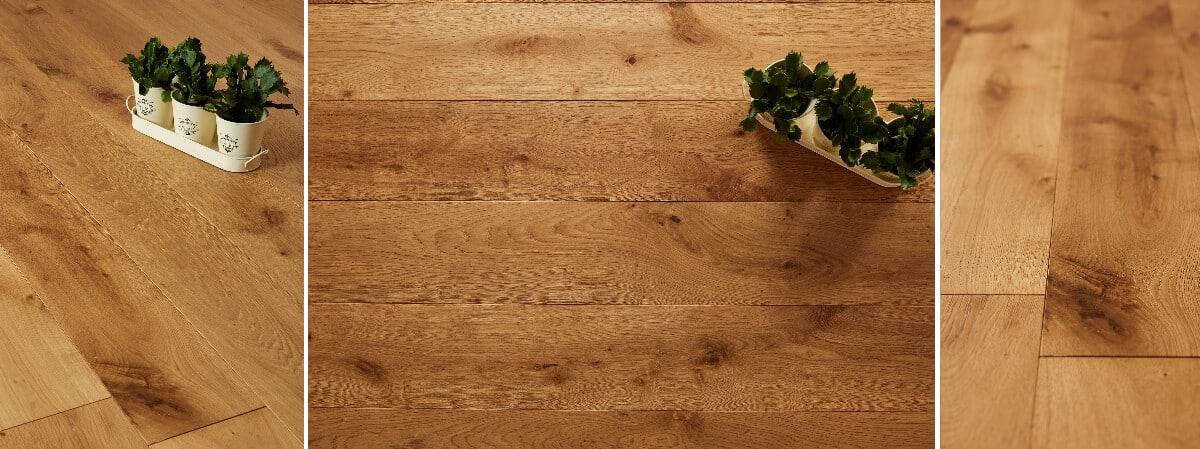
Restoring your wood floors can be a rewarding experience that not only enhances the beauty of your home but also adds value to your property. With the right tools and patience, this project can be accomplished over a weekend. This guide by Nationwide Hardwood Flooring Company will walk you through each step of your wood floor restoration DIY project, ensuring professional results.
Understanding the Importance of Wood Floor Restoration
Over time, wood floors can become dull and scratched, losing their shine and elegance. Restoring them not only refreshes their appearance but also extends their lifespan. With the right approach, you can achieve professional-level refinishing results without hiring costly contractors. For a better understanding of the care wood floors require, you can refer to the resources provided by the National Wood Flooring Association.
Preparing for Your DIY Project
Before diving into the restoration process, it’s essential to prepare your workspace and gather necessary materials. Here’s a checklist to get started:
- Materials Needed: Sandpaper or a sanding machine, stain/concrete polish, paint and varnish remover, a putty knife, brushes, and protective gear.
- Workspace Preparation: Clear the room of furniture, rugs, and any decor. Ensure adequate ventilation by opening windows or using fans.
Step-by-Step Guide to Wood Floor Restoration DIY
- Inspect the Floor:
Carefully examine your floors to identify deep scratches, stains, or damage. This will help you determine if any boards need replacing or repairs prior to starting the restoration. Consider sourcing quality replacements from options like the Loch Tummel Multi-Ply Flooring.
- Cleaning:
Thoroughly sweep and clean the floor to remove all dirt and debris. This will create a smooth surface for sanding and ensure a flawless finish. For detailed cleaning methods, check out the Good Housekeeping guide on wood floor cleaning.
- Removing Old Finish:
Use a paint and varnish remover to strip the existing finish. Apply the remover with a brush and let it sit for the recommended time before using a putty knife to scrape it off. Safety precautions can be found in articles from eHow.
- Sanding the Floor:
Sanding will remove old finish remnants and level out imperfections. Use a sanding machine for larger areas, starting with coarse sandpaper and gradually moving to a finer grit. Always sand in the direction of the wood grain.
- Cleaning Again:
After sanding, it’s crucial to thoroughly clean the floor to remove any dust particles. A vacuum and a damp cloth will ensure a dust-free surface.
- Applying Stain:
Choose a stain color that suits your decor. Using a brush or cloth, apply the stain evenly across the floor. Allow it to dry fully before proceeding. For color options and application techniques, refer to HGTV’s guide on wood floor stain colors.
- Sealing the Floor:
Apply a quality wood floor sealant to protect the wood and keep it looking great. Use a foam roller or brush, applying the sealant in a thin, even coat. The benefits of sealing can be explored further on This Old House.
- Buff the Floor:
Once the sealant is dry, buff the floor to achieve a polished look. A buffing machine will make this task easier and provide a consistent shine.
- Final Inspection:
Inspect the floor for any missed spots or areas that may require a touch-up. Address these with additional stain or sealant as needed.
Maintaining Your Restored Floors
After restoring your wood floors, proper maintenance is key to preserving their beauty. Regular sweeping, avoiding excess water, and using rug pads under heavy furniture will help maintain their condition. For more maintenance tips, visit the Bob Vila guide on hardwood floor care.
Why Choose Nationwide Hardwood Flooring Company?
With a reputation for excellence, Nationwide Hardwood Flooring Company offers unmatched quality in products and advice. Whether you’re completing a DIY project or seeking professional assistance, our experts are here to help. Contact us today at 07940 528 315 or email enquiries@nhfcompany.co.uk for guidance on all your flooring needs.
The Benefits of a DIY Restoration
By undertaking a wood floor restoration DIY project, you save money and gain the satisfaction of completing home improvements on your own. Additionally, you’ll learn valuable skills that can be applied to future projects or shared with friends and family.
Conclusion
Embarking on a wood floor restoration DIY is a practical and fulfilling home project. With careful preparation and the right techniques, you can rejuvenate your living space and enjoy stunning floors for years to come. Trust in the expertise of Nationwide Hardwood Flooring Company for top-quality materials and expert advice, ensuring success in every step of your restoration journey.


