
How to Prepare Your Home for Floor Sanding in Kent
How to Prepare Your Home for Floor Sanding in Kent
Getting your hardwood floors sanded is an excellent way to restore their natural beauty and prolong their life. However, preparing your home for this process is crucial in ensuring a successful outcome. As a premier provider of flooring services in Kent, we understand the importance of removing any obstacles that may hinder the sanding process. Below are comprehensive steps on how to prepare your home for floor sanding in Kent.
Understanding the Floor Sanding Process
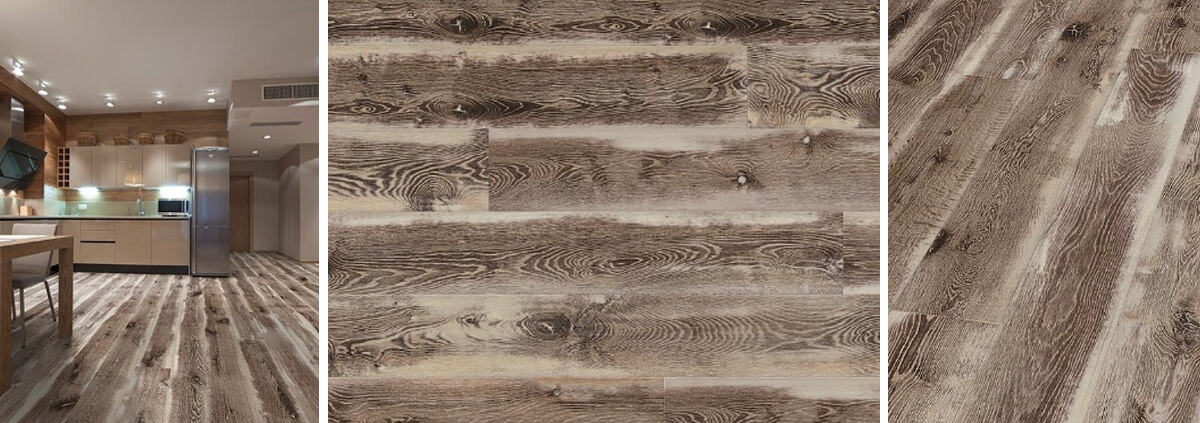
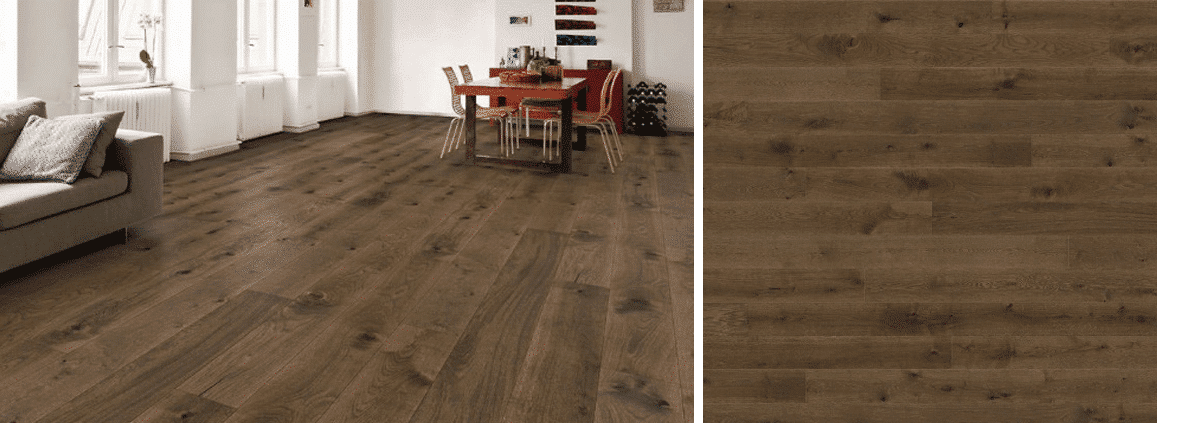
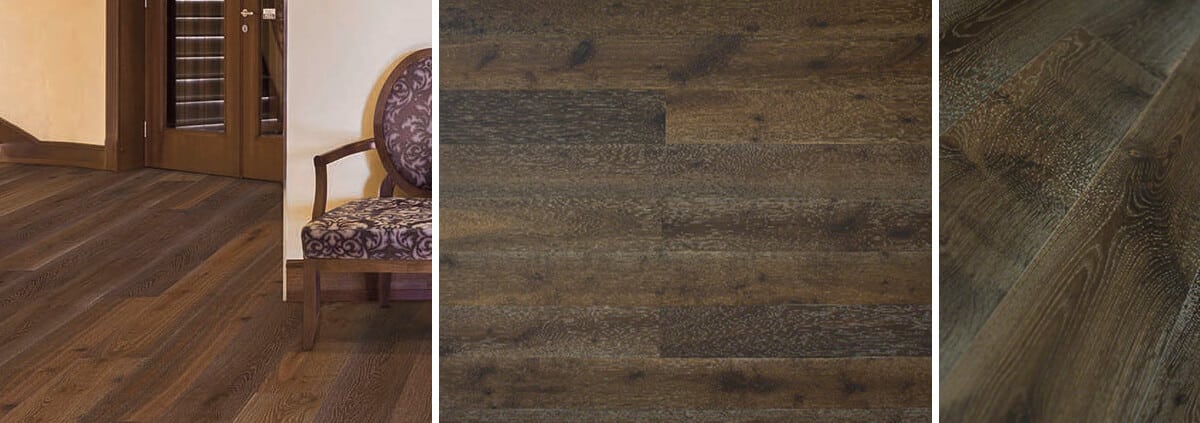
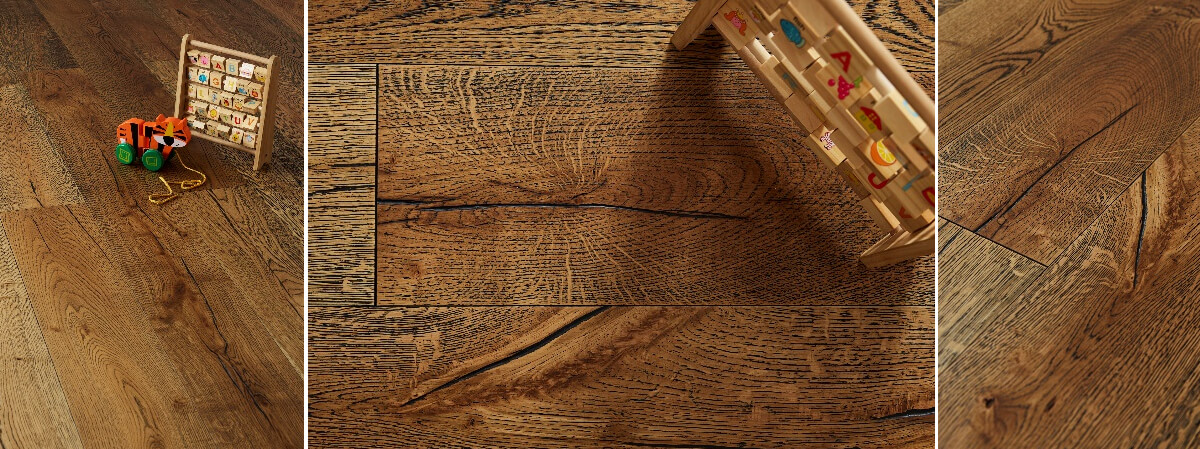
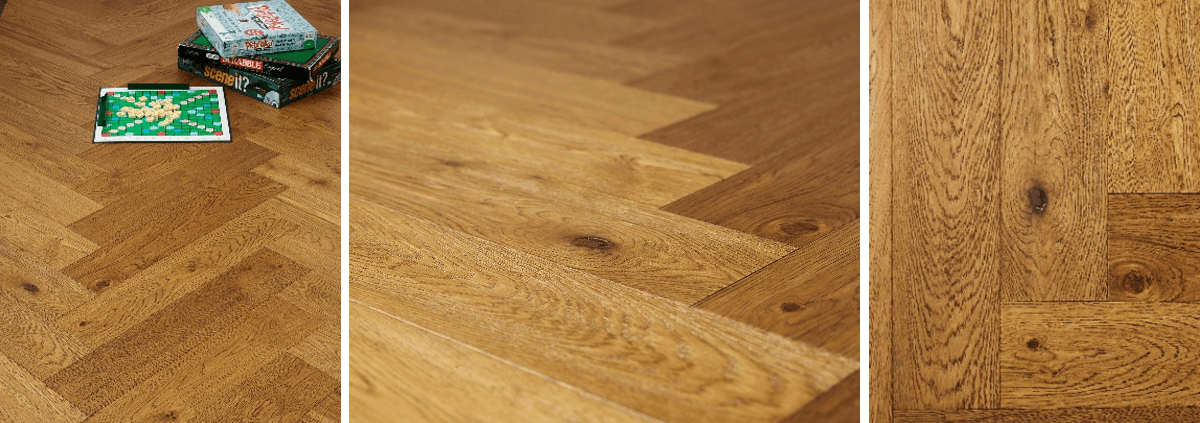
Floor sanding involves stripping the surface layer of the wood to remove imperfections, stains, and previous finishes. The process can drastically enhance the appearance of your wooden flooring, but it also creates a fair amount of dust and requires careful preparation. According to the National Wood Flooring Association, proper preparation before sanding is vital for achieving the best results.
The Benefits of Professional Floor Sanding
- Enhanced Aesthetic Appeal: Brightens the wood’s natural grain.
- Increased Durability: A sealed floor is more resistant to wear and tear.
- Improved Hygiene: Removing dust and allergens for a healthier environment.
Step 1: Clear the Room
Before the sanding team arrives, it’s essential to clear all furniture, rugs, and personal items from the room. This will provide ample space for the sanders to operate efficiently and ensures that your belongings don’t inadvertently get damaged. The House Beautiful UK offers helpful tips on managing your space during renovations.
Tips for Clearing the Room
- Disassemble large furniture items, if possible.
- Store items in other rooms or use protective coverings.
- Consider relocating heavy furniture to minimize damage risks.
Step 2: Prepare the Space
Once cleared, take the time to prepare the space for the sanding process. This includes closing windows and doors to minimize dust spread and ensuring adequate ventilation for your safety. The DIY.com guide can be a helpful resource in understanding how to manage your work area safely.
Sealing Off Areas
For Dust Control: Use plastic sheeting to seal off doorways and vents leading to other areas of the house. This keeps dust contained and easier to manage, allowing your home to remain livable during the sanding process.
Step 3: Inspect the Floor
Before sanding, it’s crucial to inspect your hardwood floors for any damper issues such as loose boards, deep scratches, or stains. Taking note of these areas will allow the floor sanders to address them appropriately. Referencing trusted resources like Flooring Magazine can provide insights on common flooring issues.
What to Look For:
- Loose or squeaky floorboards.
- Scratches, dents, and deep scratches.
- Moisture or signs of rot.
Step 4: Prepare for Finishing Options
Decide in advance whether you would like to apply a stain or finish after sanding. Choosing a finish that complements your home’s style is essential for achieving a cohesive aesthetic. For more detailed information on finishes, you can visit Fiddes.
Finishing Products to Consider:
- Oil-based finishes for a richer color.
- Water-based finishes for quicker drying times.
- Natural oils and wax for an eco-friendly approach.
Step 5: Plan for Temporary Relocation
Whether it’s for a few hours or a few days, it may be necessary to temporarily relocate while the sanding and refinishing are taking place. Discuss this with your flooring contractor so you can plan accordingly.
Considerations for Relocation:
- Think about the duration of the process.
- Consider if it’s feasible to stay with family or friends.
- Plan any necessary accommodations in advance.
Step 6: Communicate with Your Flooring Contractor
Effective communication with your flooring professionals before the work begins can ensure smoother operations and less confusion during the sanding process. Address any concerns or preferences regarding the finish, schedule, and any special requirements you may have. Ensure you are informed by discussing the project with organizations like the Contract Flooring Association.
Key Questions to Ask Your Contractor:
- What is the expected timeline for completion?
- Are there any preparation steps on my part?
- What type of finishes do you recommend?
Conclusion
Preparing your home for floor sanding in Kent doesn’t have to be overwhelming. By following the steps outlined above, you can create an ideal environment for the sanding process, ensuring your hardwood floors receive the treatment they deserve. Trust the experts at the Nationwide Hardwood Flooring Company to deliver exceptional results, transforming your living spaces into something beautiful and lasting.
If you’re ready to take the next step towards restoring your hardwood floors, reach out to us at 07940 528 315 or enquiries@nhfcompany.co.uk to learn more about our services.


