
Professional Guide to Installing Herringbone Floors - 5 Steps
Professional Guide to Installing Herringbone Floors
At Nationwide Hardwood Flooring Company, we understand the elegance and sophistication that herringbone flooring brings to any space. This professional guide to installing herringbone floors will walk you through the essential steps to achieve a stunning finish in your home.
Why Choose Herringbone Flooring?
Herringbone flooring, characterized by its distinctive V-shape pattern, is a popular choice for homeowners aiming to add style and depth to their interiors. In addition to its aesthetic appeal, herringbone flooring offers:
- Durability: Herringbone floors are typically made from robust materials that can withstand high foot traffic.
- Versatility: This flooring type complements various interior designs, from modern to traditional.
- Increased Property Value: Investing in quality herringbone flooring can significantly enhance your property’s market value.
Planning Your Herringbone Flooring Installation
Before diving into the installation process, you should assess your space and determine the best options for herringbone flooring. Here’s what to consider:
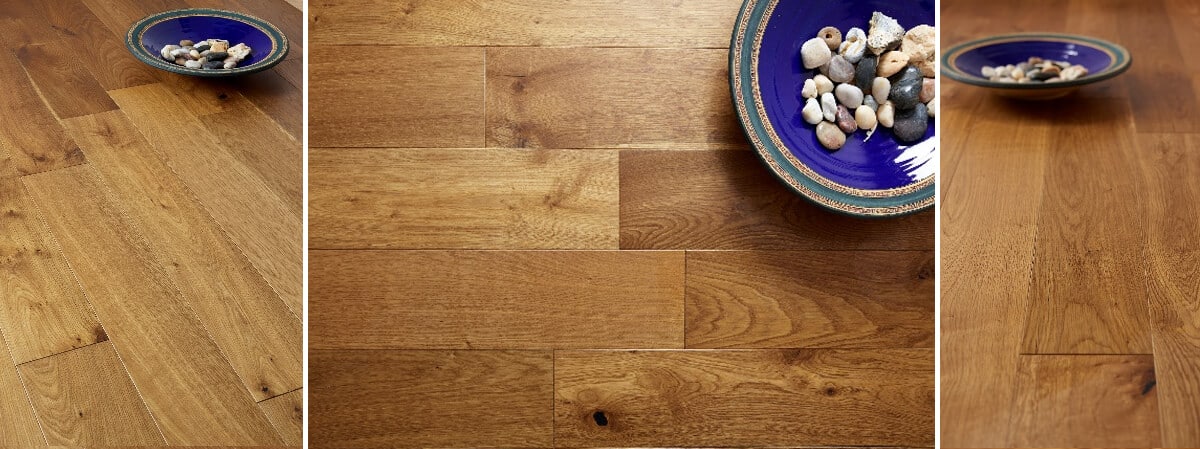
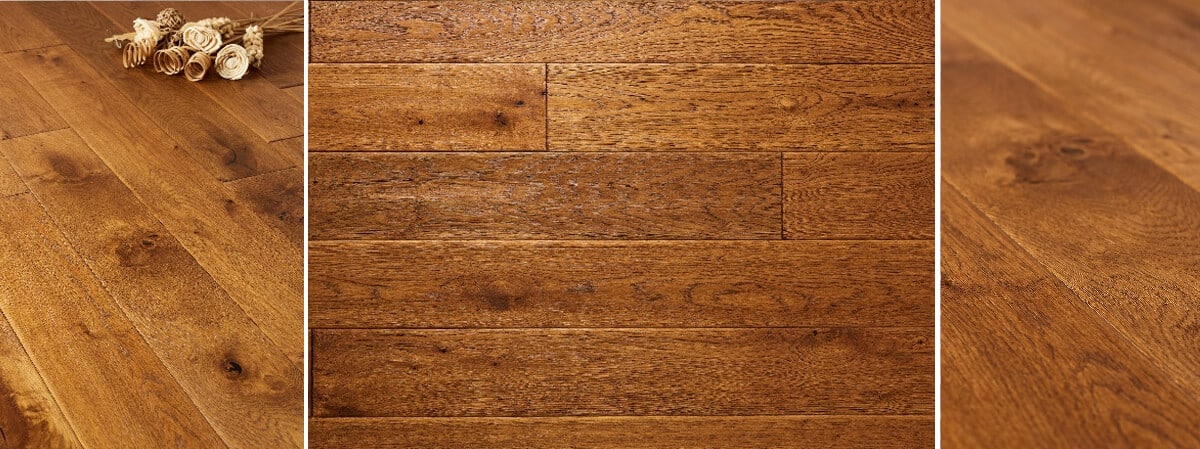
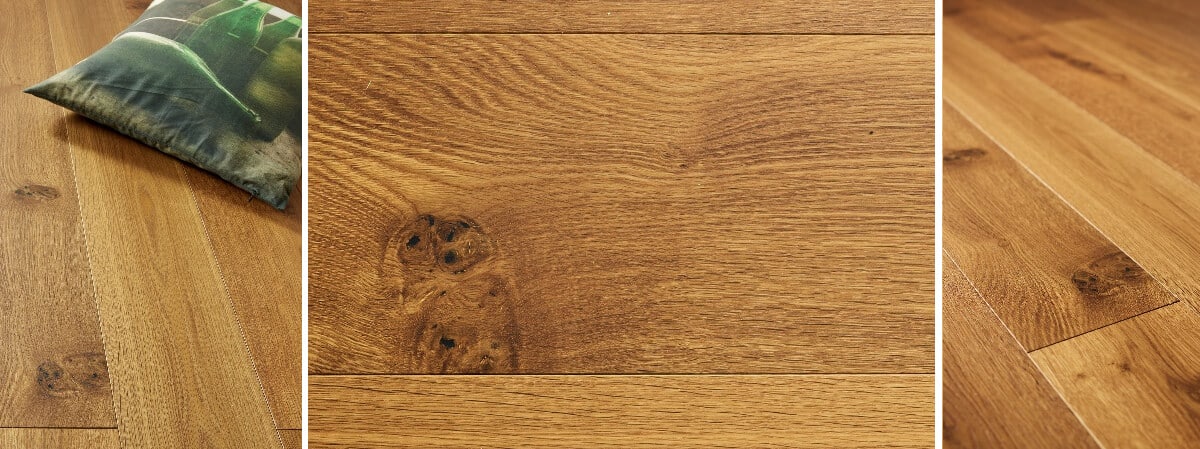
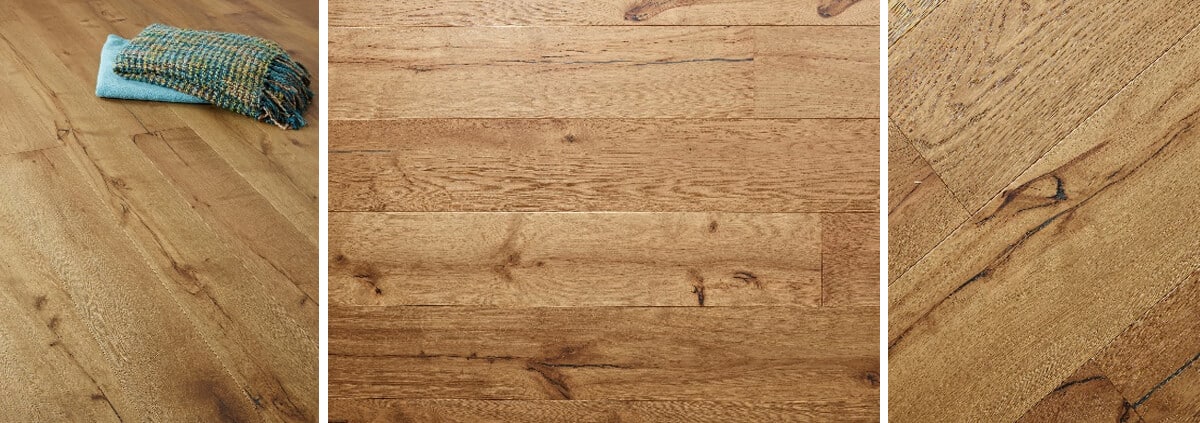
- Choose the Right Material: Herringbone flooring can be made from solid wood, engineered wood, or laminate. Each material has its own benefits, including our solid wood herringbone options.
- Decide on the Layout: Traditional herringbone patterns run diagonally, but variations are possible depending on your room’s dimensions.
- Measure Your Space: Completing accurate measurements ensures that you’ll purchase the right amount of flooring materials.
Tools and Materials Needed
Gather all necessary tools and materials before starting your installation to ensure a smooth process:
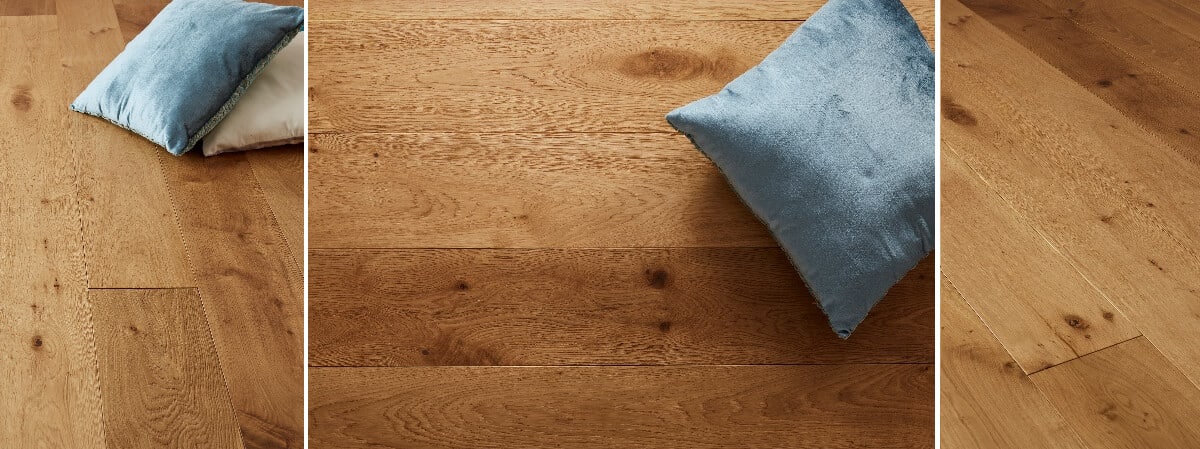
- Herringbone floorboards (check out our Eastbury Multi-Ply flooring)
- Flooring adhesive or nails
- Underlayment (if necessary)
- Measuring tape
- Saw (manual or electric)
- Flooring spacers
- Rubber mallet
- Level
Step-by-Step Instructions for Installing Herringbone Floors
Step 1: Prepare the Subfloor
Your subfloor must be clean, dry, and level for successful installation. Any imperfections could lead to problems later on.
- Remove all old flooring materials.
- Ensure no debris or dust is present.
- Address any uneven spots with a leveling compound.
Step 2: Plan Your Design Layout
It’s crucial to visualize how the herringbone pattern will look in your room. Use chalk lines to mark the starting point on the subfloor. This helps in keeping your pattern straight.
Step 3: Install Underlayment (if required)
If your herringbone floor requires an underlayment, roll it out according to the manufacturer’s instructions. Trim it to fit around edges and ensure a seamless join.
Step 4: Begin Laying the Herringbone Floor
Start laying your floorboards from the defined starting point. There are generally two approaches you could take:
- Glue Down: Apply flooring adhesive to the subfloor and press the boards firmly into place.
- Nail Down: Use a pneumatic nailer to secure the boards, ensuring they are flush to the subfloor.
Remember to stagger the joints for added strength and aesthetic appeal. Use spacers to maintain consistent gaps around the edges.
Step 5: Finish the Installation
Once the floor is laid:
- Allow the adhesive to set as recommended by the manufacturer.
- Install the baseboards or trim to cover the expansion gap.
- Clean your new floor to remove any adhesive residue and dust.
Local Insights in Kent and Surrounding Areas
As a provider of premium flooring solutions, we take pride in serving our local community in Kent as well as extending our services to surrounding areas including London, Surrey, Essex, and Sussex. Kent, renowned for its rich history and picturesque landscapes, offers some unique hotspots such as:
- Dover Castle: A magnificent fortress with rich history and stunning views. For more information, visit Historic Houses.
- Canterbury Cathedral: A UNESCO World Heritage site and a masterpiece of Gothic architecture.
- Leeds Castle: A breathtaking castle situated on islands in a magnificent lake.
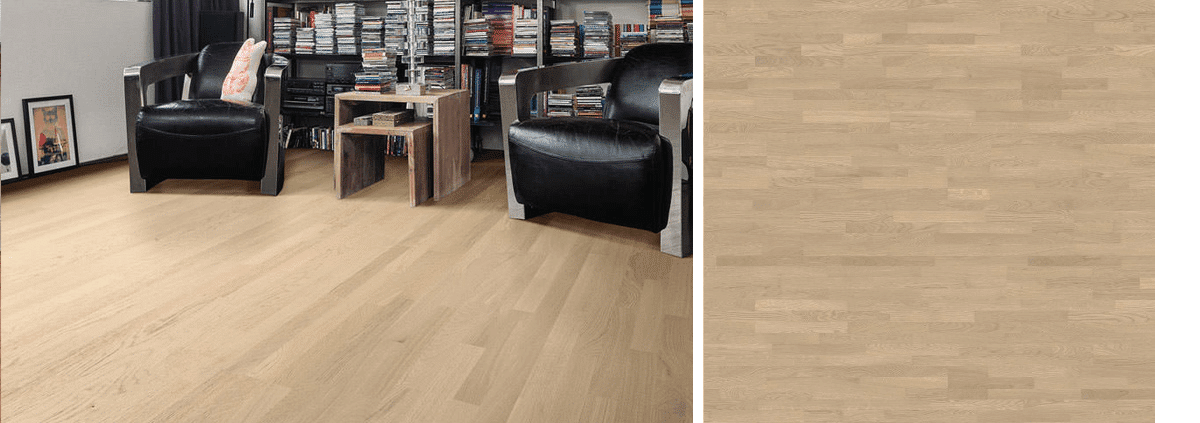
Embracing herringbone flooring can add an elegant touch to homes across this beautiful county. For more options, view our range of Chalfield Multi-Ply flooring and others.
Maintenance Tips for Herringbone Floors
To keep your herringbone floors looking their best, implement the following maintenance tips:
- Regularly sweep or vacuum to remove dirt and debris.
- Use a damp cloth to clean spills immediately.
- Consider refinishing your floor every few years to maintain its luster. For restoration services, visit our restoration page.
Conclusion
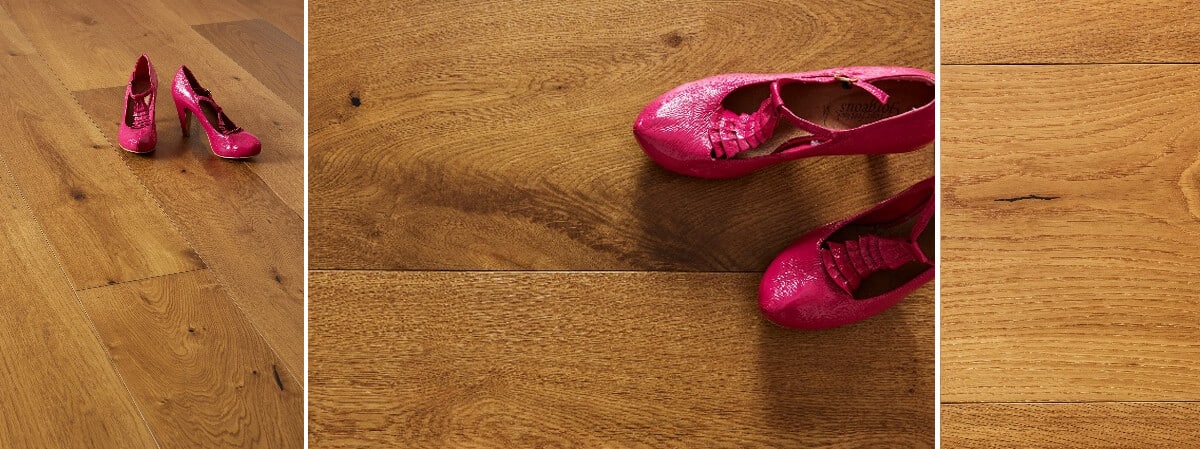
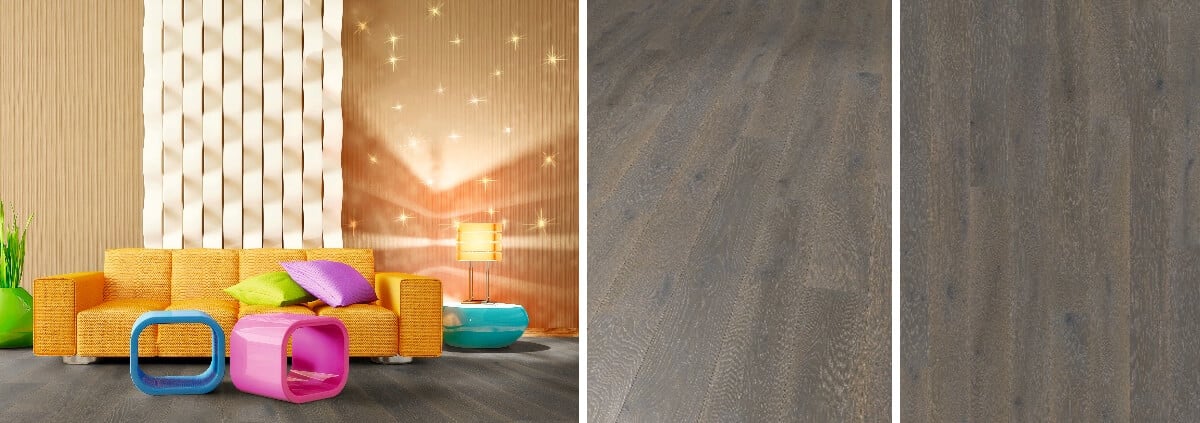
With the right planning and execution, installing herringbone flooring can transform the aesthetics of your home. If you’re looking for professional guidance or assistance, don’t hesitate to contact the experts at Nationwide Hardwood Flooring Company by calling 07940 528 315 or emailing enquiries@nhfcompany.co.uk. Let us help you create beautiful spaces that blend durability with style, including our premium Burghley Multi-Ply flooring options.


