
Hardwood Floor Installation Guide for Professionals - 10 Tips
Ultimate Hardwood Floor Installation Guide for Professionals
Installing hardwood floors can seem daunting, but with the right guide, professionals can achieve excellent results, ensuring a beautiful and durable finish. This hardwood floor installation guide for professionals will cover essential steps, tips, and techniques that lead to successful installations.
Understanding Hardwood Flooring
Before diving into the installation process, it is crucial to understand the types of hardwood flooring available. This guide will focus on:
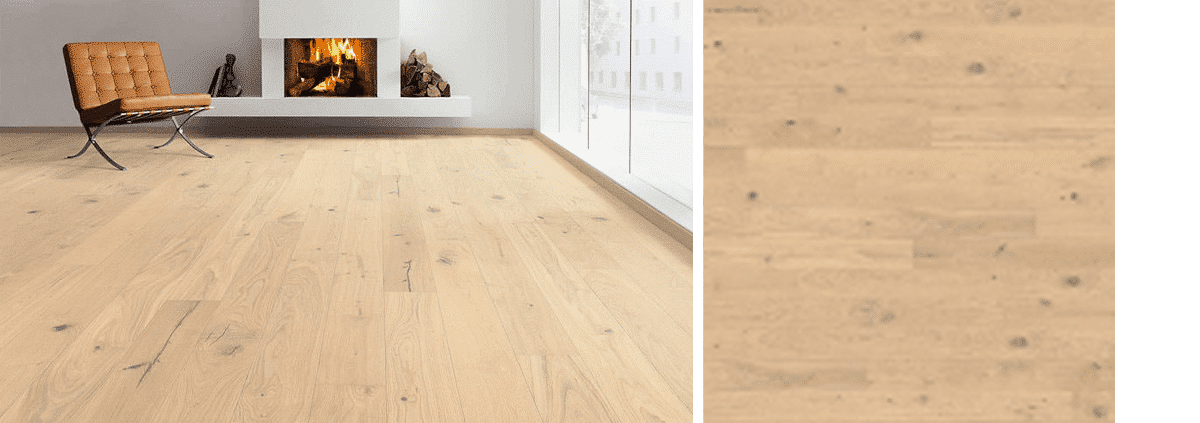
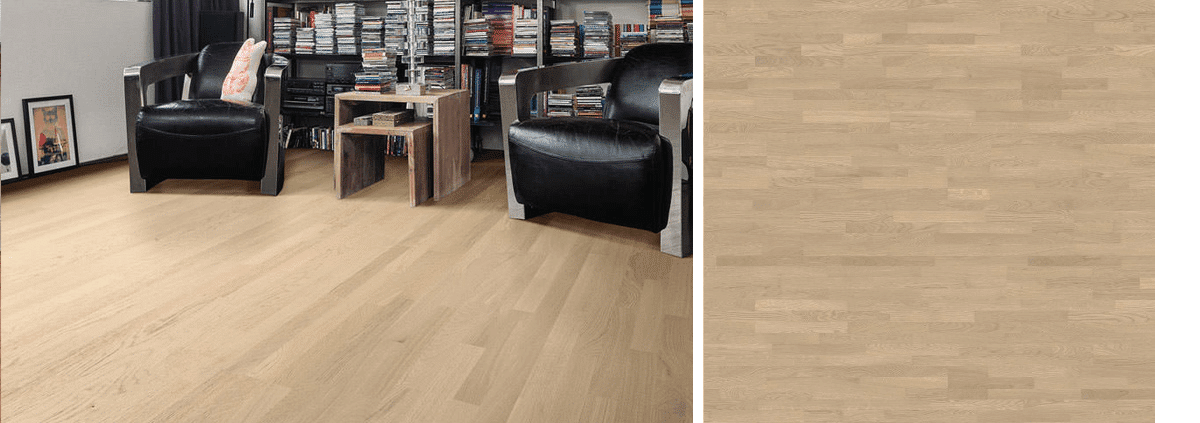
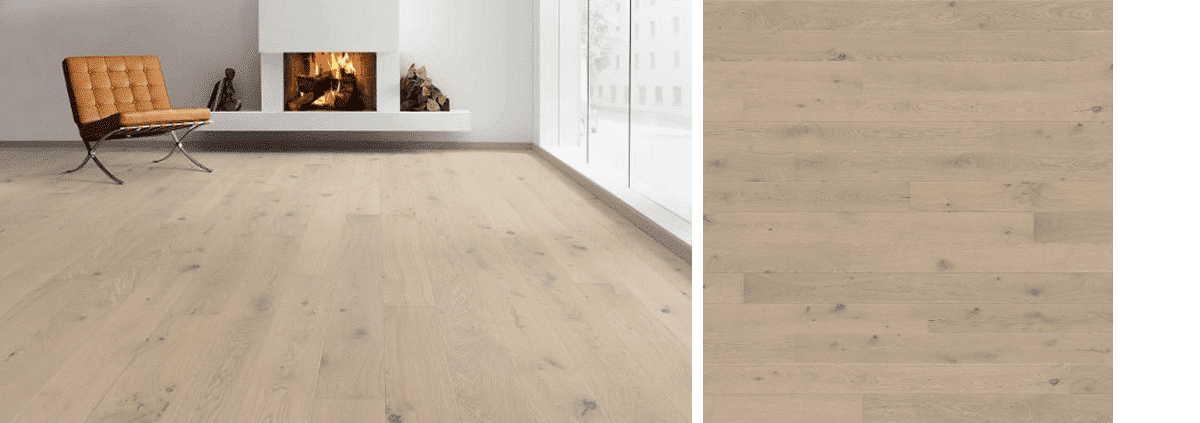
- Engineered Hardwood Flooring: Made of a core of hardwood or plywood, topped with a solid hardwood veneer, engineered floors are versatile for various environments. For premium options, check out our Balmoral engineered flooring.
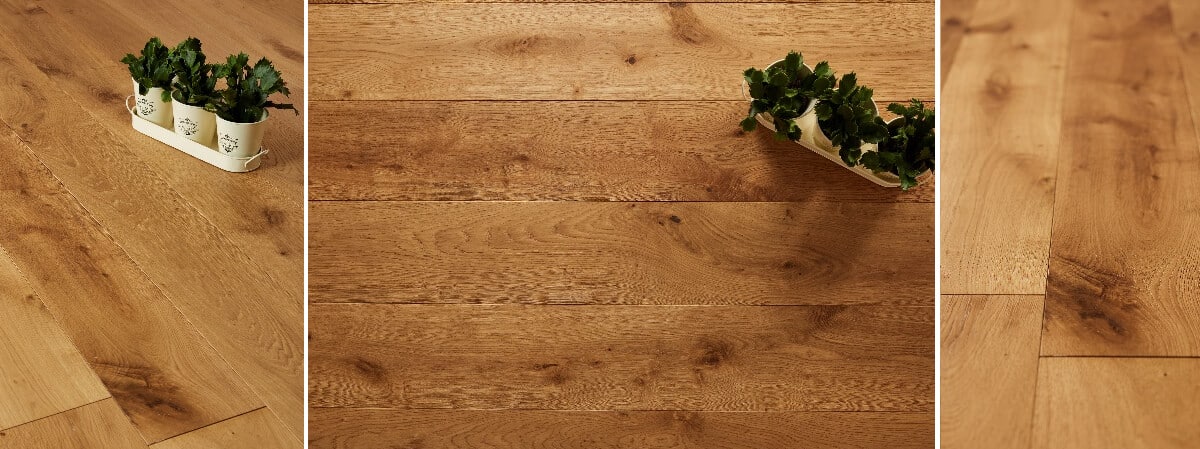
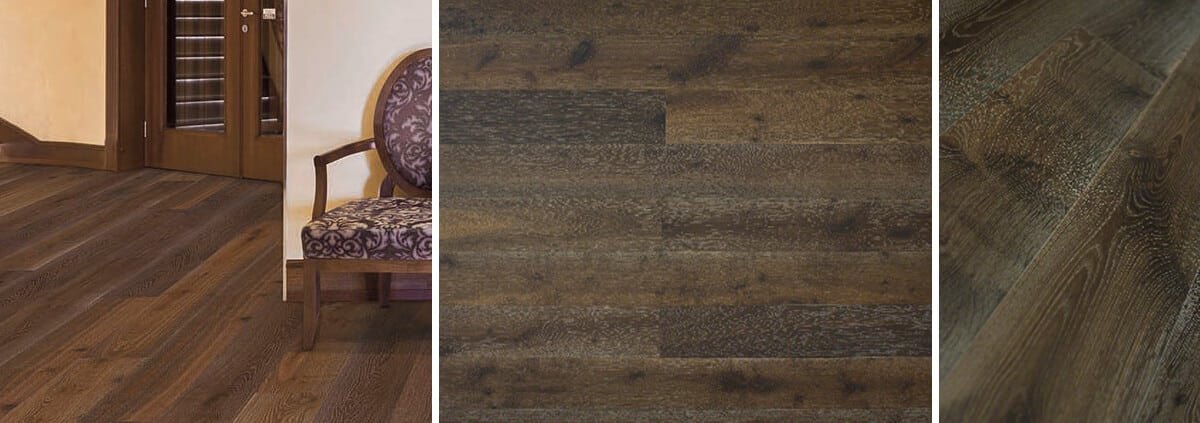
- Solid Wood Flooring: Comprised of solid planks of hardwood, solid wood floors are well-suited for indoor spaces and can be found in various styles and finishes. For more on the best wood for flooring, visit Wood for Good – Oak.
- Parquet Flooring: A geometric design creates a unique flooring pattern that involves intricate installation techniques, perfect for bespoke projects.
- Herringbone Flooring: This patterned flooring style offers a stunning aesthetic and is a project that can impress clients; consider our range of herringbone options.
Preparing for Installation
Preparation is key in any installation project. Here are steps to ensure a smooth operational flow:
- Acclimate the Flooring: Never skip this crucial step; both engineered and solid wood floors must acclimate to the room’s humidity levels for at least 48 hours.
- Check Subfloor Conditions: Ensure the subfloor is clean, dry, and level. Any imperfections can lead to problems later. For additional guidance on subfloor preparation, refer to Contract Flooring Association.
- Gather Required Tools: Having the right tools ensures efficiency and effectiveness. Essential tools include a moisture meter, saws, nail guns, spacers, and a tapping block.
- Calculate Material Needs: Measure the area accurately and determine how much flooring you will need, accounting for waste and cuts.
Installation Process
Now that preparations are complete, follow these steps for installation:
Step 1: Lay Out the Planks
Start by laying out the planks in the desired pattern (straight, herringbone, or parquet). This step helps visualize the finished product and ensures the correct cuts later.
Step 2: Begin Installation
Starting from one corner of the room, install the first planks, making sure to leave spacers for expansion. Use a nail gun or adhesive as per manufacturer’s instructions.
Step 3: Cut Planks as Needed
As you progress, use a saw to cut planks to fit at the ends of rows and around obstacles. Precision cuts ensure a professional-looking finish.
Step 4: Install Transition Strips
When transitioning from one flooring type to another (e.g., from hardwood to tile), install transition strips for a clean separation.
Step 5: Final Touches
Once all planks are installed, remove spacers and ensure everything is secure. Clean the floor and apply any required finishes. For finish recommendations, check Bona’s equipment.
Maintenance and Care
Proper maintenance of hardwood flooring will prolong its life and beauty. Consider these maintenance tips:
- Regular Cleaning: Vacuum or sweep regularly to prevent dirt accumulation, and use a damp mop with a suitable wood flooring cleaner.
- Avoid Excess Moisture: Keep humidity levels stable and avoid using water on wood floors.
- Refinishing: Depending on wear, consider refinishing every few years to restore the floor’s beauty. For further information on refinishing processes, see Homebuilding.
Conclusion
The hardwood floor installation guide for professionals provided here covers all essentials, from preparation to installation and maintenance. Following these guidelines helps ensure success in your flooring projects while delivering quality to your clients. Don’t forget to contact the Nationwide Hardwood Flooring Company at 07940 528 315 or email enquiries@nhfcompany.co.uk for premium materials and assistance in your next flooring venture.


