
Herringbone Floor Installation Tips and 5 Techniques
Herringbone Floor Installation Tips and Techniques
When it comes to flooring, the herringbone floor installation tips and techniques are essential for achieving a stunning and long-lasting aesthetic in your home. Herringbone patterns are popular for both elegance and their ability to blend seamlessly with various interior decors. In this comprehensive guide, we will walk you through the critical steps and techniques for installing herringbone flooring that will ensure you get impeccable results.
Understanding Herringbone Flooring
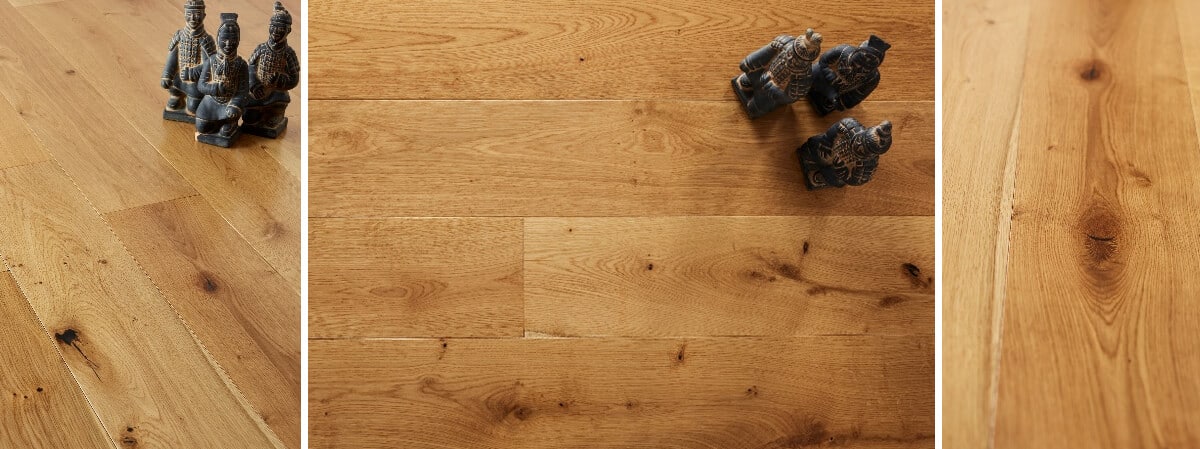
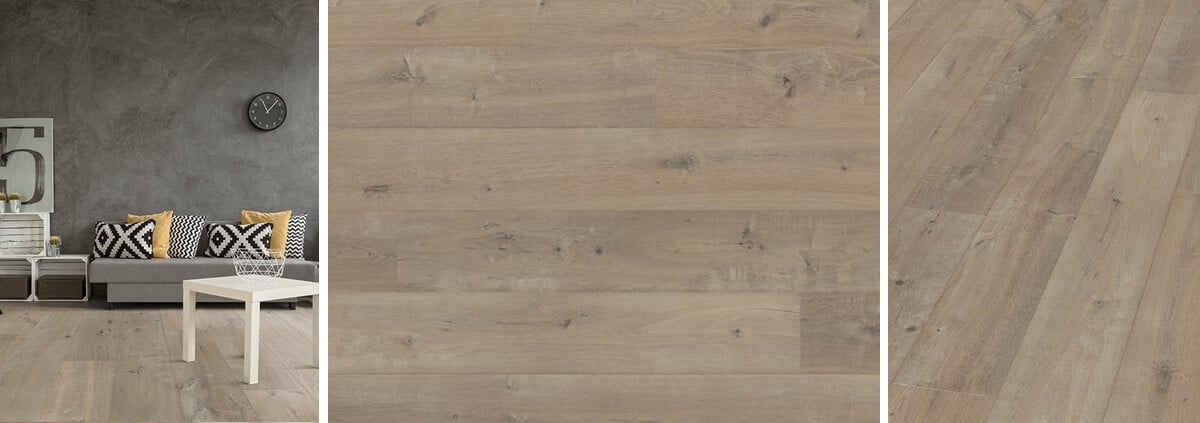
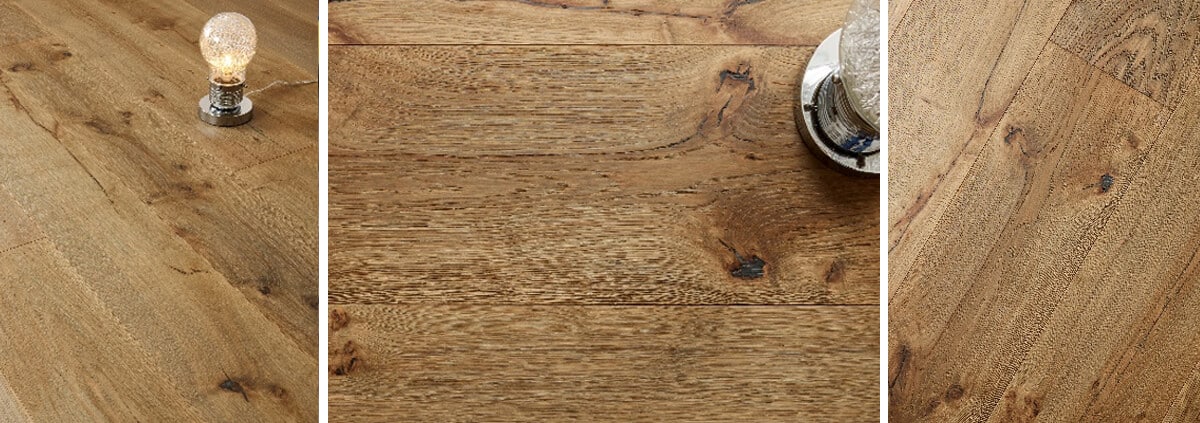
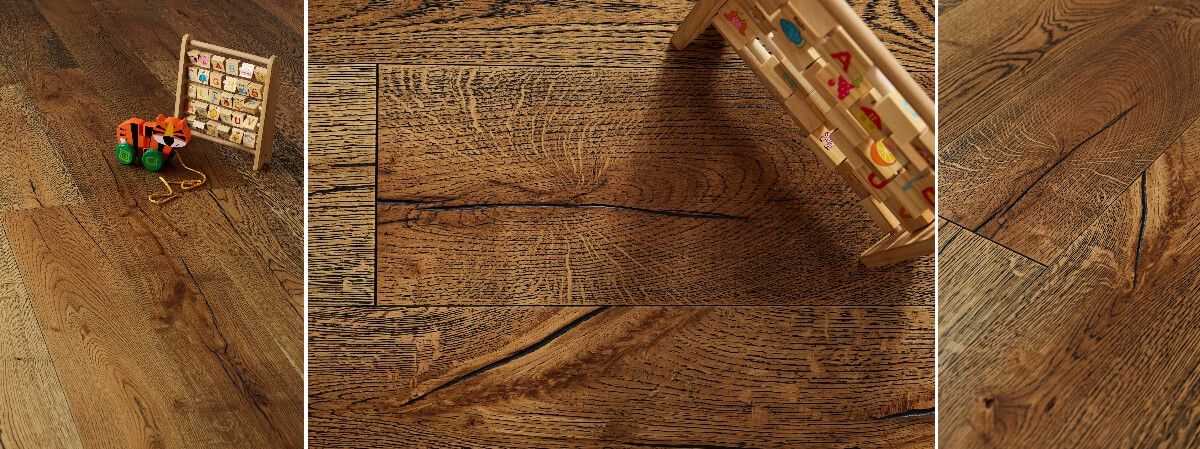
Herringbone flooring is characterized by its unique zigzag pattern created by arranging rectangular planks in a 90-degree angle to one another. This stylish design has been around for centuries and adds an element of sophistication to residential and commercial spaces alike. Whether using solid hardwood or engineered wood, the installation process requires precision and a keen eye for detail.
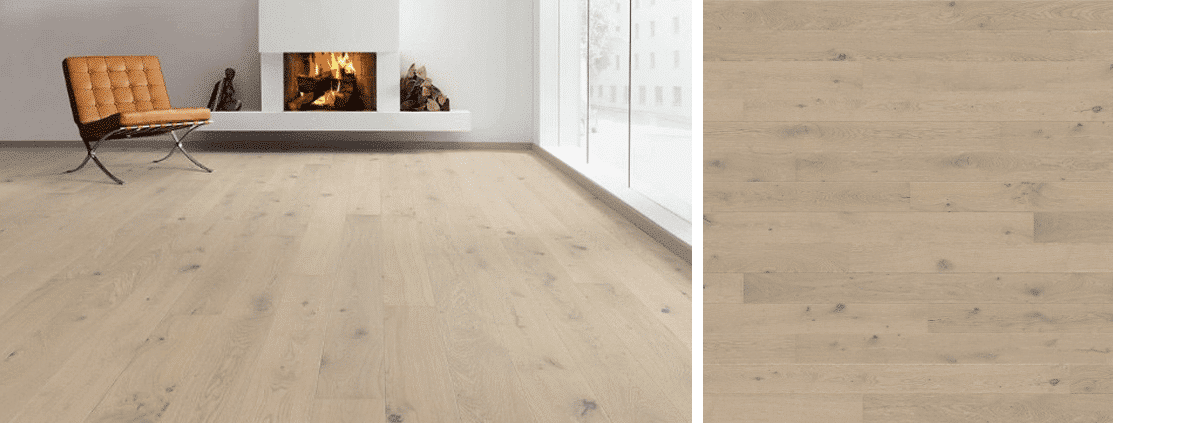
Choosing Your Herringbone Flooring Material
Before diving into the installation tips, it’s vital to select the right type of herringbone flooring. You can choose from a variety of materials:
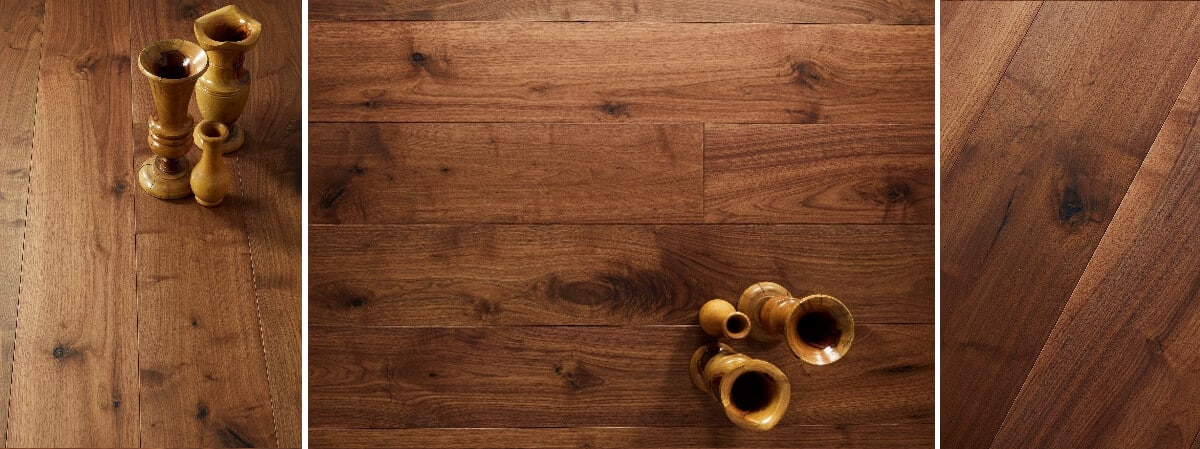
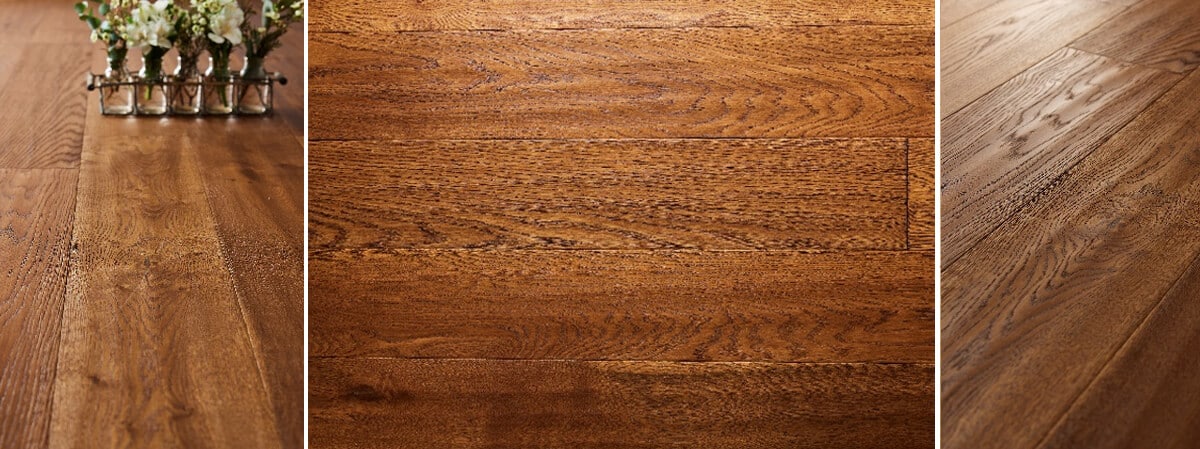
- Engineered hardwood: Offers excellent stability and is ideal for areas with fluctuating moisture levels.
- Solid hardwood: Provides natural beauty and durability but may be more susceptible to moisture.
- Laminate: A budget-friendly option that mimics the appearance of wood.
Preparation for Herringbone Floor Installation
Preparation is a key phase in ensuring a smooth and effective installation. Here’s how to prepare:
- Select Your Space: Choose the room where you wish to install herringbone flooring. It’s an excellent choice for living rooms, dining areas, and even bedrooms.
- Acclimation: Allow your chosen flooring materials to acclimate to the room’s temperature and humidity for at least 48 hours.
- Subfloor Assessment: Ensure your subfloor is clean, dry, and level. Any imperfections can lead to uneven flooring.
Basic Tools and Materials Needed for Installation
To effectively install your herringbone flooring, gather the following tools:
- Measuring tape
- Chalk line
- Utility knife
- Pry bar
- Wood glue or adhesive
- Flooring nailer
- Spacing wedges
- Level
- Vacuum cleaner
Herringbone Floor Installation Techniques
Once you’ve completed the preparation phase, it’s time to implement the following essential installation techniques:
1. Create a Reference Line
Drawing a reference line is crucial for maintaining the integrity of the herringbone pattern. Use a chalk line to mark the center of the room. This line will serve as your baseline for laying down the first row of boards.
2. Lay the First Row of Planks
Starting from your reference line, lay the first two planks at a 90-degree angle. Ensure that they are tightly joined and use wood glue for extra security. This initial row is critical as it sets the foundation for the rest of the installation.
3. Install Subsequent Rows
Continue placing your planks in the herringbone pattern by working your way out from the center. Align each plank carefully, ensuring that the edges remain flush with one another. Use spacers to maintain the appropriate expansion gap around the perimeter of the room.
4. Cutting Ends and Corners
For planks that reach the wall or in corners, you’ll need to measure and cut pieces to fit. A miter saw or a utility knife can be used, ensuring precise cuts that will create clean edges for a seamless look.
5. Secure the Flooring
Once all planks are laid, it’s crucial to secure them. Depending on your flooring type, you might need to nail down the planks or use adhesive. If you’re using a nailer, ensure consistent spacing for nails and glue.
Finishing Touches After Installation
After completing the installation process, the finishing touches include:
- Removing spacers: Carefully remove any spacers used during installation.
- Trimming baseboards: Reinstall any baseboards or trims that were removed prior to installation.
- Cleaning: Vacuum and clean the newly installed floor to remove any dust or debris.
Maintenance and Care for Herringbone Floors
To ensure the longevity of your herringbone floor, regular maintenance is necessary:
- Use felt pads under furniture to avoid scratches.
- Regularly sweep or vacuum to remove dust and dirt.
- Use a damp mop with a suitable wood floor cleaner for deeper cleaning.
- Consider periodic refinishing to restore shine and protect the wood.
Why Hire Professional Floor Fitters?
While DIY installation is appealing, hiring professional floor fitters can save you time and ensure a flawless finish. Experts have the tools and experience necessary to navigate common challenges, provide guidance on material selection, and guarantee that the installation meets all local building codes. For comprehensive guidance on wood flooring standards, consider visiting TRADA Wood for Good for valuable resources.
Conclusion
Implementing these herringbone floor installation tips and techniques will empower you to achieve an exquisite floor that enhances your living space. Whether opting for engineered or solid wood, paying attention to detail during installation is key to creating a stunning herringbone floor. If you seek assistance or prefer a hassle-free installation, consider reaching out to professional floor contractors to bring your vision to life.
For more information on our services, call the Nationwide Hardwood Flooring Company at 07940 528 315 or email us at enquiries@nhfcompany.co.uk.


