
Herringbone Flooring Installation London: 7 Expert Tips
Herringbone Flooring Installation in London: A Complete Guide
Herringbone flooring has gained immense popularity in recent years, and it’s easy to see why. The unique and stylish design can add timeless elegance to any space, whether residential or commercial. If you’re considering herringbone flooring installation in London, this comprehensive guide will provide you with all the necessary insights and step-by-step instructions for achieving stunning results.
Understanding Herringbone Flooring
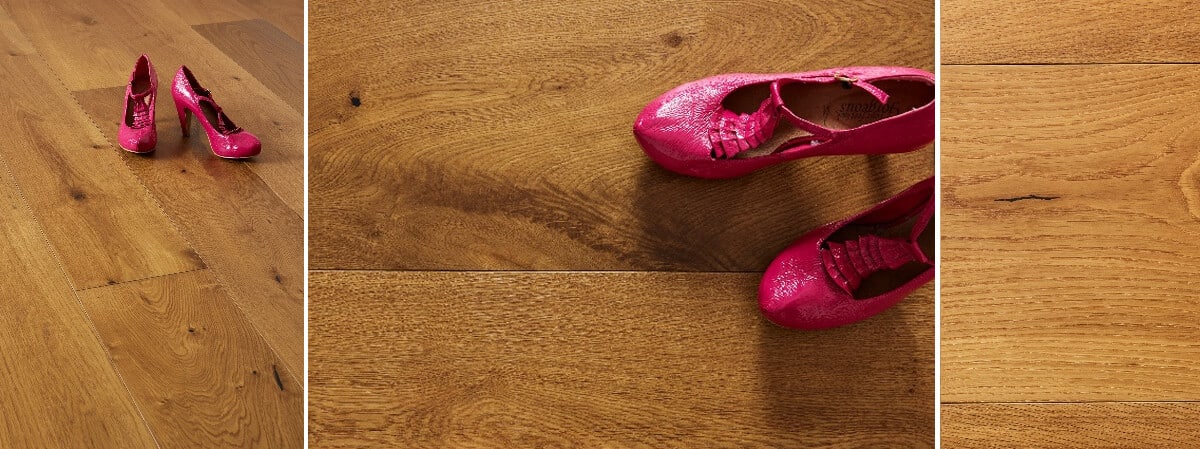
Before we dive into the installation process, let’s take a moment to understand what herringbone flooring is all about. Herringbone flooring consists of rectangular wooden tiles arranged in a zigzag pattern that resembles the bones of a fish. This design not only adds character to your floor but also increases the visual interest of your space.
Benefits of Herringbone Flooring
There are several reasons why herringbone flooring is a sought-after choice in London:
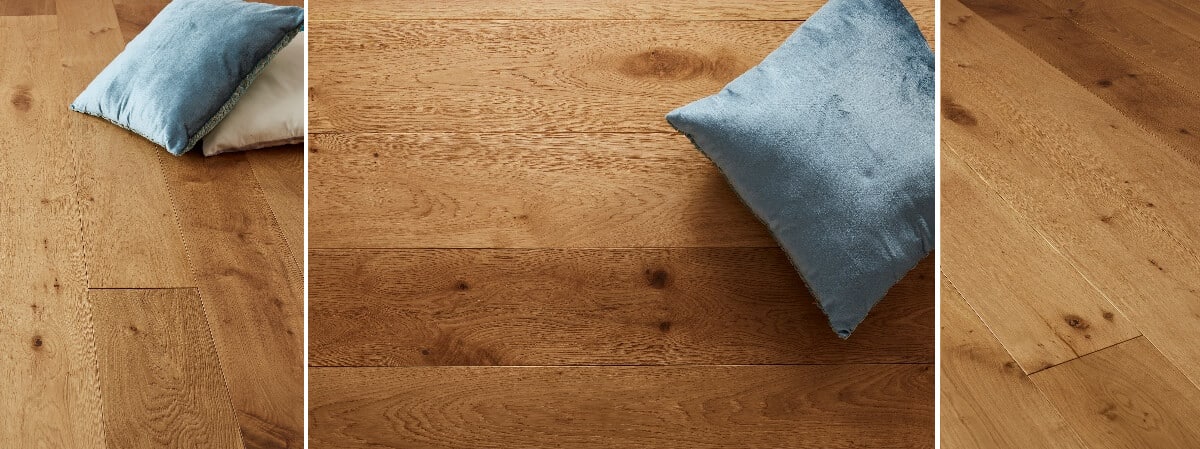
- Aesthetic Appeal: The herringbone pattern brings a sophisticated touch to any room.
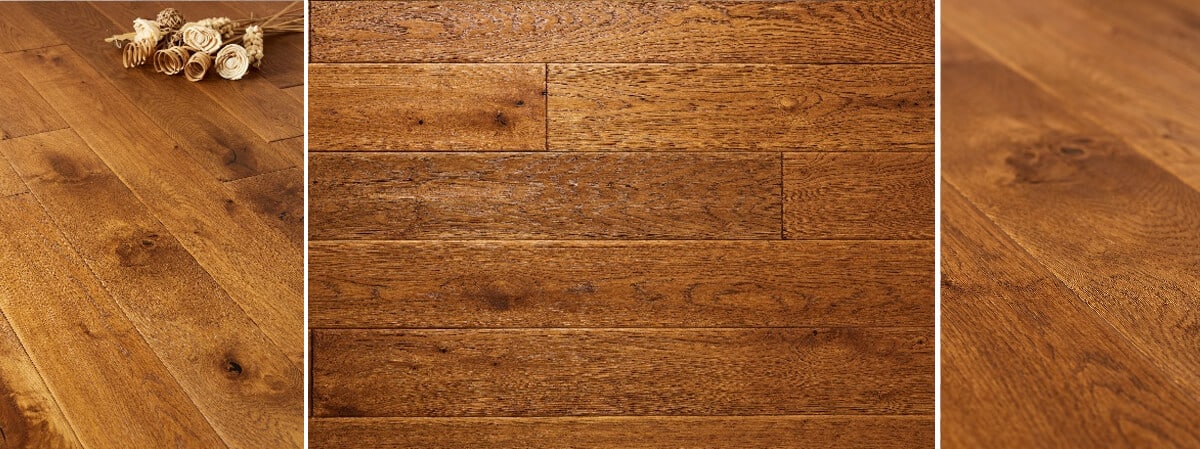
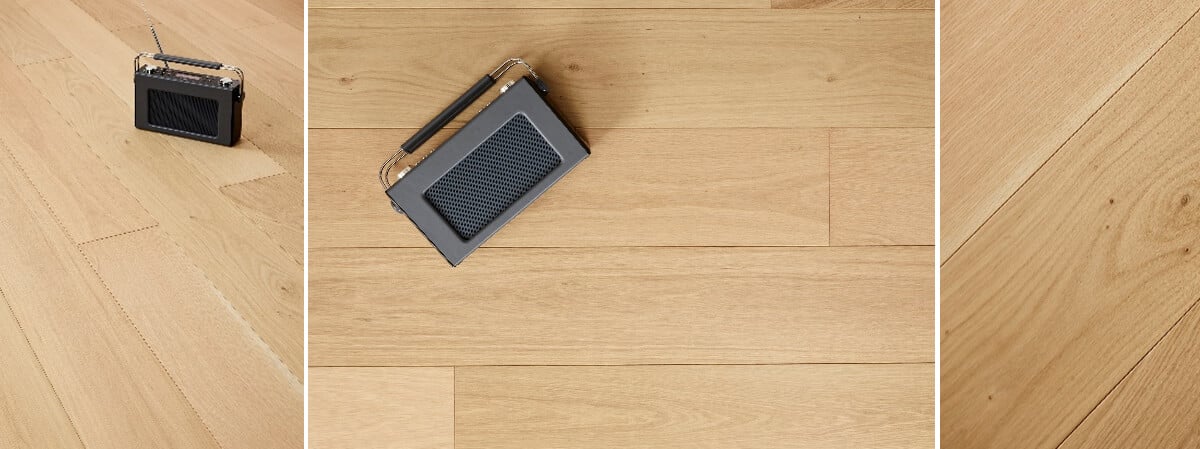
- Durability: Made from quality hardwood, herringbone flooring is durable and can last for years.
- Easy Maintenance: Hardwood floors are relatively easy to clean and maintain compared to other flooring options.
Preparation for Herringbone Flooring Installation
Proper preparation is key to a successful herringbone flooring installation in London. Here’s what you need to do:
1. Choose the Right Material
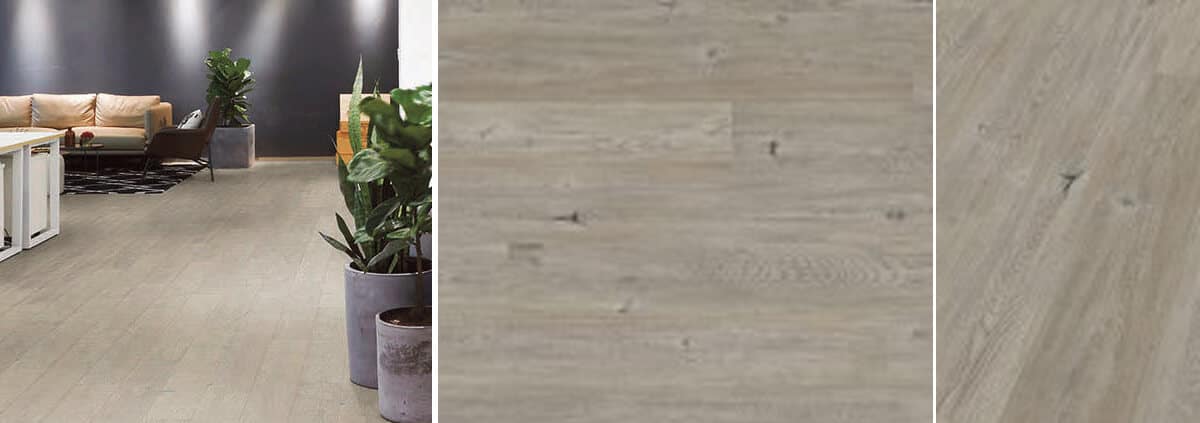
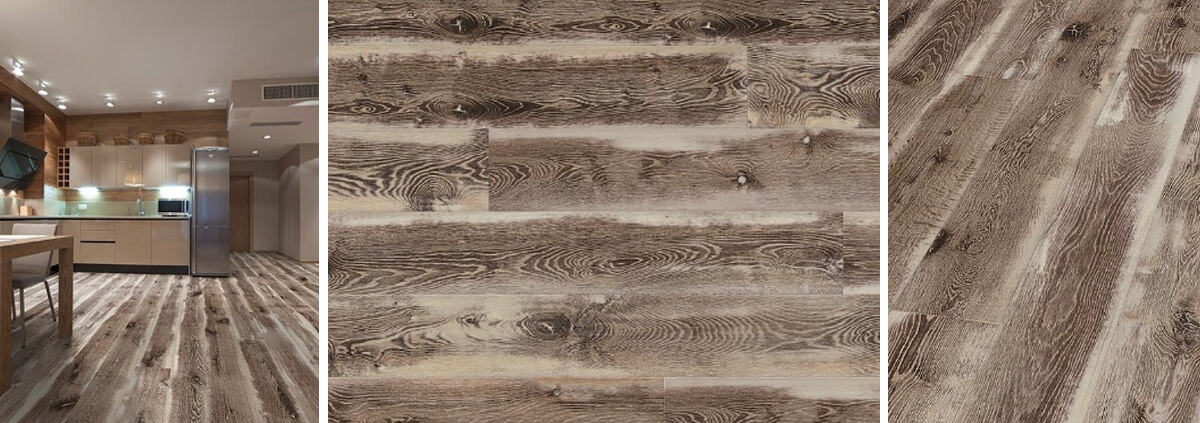
Select your preferred type of herringbone flooring. Options like engineered wood floors and solid wood flooring are popular choices. Ensure the flooring is sourced from reputable suppliers known for quality products, as outlined by Wood Floors.
2. Gather Necessary Tools and Materials
You will need the following tools and materials:
- Herringbone tiles (engineered or solid wood)
- Measuring tape
- Square and chalk line
- Flooring adhesive
- Notched trowel
- Saw (manual or electric)
- Rolling pin or heavy weight (to press the tiles after installation)
- Safety goggles and knee pads for protection
3. Prepare the Subfloor
Your subfloor must be clean, dry, and level before installation. Any imperfections can affect the end result. Check for moisture levels if you’re installing over concrete, and use a leveling compound if necessary. For more detailed information on flooring preparation, visit Flooring International.
Step-by-Step Herringbone Flooring Installation Process
Once you’re prepared, follow these steps to successfully install herringbone flooring in London:
Step 1: Plan the Layout
Determine the starting point for your installation. In general, it’s best to begin in the center of the room, working outwards, as this creates symmetry.
Step 2: Mark Reference Lines
Use your measuring tape and chalk line to mark reference lines on the subfloor. These lines will guide your tile placement.
Step 3: Apply Adhesive
Using your notched trowel, spread the flooring adhesive on the subfloor following the manufacturer’s guidelines. Be sure to work in manageable sections.
Step 4: Lay the Tiles
Begin placing the first tile at the intersection of your reference lines. Press it firmly into the adhesive and ensure it’s level. Continue laying herringbone tiles in a zigzag pattern, ensuring each tile is snug against the others. Use spacers if necessary to maintain even gaps.
Step 5: Cut Tiles as Needed
As you reach the edges of the room, you may need to cut tiles to fit. Use a saw to make precise cuts, and always wear safety goggles during this process.
Step 6: Roll and Press
Once all tiles are laid, roll a heavy weight or use a rolling pin over the newly installed floor to ensure proper adhesion. This step is crucial for eliminating bubbles and ensuring a strong bond.
Step 7: Allow to Set
Let the adhesive dry according to the manufacturer’s recommendations. This may take several hours or overnight. Avoid walking on the floor during this time.
Final Steps: Finishing Touches
After your herringbone flooring installation is complete, follow these final steps:
1. Remove Spacers
Once the adhesive is fully set, carefully remove any spacers used during installation.
2. Apply Finishing Products
Depending on your preference, apply a finish to enhance the beauty of your herringbone flooring. This could include oil, lacquer, or a sealant. Explore our quality products for excellent finishing options.
3. Clean the Area
Finally, give your new floor a good clean to remove any debris or adhesive residue. This will help you appreciate your beautifully installed herringbone flooring.
Why Choose Nationwide Hardwood Flooring Company?
For homeowners and businesses in London considering herringbone flooring installation, Nationwide Hardwood Flooring Company provides unparalleled service. Our skilled floor fitters have years of experience in handling various flooring types, including luxury and budget-friendly options.
Quality Products
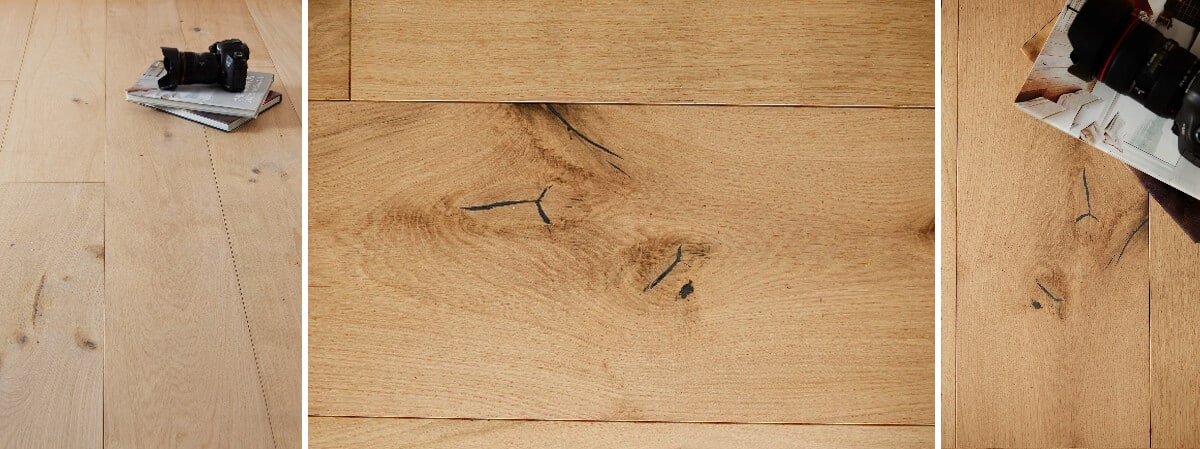
We supply only premium hardwood flooring options, including engineered herringbone and solid wood floors that are elegant, durable, and sustainable.
Expert Installation
Our team is equipped with the necessary skills and tools to install your herringbone flooring to perfection. We prioritize your satisfaction and aim to deliver results that not only meet but exceed your expectations.
Affordable Pricing
We believe that high-quality flooring shouldn’t break the bank. Our affordable pricing options ensure you can enhance your space without compromising on quality.
Contact Us Today!
If you’re based in London and interested in herringbone flooring installation, reach out to our team at Nationwide Hardwood Flooring Company. Call us at 07940 528 315 or email us at enquiries@nhfcompany.co.uk for a free consultation.
Conclusion
Transforming your space with herringbone flooring can be an exciting endeavor. With the right preparation and guidance, you can achieve beautiful results that elevate the aesthetic of any room. Follow this guide, and don’t hesitate to contact the experts at Nationwide Hardwood Flooring Company for your installation needs!


