
Best Practices for Engineered Wood Floor Installation – 7 Tips
Best Practices for Engineered Wood Floor Installation
When it comes to choosing flooring options for your home or commercial space, engineered wood flooring stands out due to its durability, aesthetic appeal, and ease of installation. In Kent, where we offer a wide variety of flooring solutions, it is essential to follow the best practices for engineered wood floor installation to ensure a long-lasting finish.
Understanding Engineered Wood Flooring
Engineered wood flooring consists of multiple layers of wood pressed together. The top layer is made from real hardwood, giving it a natural look, while the base layers add stability. This type of flooring is less susceptible to changes in humidity and temperature, making it ideal for various environments.
Why Choose Engineered Wood Flooring?
- Versatility: Suitable for any room, including basements and kitchens.
- Eco-Friendly: Made from sustainable materials.
- Easy Maintenance: Simple cleaning and care routines.
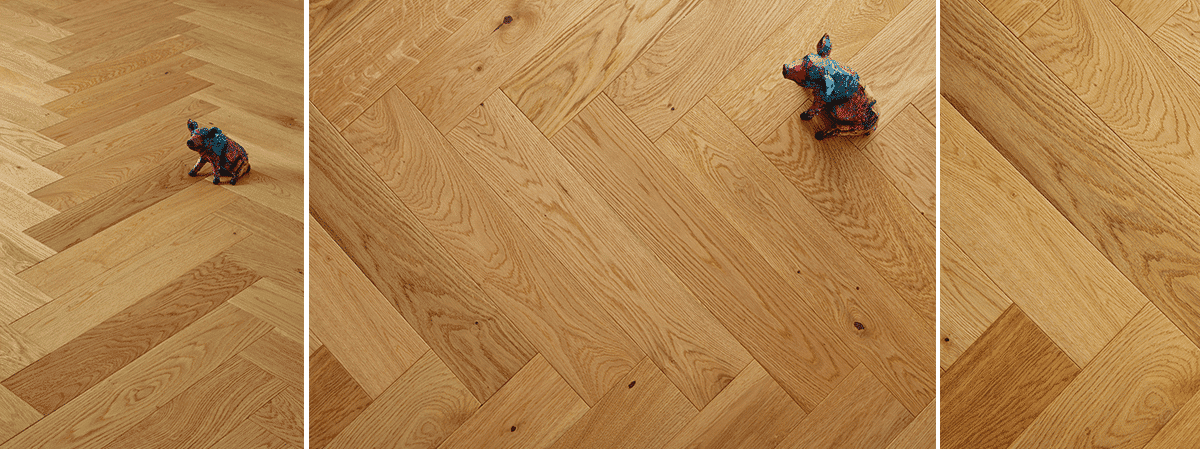
- Elegant Design: Available in various styles, including herringbone patterns.
Best Practices for Engineered Wood Floor Installation in Kent
To guarantee a seamless installation, we recommend the following best practices:
1. Acclimate Your Engineered Wood Flooring
Before installation, it is crucial to let your engineered wood flooring acclimate to the room’s temperature and humidity. This process typically takes 48 to 72 hours. Place the unopened boxes in the room where they will be installed to achieve proper acclimation.
2. Prepare the Installation Area
Ensure that the subfloor is clean, dry, and level. If you are installing over concrete, consider using a vapour barrier to protect the wood from moisture. In Kent, with its varying climate, moisture protection is essential. For more information on moisture control, visit Homebuilding & Renovating.
3. Choose the Right Installation Method
- Click-lock System: Ideal for DIYers and those looking for a quick installation.
- Aglue-down Method: Perfect for areas prone to moisture.
- Nail-down Installation: Recommended for solid wood layers, but can also work with engineered wood.
4. Allow Expansion Gaps
To prevent buckling, always leave expansion gaps between your flooring and walls (approximately 10mm) to allow for natural movement caused by humidity changes. You can find more recommendations on proper installation techniques at Flooring Magazine.
5. Use Quality Tools and Materials
Utilizing the right tools, such as a jigsaw and a tapping block, ensures precision during installation. Our team of floor fitters in Kent uses only high-quality adhesives and materials to provide a durable finish. To explore quality flooring tools, check out Toolstation.
6. Follow a Straight Pattern
Start your installation from the longest wall in the room and work your way across. This method ensures a visual flow and is easier for alignment.
7. Finish with Trim and Molding
After laying the flooring, install baseboards or quarter-rounds to cover the expansion gaps and provide a polished look. For guidance on finishing touches, refer to B&Q.
Local Expertise in Kent
At Nationwide Hardwood Flooring Company, we pride ourselves on providing exceptional flooring installations across Kent, including places like Dartford and Canterbury. Our local knowledge enables us to tailor our services to meet the specific needs of residents in our community.
Conclusion
Investing in engineered wood flooring can elevate the beauty and functionality of your space. By adhering to these best practices for engineered wood floor installation, you can ensure a flawless outcome that will last for years to come. If you have any questions or need professional assistance, do not hesitate to contact us at 07940 528 315 or through our email enquiries@nhfcompany.co.uk.


