
how to install engineered hardwood flooring like a pro
How to Install Engineered Hardwood Flooring Like a Pro
Welcome to your ultimate guide on how to install engineered hardwood flooring like a pro. At Nationwide Hardwood Flooring Company, we are committed to providing you with top-notch hardwood flooring solutions nationwide, including London, Kent, Surrey, and beyond. Engineered hardwood flooring is an excellent choice due to its durability and aesthetic appeal, and we’re here to walk you through the installation process step by step.
Understanding Engineered Hardwood Flooring
Engineered hardwood flooring consists of multiple layers of wood veneer, which provides greater stability compared to traditional solid hardwood. The surface layer is made from real wood, while the base layers are made from plywood or high-density fiberboard (HDF). This combination allows for enhanced performance, especially in areas prone to moisture.
Why Choose Engineered Hardwood Flooring?
- Stability: Less prone to warping and expansion due to temperature or humidity changes.
- Versatility: Suitable for use in various rooms, including basements and kitchens.
- Aesthetic Appeal: Available in various styles, colors, and finishes to match your decor.
- Cost-Effective: Generally more affordable than solid wood flooring.
Preparation for Installation
Before beginning the installation process, it’s essential to prepare both your space and materials. Here are the steps to ensure a smooth installation:
Choose the Right Type of Engineered Hardwood
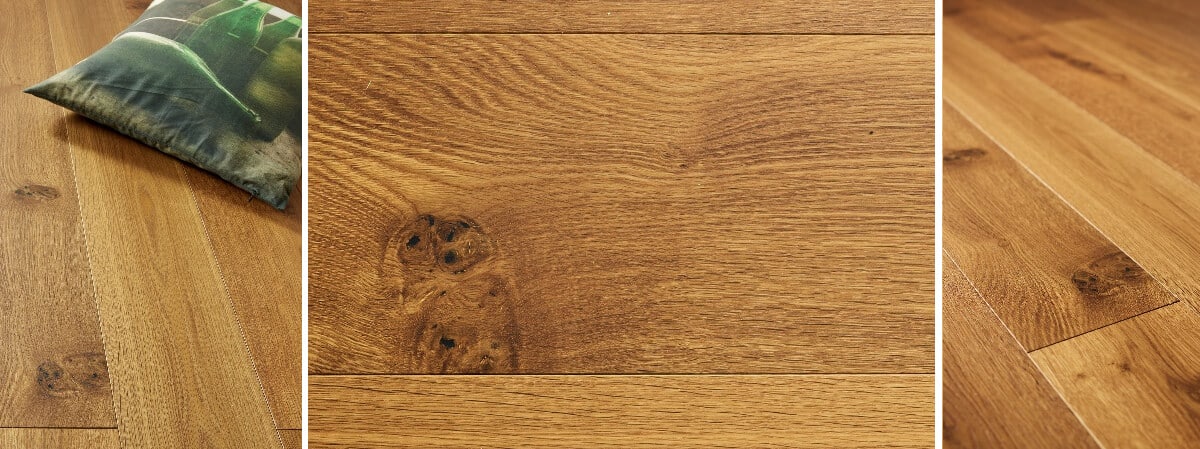
Our selection includes various engineered hardwood options, such as herringbone engineered flooring and engineered oak flooring. Choose the type that fits your room’s use and aesthetic preferences.
Gather Necessary Tools and Materials
You’ll need the following tools:
- Measuring tape
- Chalk line
- Utility knife
- Miter saw
- Flooring adhesive (for glue-down installation)
- Underlayment (to reduce noise and provide cushioning)
- A tapping block and pull bar (for click-lock flooring)
Subfloor Preparation
Ensure your subfloor is clean, dry, and level. You may need to use a leveling compound if there are any significant imperfections. If the subfloor has existing flooring, you may need to remove it depending on the type of installation you choose.
Step-by-Step Installation Guide
Now that you’re prepared, let’s go through the installation process:
1. Acclimate the Flooring
Allow the engineered hardwood planks to acclimate in the room where they’ll be installed for at least 48 hours. This helps them adjust to the local temperature and humidity.
2. Lay Down Underlayment
Roll out the underlayment across the subfloor, ensuring that it overlaps at the seams for better moisture protection.
3. Start Installation
Begin in a corner of the room, placing the first plank with the tongue side facing the wall. Use spacers to maintain an expansion gap of about 10mm around the perimeter of the room.
4. Click or Glue Planks Together
If you opt for a click-lock system, angle the next plank into the first plank and press down until you hear it click. For glue-down installations, apply adhesive to the subfloor and firmly press the plank in place.
5. Continue to Lay the Remaining Planks
Continue installing the planks row by row, staggering the seams by at least 6 inches for a more natural look. Use a miter saw to cut planks to fit as needed.
6. Finishing Touches
Once the flooring is installed, remove all spacers and install baseboards or trim to cover the expansion gaps. Finally, clean the floor to remove any debris and dust.
Aftercare and Maintenance
We provide premium floor restoration services to help maintain the integrity and appearance of your flooring. Regular cleaning and periodic refinishing will help keep your floors looking new. Here are some maintenance tips:
- Use a soft broom or vacuum to remove dirt and debris regularly.
- For deeper cleaning, use a damp mop with a wood floor cleaner.
- Avoid excessive water, as it may damage the engineered flooring.
Why Choose Nationwide Hardwood Flooring Company?
With years of experience, we pride ourselves on our customer service and high-quality installations across Kent and the broader UK. Whether you’re looking for cheap wood flooring or premium options, we have something for every budget. Our dedicated team of floor contractors and fitters can help you achieve the home of your dreams.
Contact Us for More Information
If you’re interested in how to install engineered hardwood flooring like a pro or need professional assistance, give us a call at 07940 528 315 or email us at enquiries@nhfcompany.co.uk. Visit our website to explore our extensive range of flooring options and services, and transform your space today! For more in-depth guidance on flooring projects, check out this resource for detailed instructions.


