
Best Sanding Techniques for Engineered Hardwood Floors: 7 Tips
Best Sanding Techniques for Engineered Hardwood Floors
Sanding engineered hardwood floors is an essential maintenance task that can rejuvenate your flooring and enhance its aesthetics significantly. Whether you own a home or manage a commercial space in Kent or beyond, understanding the best sanding techniques is crucial for the longevity and beauty of your floors. In this article, we will explore expert techniques tailored for engineered hardwood floors, ensuring you achieve a flawless finish every time.
Understanding Engineered Hardwood Floors
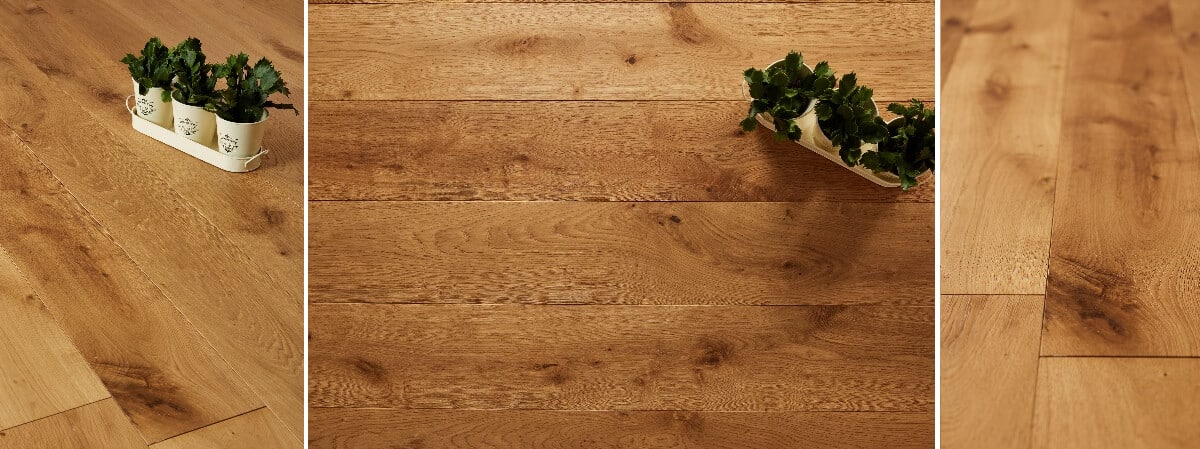
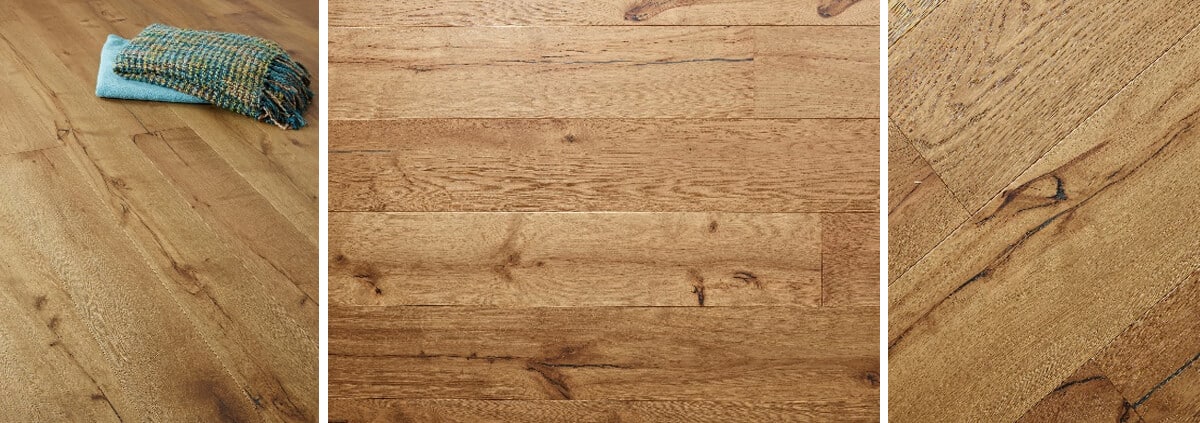
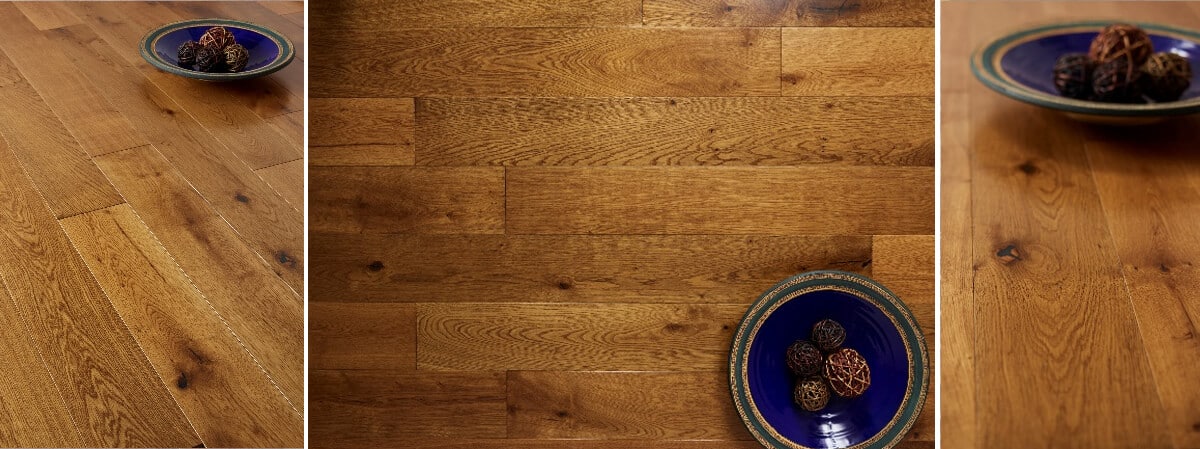
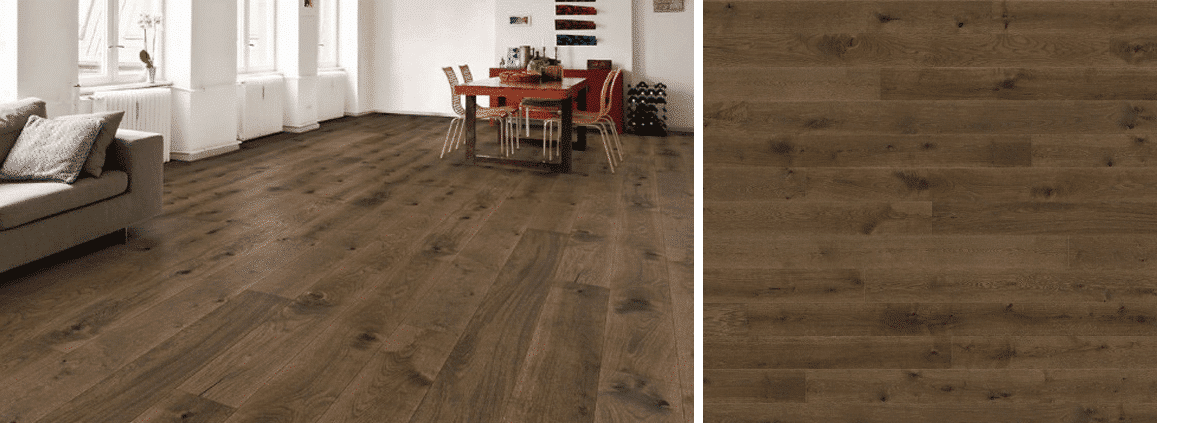
Engineered hardwood floors consist of multiple layers, with a top layer made of real wood that provides the beauty and charm of solid hardwood. Below this is a core made of high-density fiberboard (HDF) or plywood. This construction makes engineered hardwood resistant to temperature and humidity changes, making it a popular choice for many residential and commercial settings. For more information about different wood types, you can refer to Wood for Good on Walnut species.
Why Sand Engineered Hardwood Floors?
- Restore Beauty: Over time, floors can become scratched and dull. Sanding brings back the floor’s original luster.
- Prepare for Refinishing: Sanding is necessary before applying a new finish to ensure proper adhesion.
- Remove Stains: Deep stains can be sanded out, particularly in high-traffic areas.
Essential Tools for Sanding Engineered Hardwood Floors
Before heading into the sanding process, gather the following tools:
- Floor Sander: A drum sander or orbital sander works best for large areas.
- Detail Sander: Perfect for corners and edges.
- Sanding Discs: Use the right grit level for each stage of sanding.
- Vacuum: A powerful vacuum is necessary to remove dust and debris.
- Safety Gear: Masks and goggles to protect against dust inhalation and eye injury.
The Best Sanding Techniques for Engineered Hardwood Floors
1. Assess the Condition of Your Floors
Prior to sanding, evaluate the current condition of your floors. Look for scratches, stains, and finish wear. If the floor has been previously sanded multiple times, you might be limited to lighter sanding to avoid damaging the core. Ensure you note the type and depth of imperfections you need to address.
2. Choose the Right Grit Sandpaper
The grit of sandpaper you select plays a significant role in the sanding process. Here’s a quick guide:
- Coarse Grit (40-60 grit): Ideal for heavy sanding, removing old finish, and addressing deep scratches.
- Medium Grit (80-120 grit): Good for smoothing out the surface after the initial sanding.
- Fine Grit (150-220 grit): Perfect for prepping the surface for a new finish.
3. Start with a Coarse Grit
Begin the sanding process with coarse grit sandpaper. Move the sander slowly and steadily across the surface, overlapping each pass by about half to ensure an even finish. Remember to keep the sander flat and avoid applying too much pressure to prevent gouging the floor. For detailed tool recommendations, visit Toolstation.
4. Vacuum and Clean Between Grits
After using the coarse grit, vacuum thoroughly to remove all the dust and debris. This step is crucial, as leftover dust can affect the finish later on.
5. Move to Medium Grit
Once the surface is clear of all dirt and dust, switch to medium grit sandpaper. Again, move in the direction of the grain, ensuring that you maintain even pressure throughout the process. This step will smooth out any uneven areas left by the coarse grit.
6. Finish with Fine Grit
The final sanding should be done with fine grit paper. This step is essential for creating a smooth surface that will allow the finish to adhere properly. Take your time with this stage to avoid creating new scratches.
7. Clean Thoroughly Again
After completing the fine grit sanding, vacuum the room again. A clean surface is vital for the next steps of finishing and sealing.
Tips for a Successful Sanding Project
- Work in Sections: Divide your space into manageable sections. This helps ensure thorough sanding and prevents missing spots.
- Monitor Your Progress: Regularly check your work to ensure that you’re achieving the desired level of smoothness.
- Be Patient: Rushing the sanding process can lead to poor results. Take your time.
- Test a Small Area: Always test your sanding technique and product choices on a small, inconspicuous area to gauge the result before proceeding.
Common Mistakes to Avoid
- Using Too Coarse Grit Too Soon: Starting with the wrong grit can damage the engineered wood surface.
- Neglecting to Clean Between Grits: Dust can cause scratches in subsequent sanding stages.
- Over-sanding: This can remove the top veneer layer, affecting the integrity of the flooring.
Conclusion
Sanding engineered hardwood floors requires careful planning and execution. By following the best sanding techniques outlined in this article, you can achieve stunning results that will prolong the life of your floors and enhance your home or business environment in Kent and beyond. For a professional touch, consider reaching out to the Nationwide Hardwood Flooring Company at tel 07940 528 315 or email enquiries@nhfcompany.co.uk. Our experts are here to assist with all your hardwood flooring needs!


