
Step-by-step guide to sanding engineered wooden floors - 7 Tips
Step-by-Step Guide to Sanding Engineered Wooden Floors
Sanding engineered wooden floors can breathe new life into your flooring and enhance the beauty and longevity of your investment. This step-by-step guide to sanding engineered wooden floors is designed to help you achieve professional results while saving you time and money. Based in Kent, we serve areas including London, Surrey, Essex, and Sussex, ensuring that whether you need assistance or advice, we’re here to help!
Understanding Engineered Wooden Floors
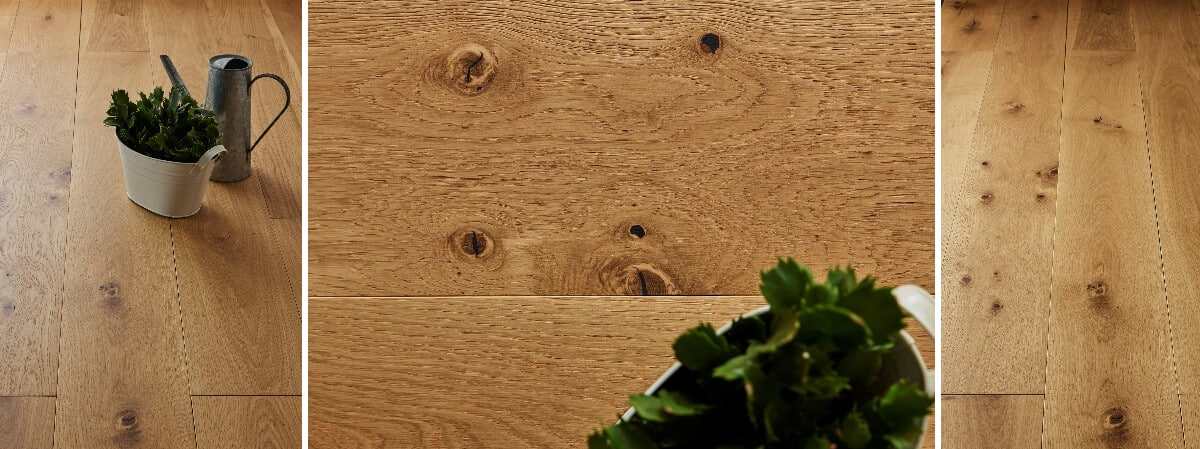
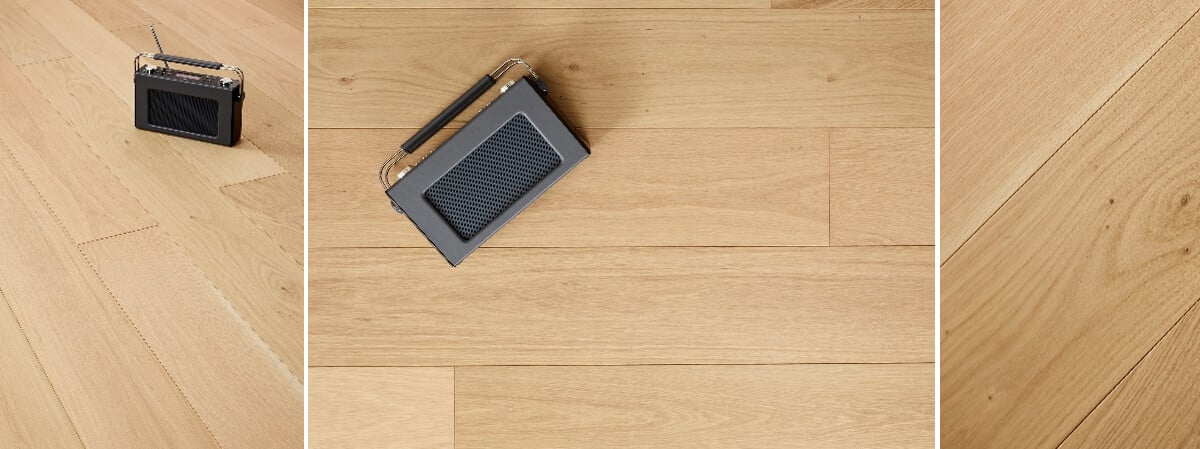
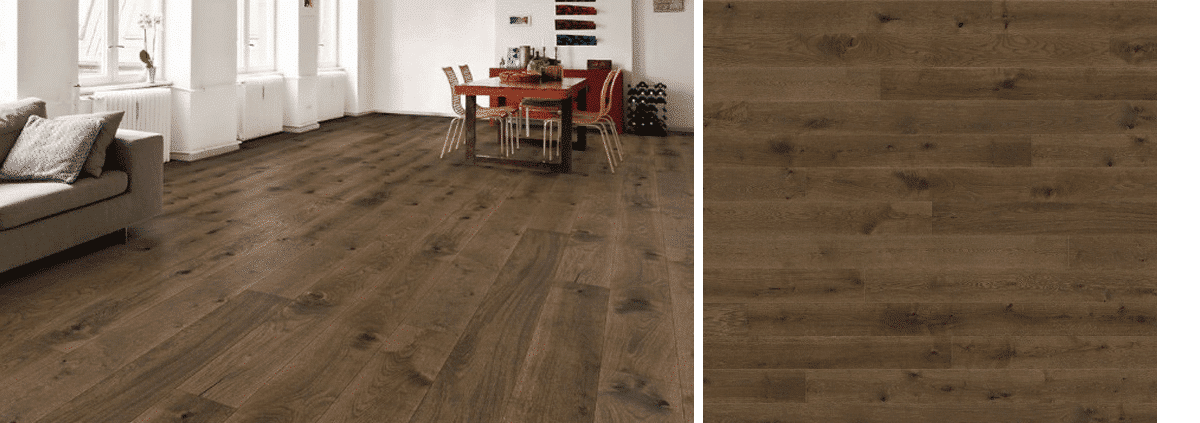
Engineered wooden flooring consists of multiple layers, with a top layer made of solid wood (oak, walnut, etc.) and underlying layers made from high-density fiberboard or plywood. This construction offers good stability and resistance to moisture, making it suitable for various applications, including commercial settings. To explore our range of premium products, check out our Haro engineered flooring or learn more about different wood species on Wood for Good.
Why Sanding is Important
Over time, foot traffic and daily wear can cause your engineered floors to lose their sheen and beauty. Sanding helps remove scratches, dings, and stains to restore the original finish of your flooring. Here’s a detailed look at our step-by-step guide to sanding engineered wooden floors.
Tools and Materials Needed
- Sanding machine: You may want a drum sander or an orbital sander for best results.
- Sandpaper: Different grits ranging from coarse (40-60) to fine (120-220).
- Vacuum cleaner: To remove dust after sanding.
- Finish: Sealant or varnish suitable for engineered wood.
- Safety equipment: Dust mask, goggles, and ear protection.
Step 1: Preparation
Before beginning the sanding process, it’s essential to prepare the workspace properly:
- Clear the area: Remove furniture and any obstacles from the room.
- Inspect the floor: Look for any loose boards or nails that need to be fixed.
- Clean the surface: Sweep or vacuum the floor to remove dust and debris.
Step 2: Choose Your Sanding Method
Based on the condition of your engineered wood floor, decide whether you want to use a drum sander or an orbital sander. Drum sanders are efficient for large areas but can remove more wood, while orbital sanders are safer for delicate edges. For optimal installation techniques, visit our page on wooden floor installation or view additional guidance on DIY.com.
Step 3: Begin Sanding
Start with a coarse grit sandpaper (40-60) to remove the old finish and any imperfections:
- Run the sander along the grain: This prevents damage to the surface of the wood.
- Overlap your passes: This ensures even sanding across the floor.
- Switch grits: After the initial sanding, switch to a medium (80) and then fine (120-220) grit to smooth the surface.
Step 4: Vacuum and Clean the Area
After sanding each section, vacuum up dust thoroughly before moving on. A clean work environment not only improves visibility but reduces the risk of dust mixing with the new finish.
Step 5: Apply Finish
Once sanding is complete, it’s time to apply a new finish:
- Choose the right finish: Polyurethane and oil-based options are common; select according to your preference.
- Application: Use a roller or brush to apply the finish, being careful to maintain an even coat.
- Drying time: Allow the finish to dry according to manufacturer instructions before walking on the floor.
Step 6: Final Touches
Once the final coat of finish has dried, inspect your work for consistency. You might want to lightly sand with fine sandpaper after the first coat of finish has dried, followed by applying another coat for added durability.
Local Expertise in Sanding Engineered Wooden Floors
In Kent, and surrounding areas such as London, Surrey, Essex, and Sussex, we at Nationwide Hardwood Flooring Company offer professional sanding services to ensure the best possible result. With years of experience, our skilled technicians can handle all your flooring needs. For further information on sustainable practices in flooring, visit the FSC UK.
Benefits of Choosing Our Flooring Services
Opting for professional services over DIY has many advantages:
- Quality results: Ensure an even, long-lasting finish.
- Time-saving: Let experts handle the heavy lifting.
- Expert advice: Our team can recommend the best products and techniques for your specific needs, including our premium Blenheim multi-ply flooring.
Conclusion
Now that you have our step-by-step guide to sanding engineered wooden floors, you are better equipped to restore the beauty of your floors. Whether you choose to tackle the job yourself or hire professionals, understanding the process will help you make informed decisions. For expert services in Kent and surrounding areas, contact us at Nationwide Hardwood Flooring Company at 07940 528 315 or email enquiries@nhfcompany.co.uk today!


