
Preparing for Sanding Engineered Hardwood Floors: Essential Guide
Preparing for Sanding Engineered Hardwood Floors
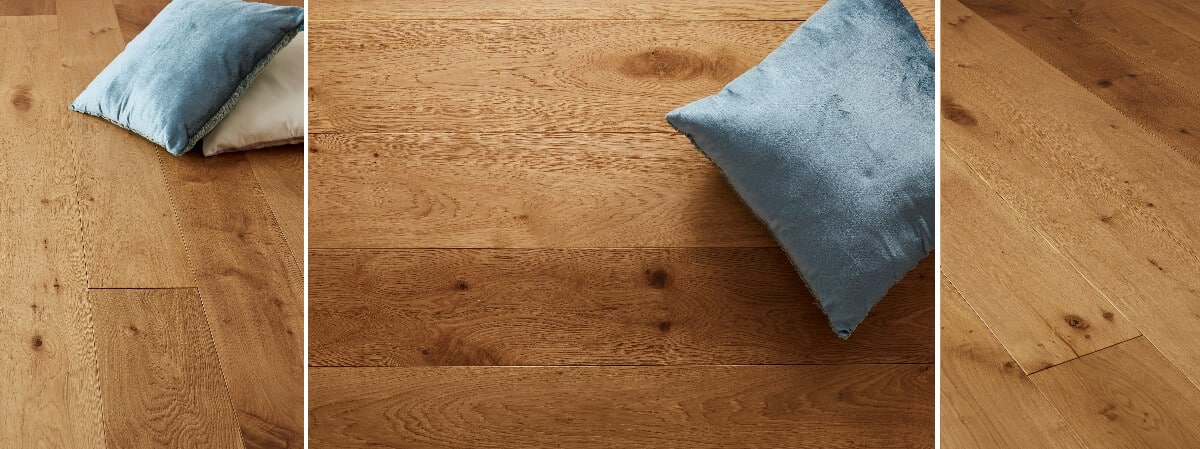
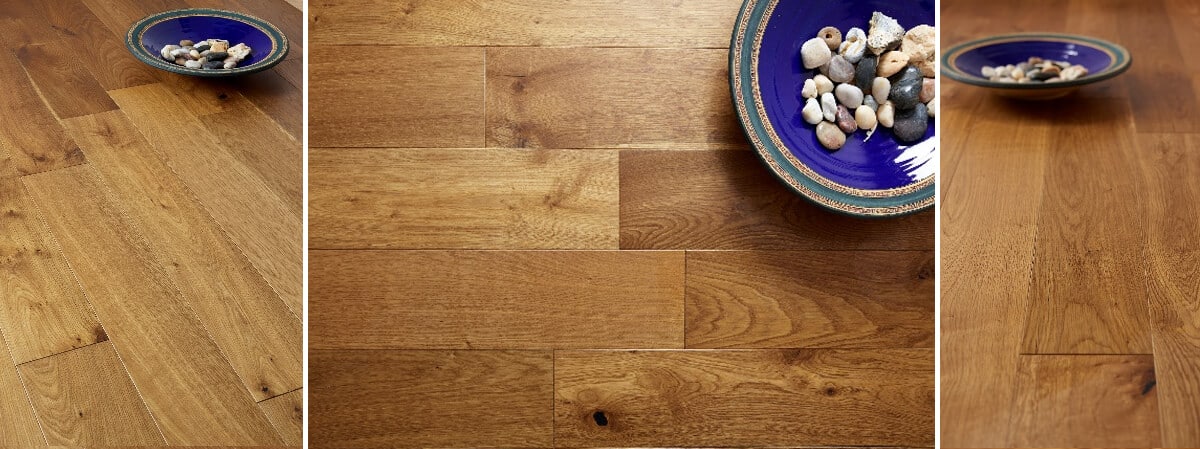
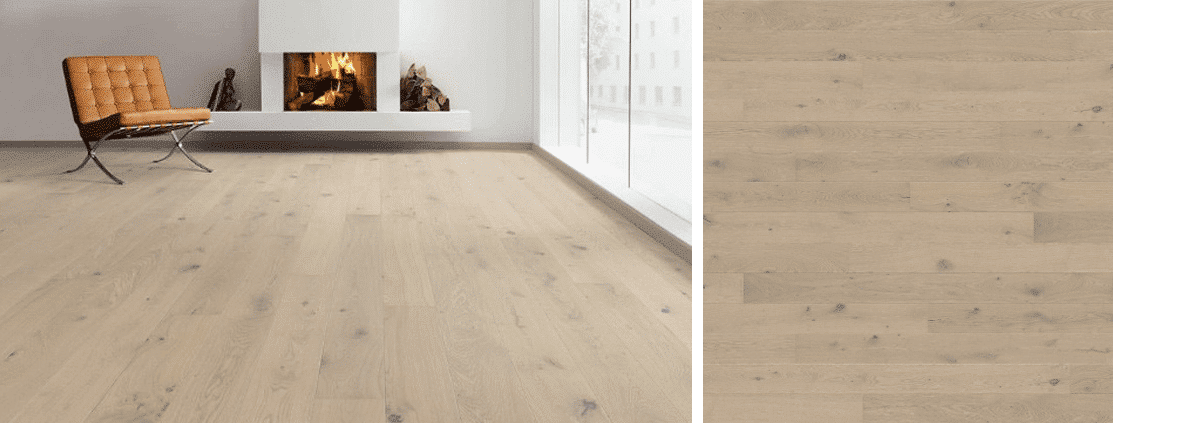
Sanding engineered hardwood floors can be a transformative process, breathing new life into your home or business premises. Whether you’re scheduling a complete floor restoration or just looking to refresh the existing finish, proper preparation is crucial to achieving great results.
Why Prepare Your Engineered Hardwood Floors?
Preparation is key when it comes to sanding your floors. Not only does it ensure a smooth and even finish, but it also helps to avoid damage that could occur if the necessary precautions are not taken. Engineered hardwood floors are designed with multiple layers for durability, but they still require careful handling. By preparing adequately, you’re setting yourself up for success.
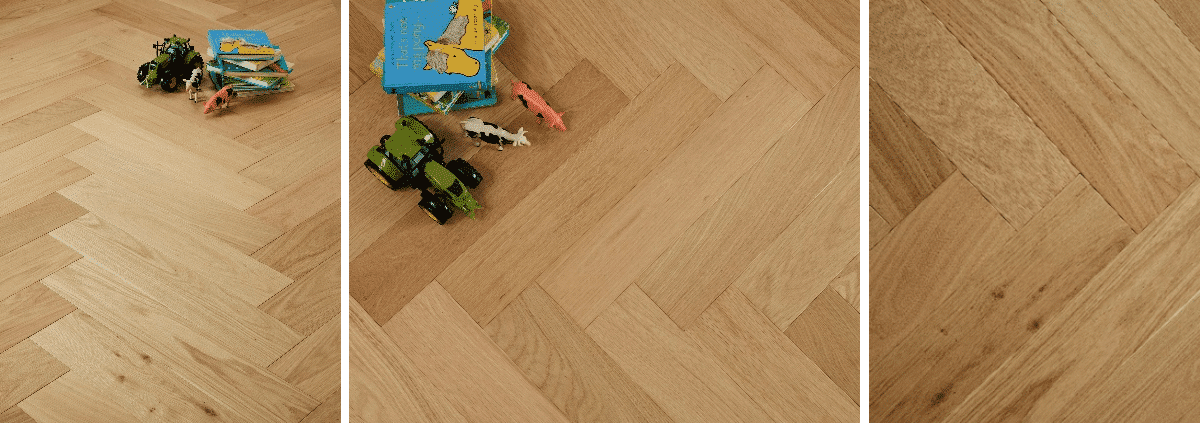
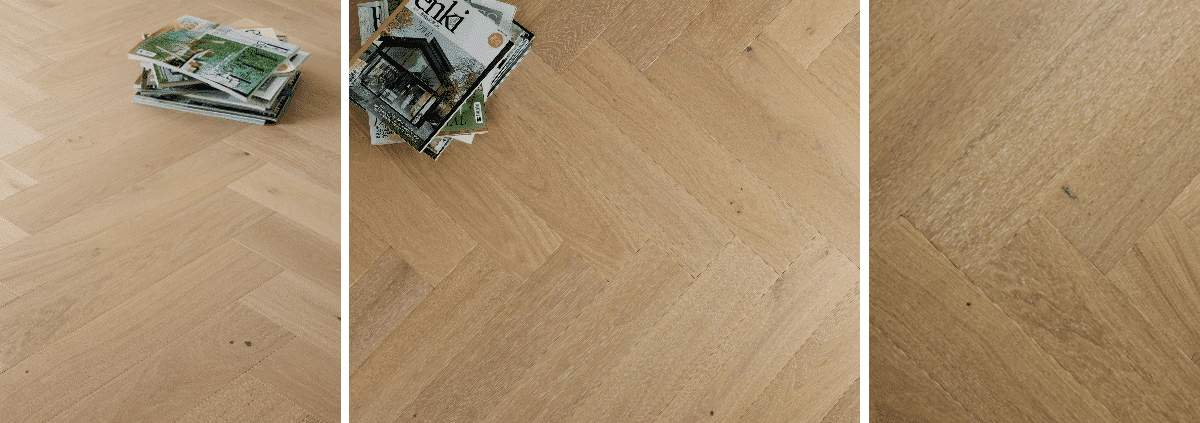
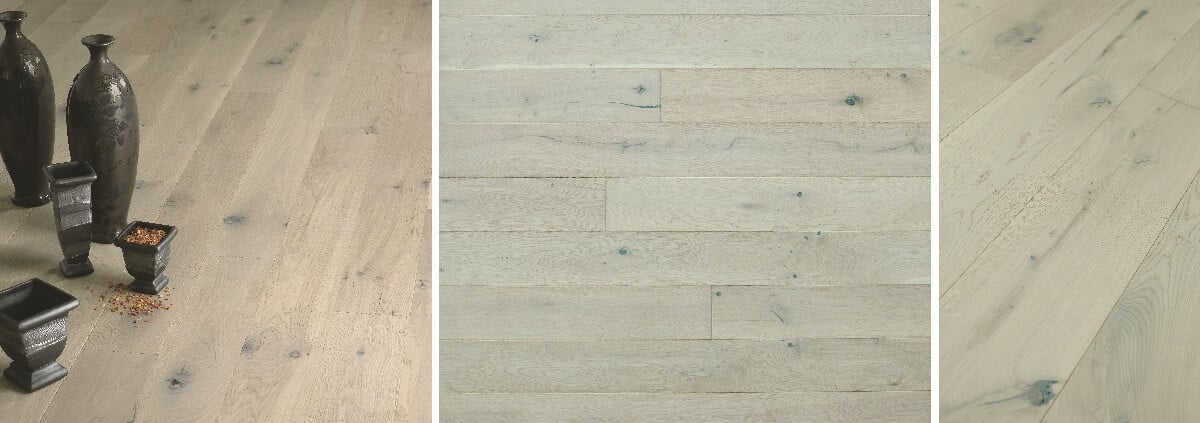
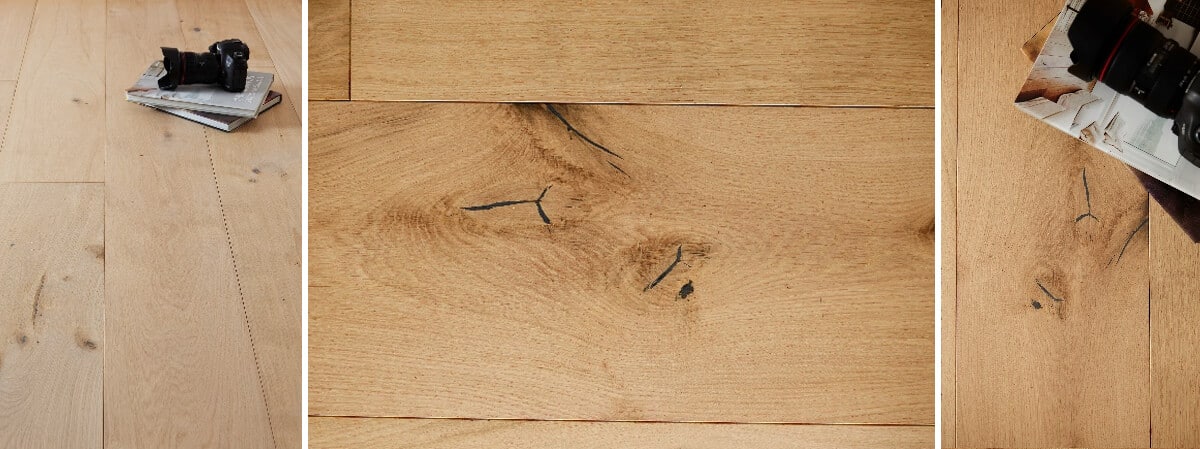
Assessing Your Floor Condition
Before you begin any sanding process, take the time to evaluate the condition of your engineered hardwood floors. Look for:
- Scratches: Minor scratches can be smoothed out during sanding, but deep gouges may require professional attention.
- Warping: Check for any signs of warping or buckling that may need to be addressed prior to sanding.
- Previous Finishes: Identify what type of finish is currently on the floor, as this will inform your sanding approach.
Gathering the Right Tools
Having the right equipment is essential for preparing for sanding engineered hardwood floors. Make sure you gather the following tools:
- Sanding Machine: A floor sander, either drum or orbiter, is necessary for the job.
- Sanding Discs/Paper: Start with coarse-grit paper to remove old finishes, progressing to finer grits for smoothness.
- Vacuum Cleaner: To remove dust and debris from the surface before sanding.
- Safety Gear: Dust masks, goggles, and knee pads will protect you during the process.
Cleaning Your Floors
Once you’ve assessed your floors and gathered your tools, it’s time to prepare the surface. Here’s how to clean your engineered hardwood:
- Remove Furniture: Clear the area by moving furniture out of the way.
- Sweep and Vacuum: Thoroughly sweep and vacuum to eliminate dirt, dust, and debris. This step is crucial; any remnants can cause scratches during the sanding process.
- Wash the Floors: Use a damp mop with a mild cleaner that is safe for hardwood to wash the floor surface. Allow it to dry completely before proceeding.
Preparation Steps Before Sanding
After the floor has been appropriately cleaned, consider the following preparation steps:
- Inspect the Floorboards: Look for loose boards or nails that may pop up during sanding—nails should be tapped in and any loose boards secured.
- Check Humidity Levels: Ensure that the humidity in the room is at a stable level between 35-55% to prevent expansion or contraction of your floors. For more information on maintaining optimal humidity levels, visit Building Research Establishment.
- Frame the Area: Tape off any areas where you don’t want dust accumulation, including doorways and vents.
Understanding the Sanding Process
With your floors prepped, you can start the sanding process. Here’s what to expect:
- Start with Coarse Grit: Begin with a coarse grit (like 36) to remove the old finish and level the surface.
- Use a Cross Sanding Technique: Sand in the direction of the wood grain for a finer finish.
- Finer Grits: Gradually switch to finer grits (like 60 and 100) until the desired smoothness is achieved.
- Final Dusting: After sanding, vacuum and wipe down the entire area thoroughly to prepare for finishing.
Post-Sanding Care
After sanding, take the time to ensure the floors are ready for their new finish:
- Inspect for Imperfections: Look for any remaining scratches or blemishes and sand those areas again if necessary.
- Consider Boards That Need Replacing: If any boards are beyond restoration, now is the time to replace them.
- Choose the Right Finish: Decide on the type of finish you want (oil-based, water-based, etc.) and be prepared to apply it carefully. For additional insights into different finishing options, check out Fiddes.
Conclusion
Preparing for sanding engineered hardwood floors is a critical step in ensuring a successful outcome. A well-prepared floor not only enhances the aesthetics of your space but also prolongs the life of your flooring. If you’re in Kent or the surrounding UK areas and need assistance, don’t hesitate to contact the Nationwide Hardwood Flooring Company at 07940 528 315 or email us at enquiries@nhfcompany.co.uk.
With our expert services in floor sanding, restoration, and installation, we can help you achieve the beautiful, durable floor you desire.


