
Herringbone Flooring Installation Process: Expert Guide
Understanding the Herringbone Flooring Installation Process
Welcome to the comprehensive guide on the herringbone flooring installation process. As a premier provider of wooden floors across the UK, including Kent, London, Surrey, Essex, and Sussex, we at the Nationwide Hardwood Flooring Company are dedicated to ensuring your flooring experience is nothing short of excellent.
What is Herringbone Flooring?
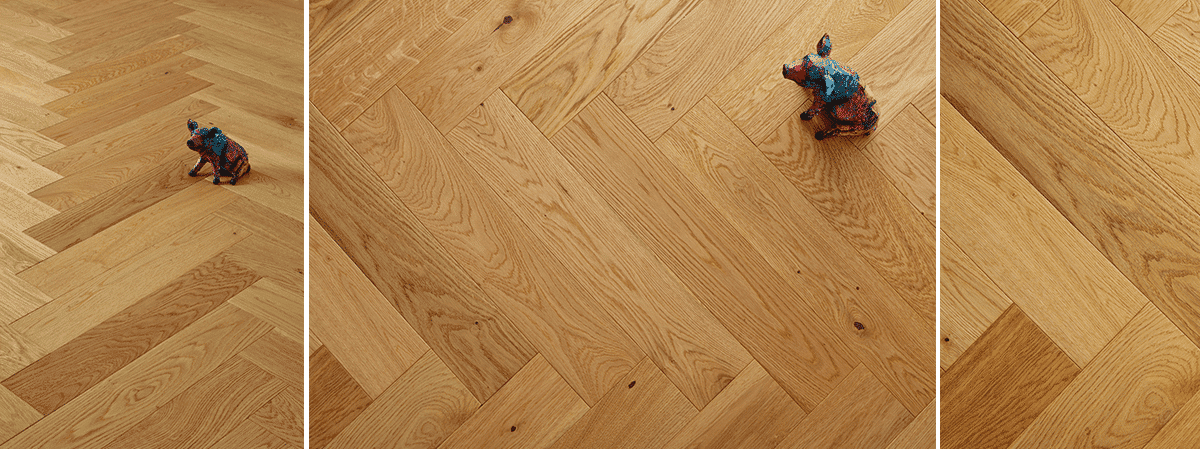
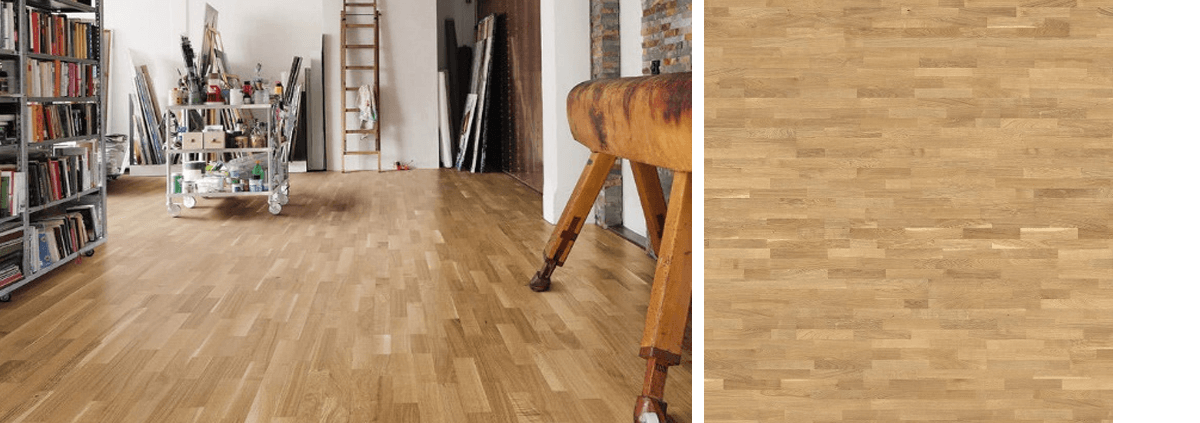
Herringbone flooring is a distinctive pattern formed by arranging rectangular wooden planks in a zigzag arrangement. This design not only adds visual intrigue but also creates a classical and elegant atmosphere in any room. Available in various materials, including solid wood and engineered options, herringbone flooring is celebrated for its durability and style. For more information on flooring types, you can visit Wood Floors.
The Benefits of Herringbone Flooring
- Timeless Appeal: The herringbone pattern has been a favorite for centuries, making it a timeless choice for both traditional and modern interiors.
- Versatile Design: It works well in different spaces, including living rooms, bedrooms, and even commercial environments.
- Enhanced Value: Quality herringbone flooring can significantly add to the aesthetic and financial value of your property.
Choosing the Right Materials
The first step in the herringbone flooring installation process is selecting the appropriate materials. Here are the primary options:
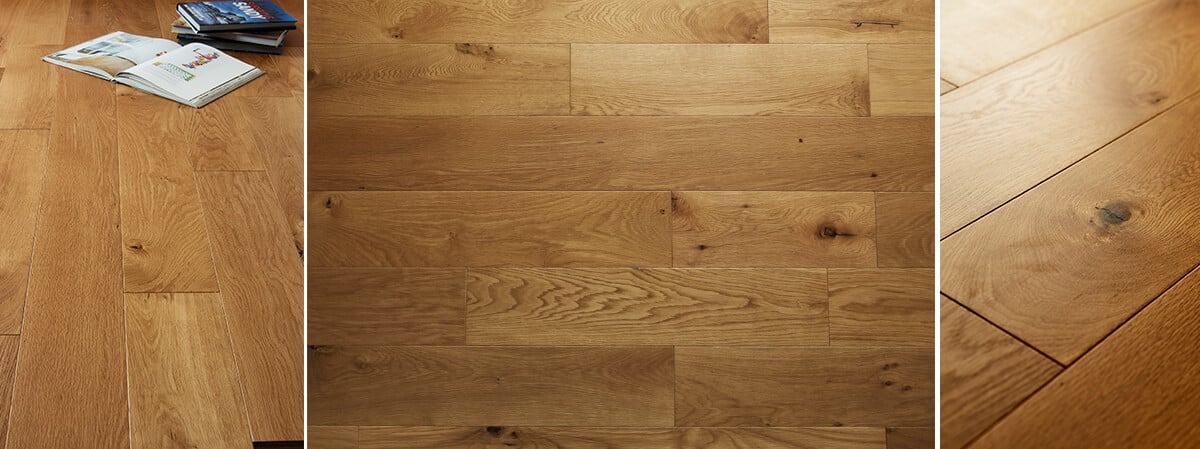
- Engineered Wood: Great for fluctuating environments, engineered wood is consistent and comes in a variety of finishes, such as Balmoral engineered flooring.
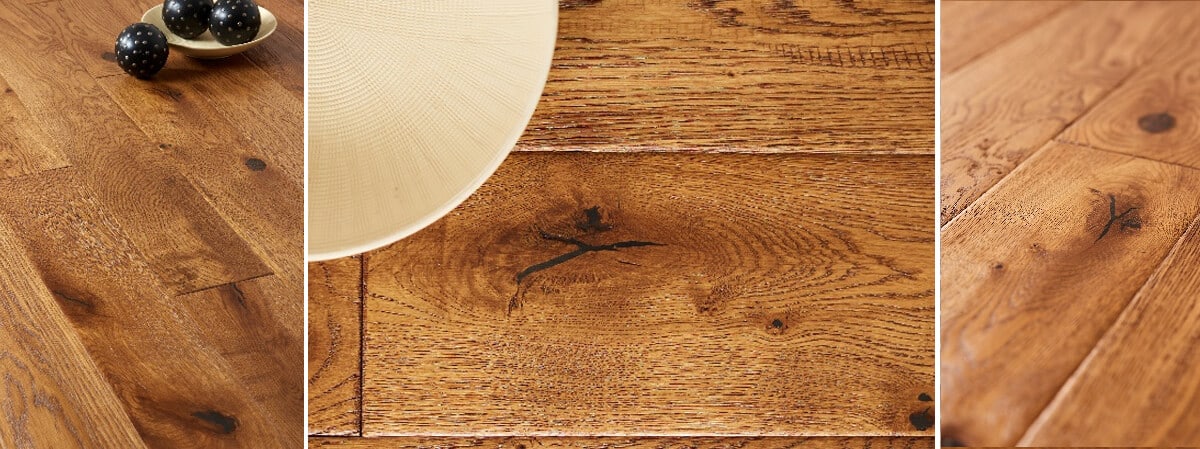
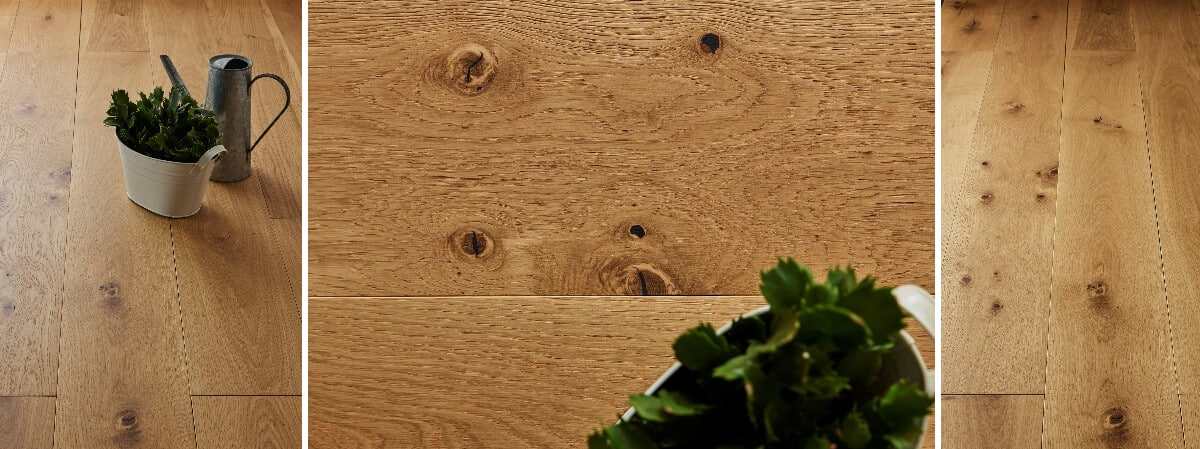
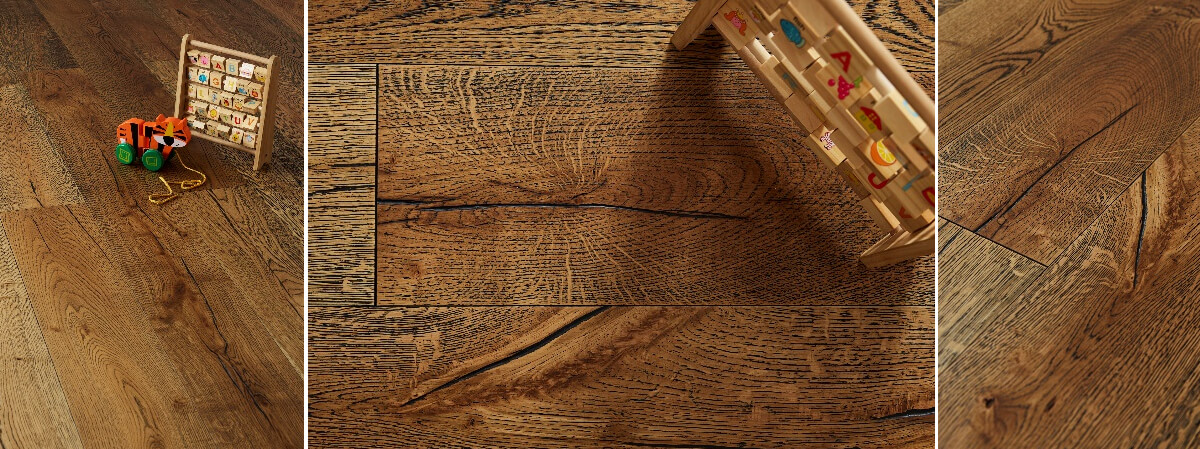
- Solid Wood: Offers authenticity and can be sanded down to refresh its look multiple times.
- Herringbone Tiles: An option for those looking to have tile flooring with a similar pattern.
The Herringbone Flooring Installation Process: Step-by-Step Guide
Let’s delve into the detailed steps involved in the installation process:
Step 1: Preparation
Before any installation begins, preparation is key. This includes:
- Ensuring the subfloor is clean, dry, and level.
- Acclimating the wood planks in your space for at least 48 hours.
- Gathering necessary tools, including a saw, level, measuring tape, and flooring adhesive.
Step 2: Planning the Layout
Mapping out where your herringbone pattern will go is crucial to achieving a professional look. Start from the center of the room and work your way outwards, ensuring equal coverage on all sides.
Step 3: Starting the Installation
Begin in the center and work out. Adhere each plank to the floor using high-quality adhesive. Make sure every plank is aligned precisely to maintain the herringbone effect.
Step 4: Cutting the Planks
For the edges and corners, you will need precise cuts. A miter saw is ideal for this task, ensuring strong, clean cuts that fit perfectly into your layout.
Step 5: Installing the Planks
Continue laying down the planks in the herringbone pattern. It’s essential to apply even pressure so that each piece adheres firmly to the subfloor.
Step 6: Finishing Touches
Once the planks are all in place, let them sit undisturbed for the recommended curing time. Then, install any necessary trims or thresholds for a complete finish.
Post-Installation Care for Herringbone Flooring
After the installation, adequate care is vital to ensure the longevity of your herringbone flooring:
- Regular Cleaning: Sweep or vacuum regularly to remove dirt and avoid scratching.
- Appropriate Cleaning Products: Use pH-neutral cleaners specifically designed for wooden floors.
- Humidity Control: Maintain indoor humidity between 30% and 50% to protect your flooring from warping. For more in-depth guidance on floor care, refer to Bona’s Flooring Care.
Why Choose Nationwide Hardwood Flooring Company?
As experts in herringbone flooring installation, we pride ourselves on quality and customer service. Serving London, Kent, and beyond, our team consists of highly skilled professionals dedicated to your satisfaction. We offer a wide range of options, including Eastbury multi-ply flooring, Hardwick multi-ply flooring, and other engineered variations to suit every budget. For insights on quality specifications, consider visiting BSI Group.
Contact Us Today!
If you’re ready to transform your space, reach out to the Nationwide Hardwood Flooring Company. Call us at 07940 528 315 or email us at enquiries@nhfcompany.co.uk to schedule a consultation. Let’s make your flooring dreams a reality!
Explore our website for more information about our services or visit our flooring showrooms for inspiration!
Final Thoughts
The herringbone flooring installation process is an intricate task that requires attention to detail and quality materials. By choosing the right professionals, such as those at the Nationwide Hardwood Flooring Company, you ensure that your herringbone floor not only looks beautiful but also lasts for years to come, just like the designs featured on Ideal Home.


