
How to Install Herringbone Flooring Professionally: 7 Steps
How to Install Herringbone Flooring Professionally
If you’re looking to elevate the aesthetic of your home or commercial space, herringbone flooring is a timeless option that adds elegance and sophistication. This guide will walk you through the steps on how to install herringbone flooring professionally, ensuring that your space not only looks fantastic but also stands the test of time.
Understanding Herringbone Flooring
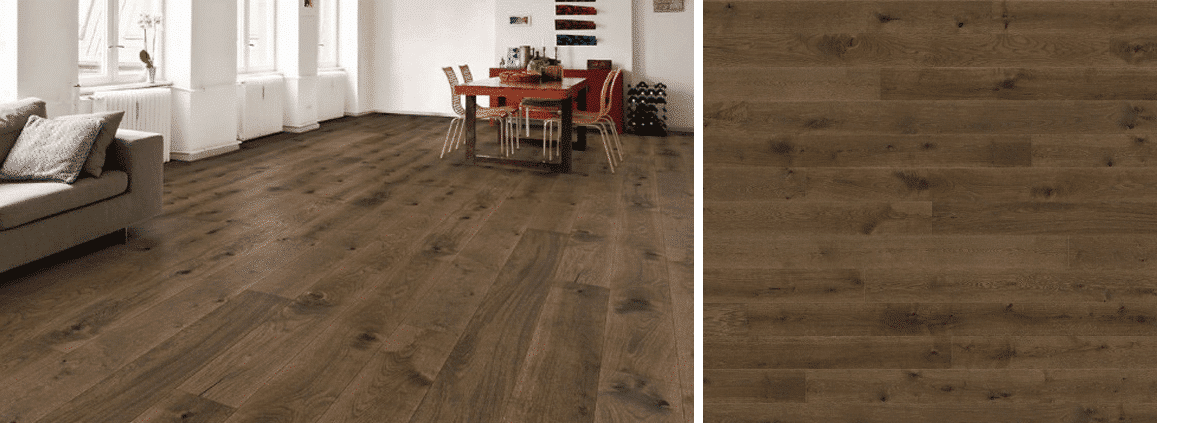
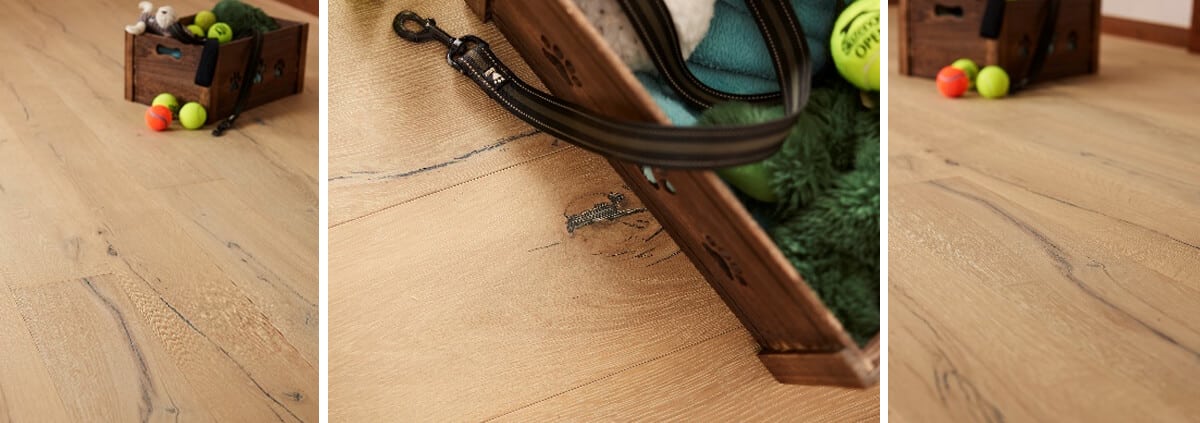
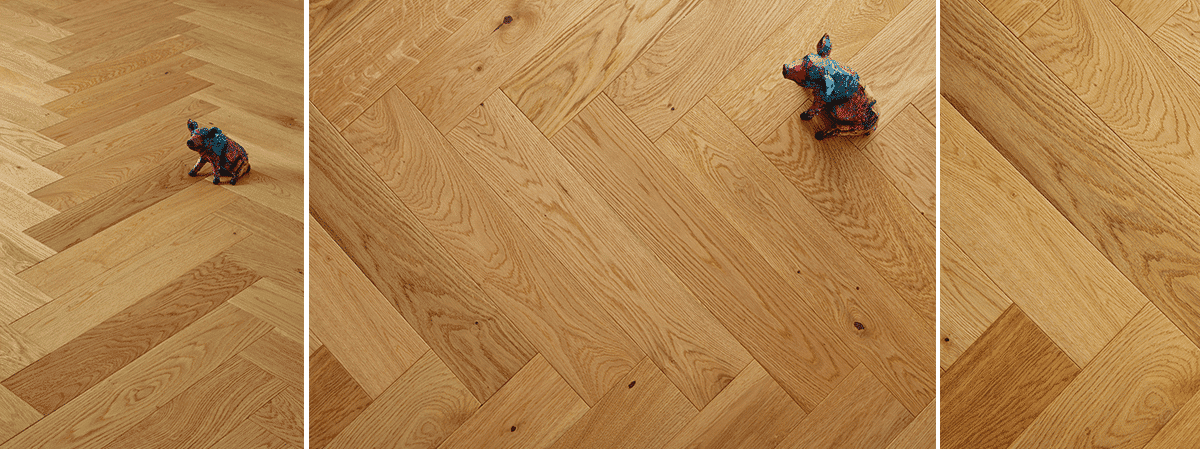
Before diving into the installation process, it’s important to understand what herringbone flooring is. Traditionally made from high-quality wood, herringbone flooring features planks arranged in a distinctive pattern that forms a “V” shape. This unique design can be achieved with both solid wood and engineered wood types, making it versatile for various settings. For more about the benefits of wood as a flooring material, check out Wood for Good’s resource on oak.
Why Choose Herringbone Flooring?
- Aesthetic Appeal: The herringbone design adds a touch of elegance and sophistication to any room.
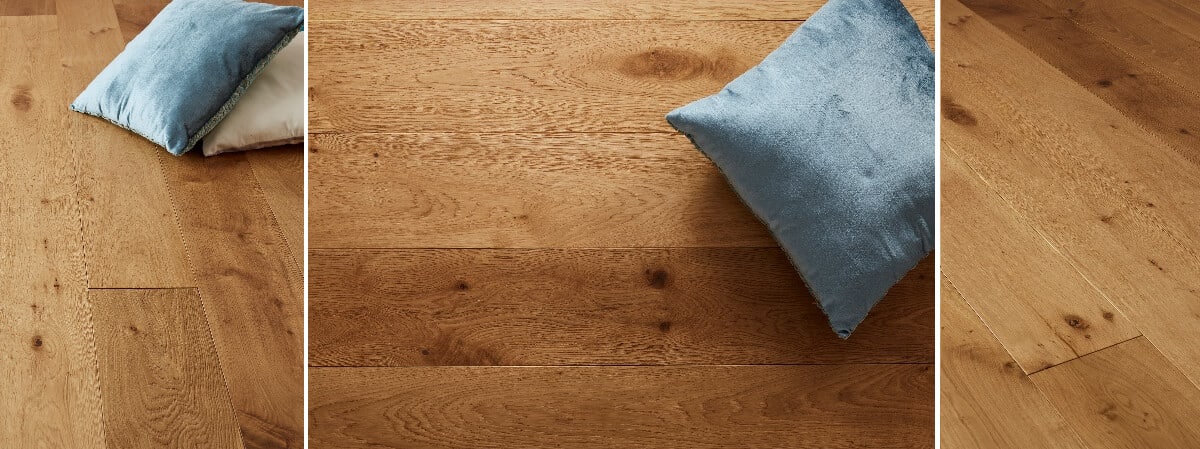
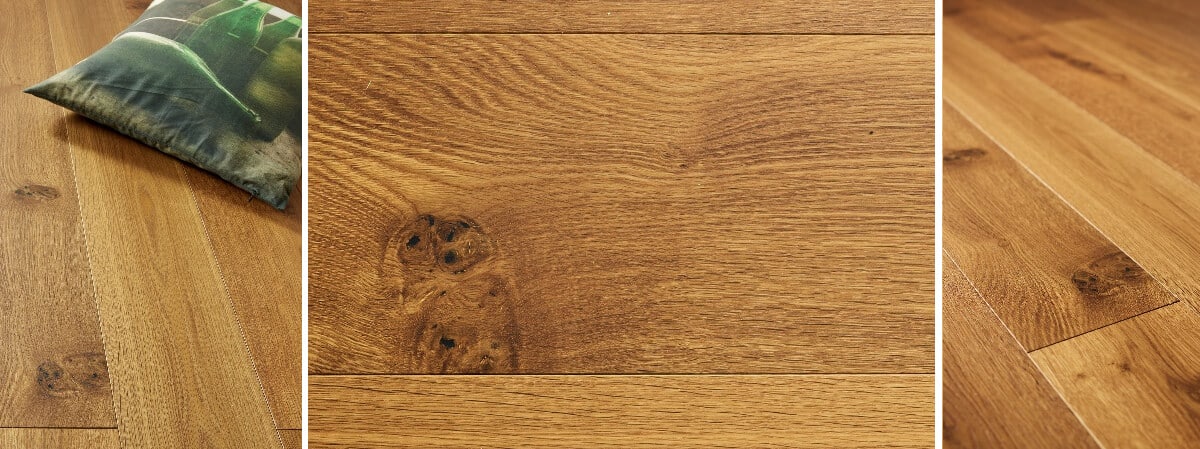
- Variety: Available in different finishes and materials like oak, hickory, and walnut, there’s a style for everyone. Explore our multi-ply options to find the perfect fit.
- Durability: Well-installed herringbone flooring offers longevity when properly maintained.
Materials Needed for Installation
To achieve the perfect herringbone flooring installation, gather the following materials:
- Herringbone flooring planks (engineered or solid wood)
- Wood glue or adhesive
- Wood floor underlayment
- Measuring tape
- Chalk line
- Utility knife
- Mallet or hammer
- Flooring spacers
- Leveling tool
- Finish nails (if required)
- Vacuum (for cleaning the subfloor)
Preparation: The Key Step
Preparation is vital for a successful installation. Consider the following:
- Subfloor Evaluation: Ensure that your subfloor is clean, dry, and level. Any imperfections can lead to issues in your final floor. For detailed guidance on subfloor preparation, visit LABC’s official site.
- Acclimating the Flooring: Allow your herringbone planks to acclimate to the room’s temperature and humidity for at least 48 hours. This will help prevent warping or buckling.
- Gather Tools: Assemble all tools needed, ensuring everything is at hand before you start.
Step-by-Step Installation Process
Now that you’re prepared, follow these steps on how to install herringbone flooring professionally:
Step 1: Measure the Space
Use a measuring tape to determine the size of the room. Multiply the length by the width to calculate the total square footage you will need to cover.
Step 2: Create a Chalk Line
After measuring, lay down a chalk line on the subfloor to indicate where the first row will go. This will serve as a guide and ensure that your installation remains straight.
Step 3: Lay the First Row
Begin laying the first row of planks along the chalk line. Make sure to leave a small gap (around 10mm) between the planks and the wall for expansion. Use spacers to keep this gap consistent.
Step 4: Fit the Next Planks
Continue placing the herringbone planks in a zigzag pattern. Make sure to apply adhesive to each plank if required. Use a mallet to gently tap the planks into place if you encounter resistance.
Step 5: Re-check Alignments
As you work, periodically check to ensure the pattern remains aligned with the chalk lines. This is crucial for a professional finish.
Step 6: Final Assembly
After you have fitted all your planks, go through and nail down any rows if necessary. Again, seal any gaps to ensure a smooth finish.
Step 7: Clean and Finish
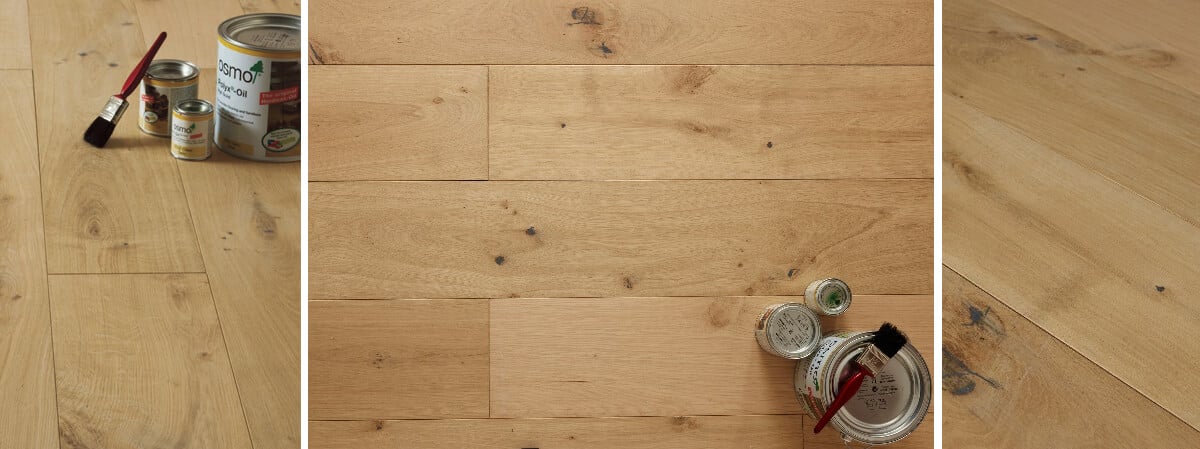
Once installed, clean up the area and remove any debris or excess adhesive. If needed, you can apply a finish to protect your floor and enhance its appearance, like our Blenheim Black Walnut options.
Maintenance Tips for Herringbone Flooring
To keep your herringbone flooring looking its best, consider these maintenance tips:
- Regularly sweep or vacuum to remove dust and debris.
- Mop with a damp cloth and a wood-specific cleaner.
- Avoid excessive water, as pooling can warp the wood.
- Consider re-sanding and refinishing every few years to maintain the shine and grain.
Conclusion
Installing herringbone flooring can be a rewarding DIY project that dramatically enhances your space. By following this comprehensive guide on how to install herringbone flooring professionally, you’re equipped with the knowledge to do it right. Remember, the quality of your installation can greatly affect the overall aesthetic and durability of your flooring, so take your time and ensure each step is completed with care.
For expert assistance in installation or to explore a fantastic range of herringbone and other hardwood flooring options, contact the Nationwide Hardwood Flooring Company at 07940 528 315 or email enquiries@nhfcompany.co.uk.


