
DIY Herringbone Flooring Installation Steps: 6 Tips
DIY Herringbone Flooring Installation Steps UK
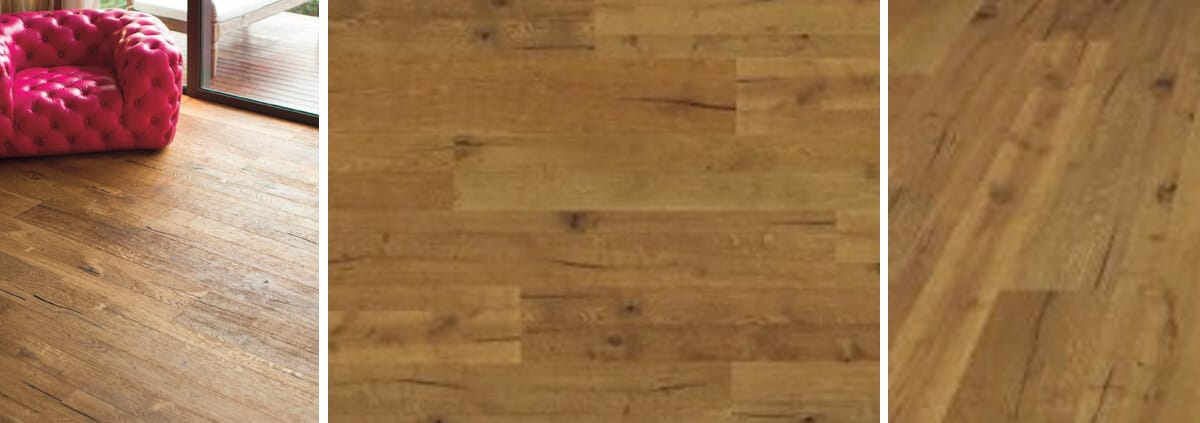
When it comes to home improvement, few flooring options are as stylish and timeless as herringbone flooring. This classic pattern adds a sophisticated touch to any room, making it a popular choice among homeowners across the UK. In this guide, we’ll walk you through the essential DIY herringbone flooring installation steps UK to help you achieve that gorgeous flooring look you’ve always wanted.
Why Choose Herringbone Flooring?
Herringbone flooring is not just about aesthetics; it offers numerous benefits:
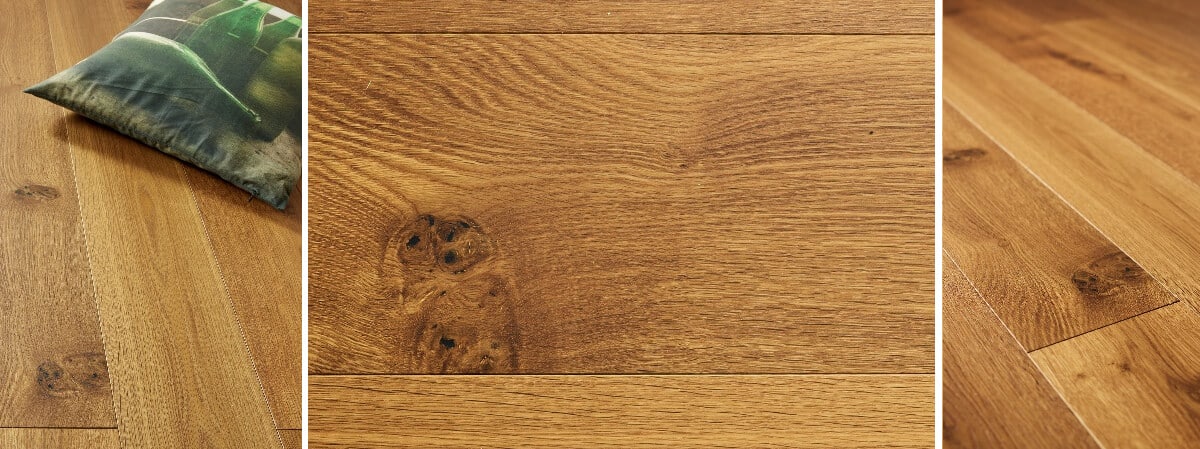
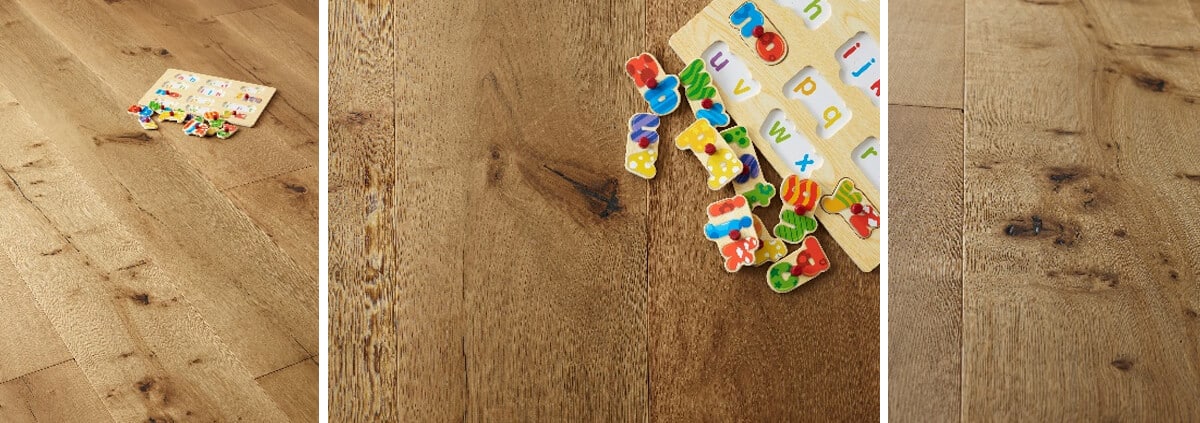
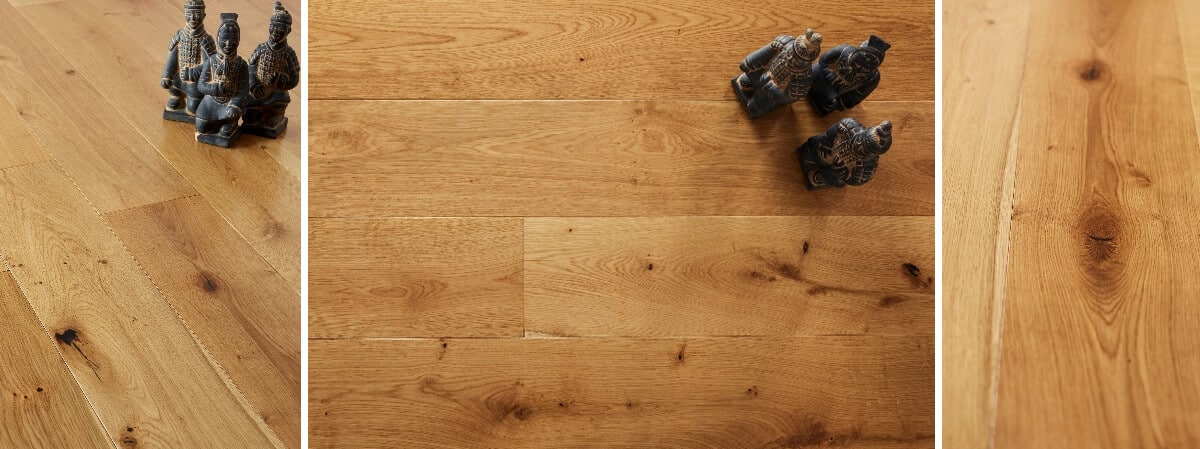
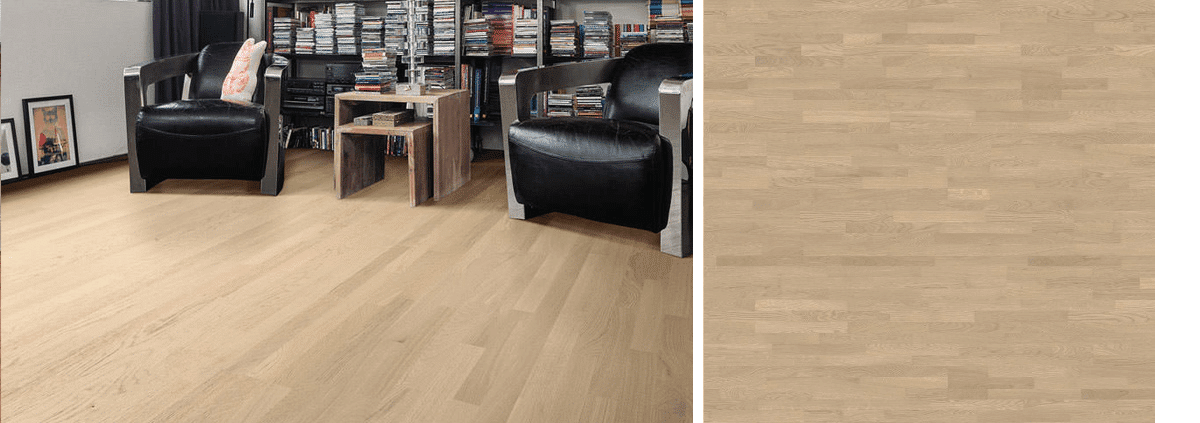
- Versatility: It can complement various interior styles, from modern to traditional.
- Durability: Herringbone floors, especially those made from quality hardwood, are built to last.
- Increased Property Value: A well-installed herringbone floor can enhance the market value of your home (source).
Gathering Your Tools and Materials
Before starting your DIY herringbone flooring installation steps UK, ensure you have all necessary tools and materials:
- Herringbone flooring planks (engineered hardwood or solid wood)
- Underlayment (if needed)
- Measuring tape
- Square
- Chalk line
- Utility knife or saw
- Wood glue or flooring adhesive
- Rubber mallet
- Flooring spacers
- Finishing tools (if required)
Step 1: Prepare the Subfloor
Begin with a clean and dry subfloor. It’s essential to remove any debris, old flooring, or nails that might disrupt your installation. If you’re installing over concrete, make sure it’s level and properly cured (source).
Tip: Use a moisture meter to ensure the subfloor is dry enough (below 12% moisture content) before beginning installation.
Step 2: Acclimate Your Herringbone Flooring
Allow your herringbone flooring planks to acclimate in the room where they will be installed for at least 48 hours. This process helps prevent buckling or gaps after installation.
Step 3: Mark the Layout
Using a measuring tape, determine the center of the room. Snap a chalk line as a guideline for laying your first row of planks. Herringbone patterns often require laying the planks in a V shape, so be sure to plan your layout beforehand.
Step 4: Start the Installation
Begin laying your first row of herringbone planks at the centerline. Apply wood glue or adhesive to the subfloor and place the first piece down. Use a square to ensure each piece is angled correctly before proceeding.
Continue adding pieces, using a rubber mallet to tap them into place securely. Don’t forget to use flooring spacers to maintain an expansion gap around the edges for optimal performance.
Step 5: Continue the Pattern
As you progress with your installation, make sure each row aligns with the previous one. Follow the herringbone pattern and ensure it’s consistent. Periodically check with your square to avoid any misalignment.
Step 6: Finishing Touches
Once all planks are installed, go around the perimeter and remove any spacers. Fill any gaps with appropriate filler if necessary, and allow the adhesive to cure according to manufacturer instructions. If you’re working with solid wood, consider sanding and applying a finish to enhance the wood’s natural beauty (source).
Maintaining Your Herringbone Floor
Once your herringbone flooring has been installed, proper maintenance is key to keeping it looking beautiful:
- Regular Cleaning: Sweep or vacuum regularly to prevent dirt accumulation.
- Moisture Control: Wipe up spills immediately and maintain optimal humidity levels (30-50%) in your home.
- Refinishing: Over time, consider refinishing the floor to restore its shine and protect the wood.
Local Highlights: Herringbone Flooring in Kent
As you embark on your DIY herringbone flooring installation steps UK, you may want to explore some local hotspots in Kent that showcase stunning examples of hardwood flooring:
- Canterbury Cathedral: Marvel at the stunning architecture and the elegant wooden floors within. For more historical context, visit Historic England.
- Leeds Castle: This historic castle offers beautiful interiors and elegant flooring that inspire many homeowners.
- Dover Castle: While exploring, take note of the flooring designs that enhance the historic ambiance.
By following these comprehensive steps, you’ll achieve a professional-looking herringbone floor that adds elegance and value to your home. Whether you’re in Kent, London, or anywhere across the UK, the timeless appeal of herringbone flooring is sure to impress!
If you prefer professional installation or need high-quality herringbone flooring materials, be sure to contact Nationwide Hardwood Flooring Company at 07940 528 315 or email enquiries@nhfcompany.co.uk. Our experienced team is ready to help you transform your space with stunning hardwood flooring solutions.


