
Advanced Floor Sanding Tips for Solid Wood Flooring
Advanced Floor Sanding Tips for Solid Wood Flooring
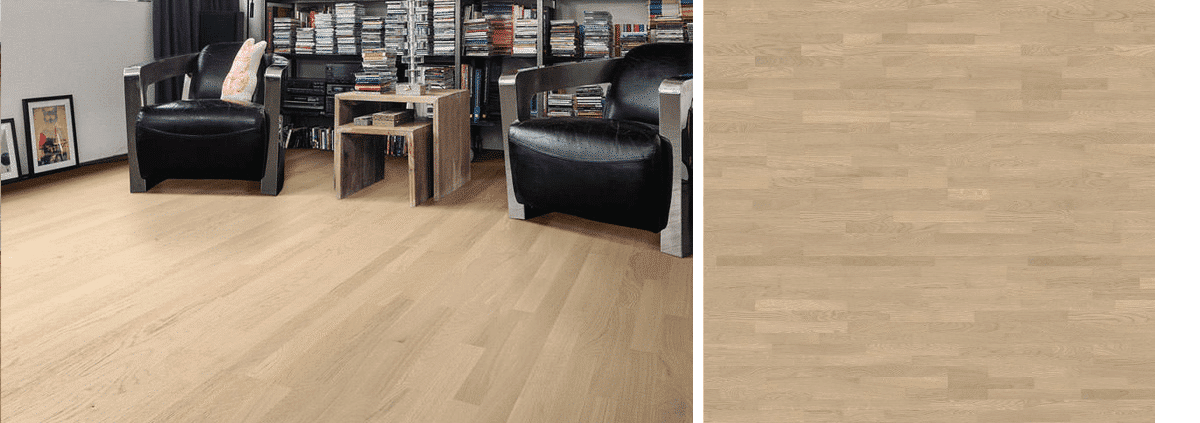
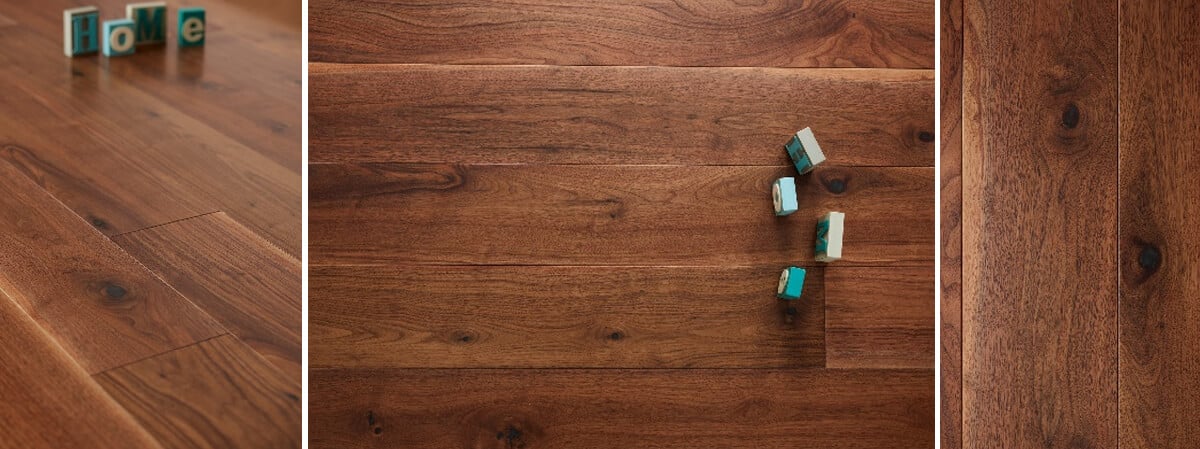
In the world of home improvement, solid wood flooring stands out as a timeless choice that adds warmth and elegance to any space. However, maintaining its beauty requires proper care, especially in floor sanding. Here, we share advanced floor sanding tips for solid wood flooring that you can easily apply to keep your floors looking like new.
Understanding the Importance of Floor Sanding
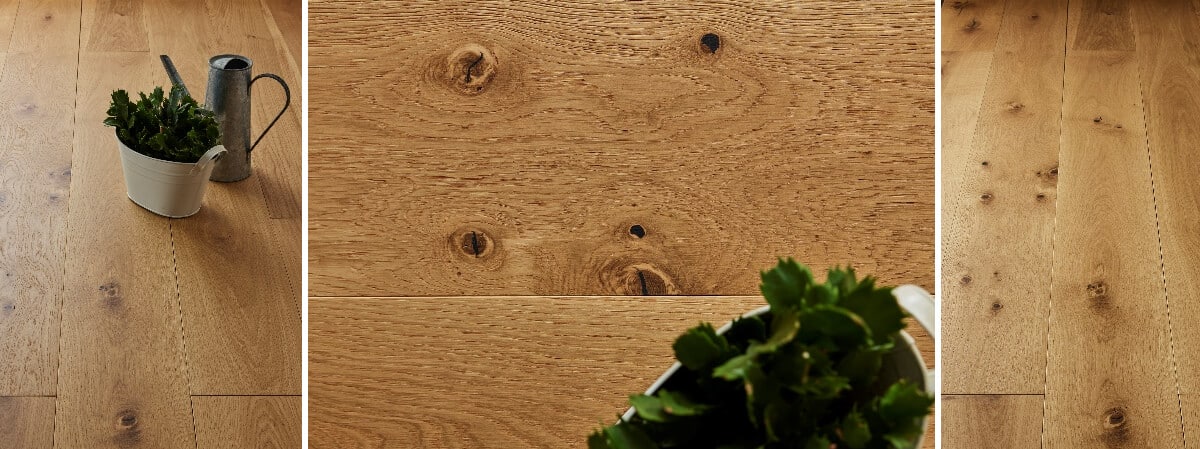
Before diving into the tips, it’s crucial to understand why floor sanding is essential. Over time, even the finest solid wood floors can become scratched, dull, and discolored due to wear and tear. Sanding not only restores the beauty of the wood but also prepares it for refinishing and protecting the surface. Proper sanding removes old finishes, uneven surfaces, and any imperfections, providing a smooth foundation for the new finish. For insight into wood benefits, see Wood for Good – Oak Species.
Begin with a Thorough Inspection
Before you start the sanding process, inspect your floor closely. Look for:
- Scratches and dents: Identify areas that may need more attention.
- Loose boards: Make sure all boards are secure to prevent further damage.
- Old finishes: Check how many layers of finish have been applied, as this affects how much sanding is needed.
Choose the Right Tools
Using the right tools is crucial for achieving the best results when sanding your solid wood floor. Here’s what you’ll need:
- Sanding Machine: A drum sander or a belt sander is typically preferred for larger areas, while an orbital sander works well for edges and corners.
- Sanding Discs and Grains: Start with a coarser grain (e.g., 36 or 40 grit) for initial sanding, then gradually move to finer grits (80, 120) for a smooth finish.
- Vacuum and Dust Masks: Ensure you have a vacuum to clean up the dust and wear a mask to protect yourself from inhaling dust particles.
- Quality Equipment: Check out Bona’s quality sanding equipment for professional results.
DIY vs. Professional Sanding
Deciding between DIY sanding and hiring professionals depends on several factors:
- Experience: If you have prior experience and tools, DIY may be feasible.
- Time: Professional services save you time and might provide higher quality results.
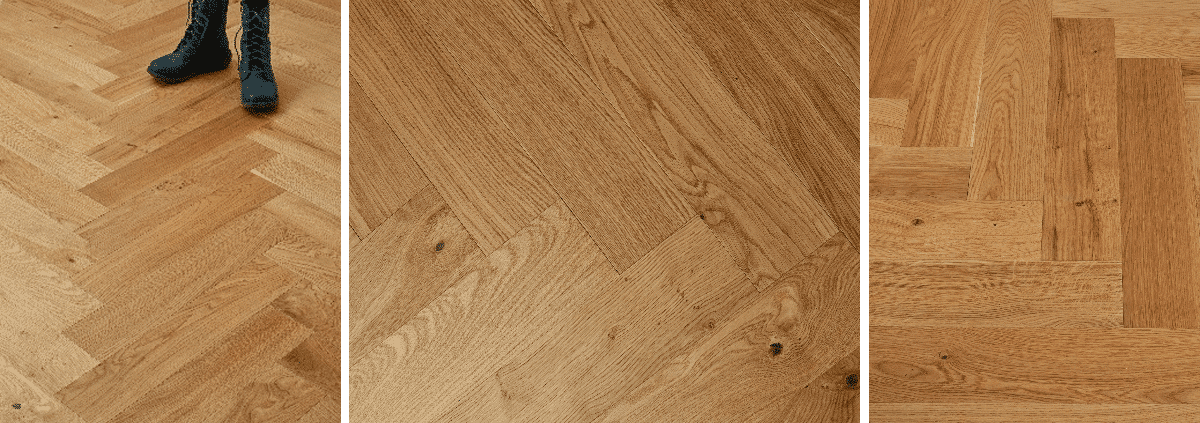
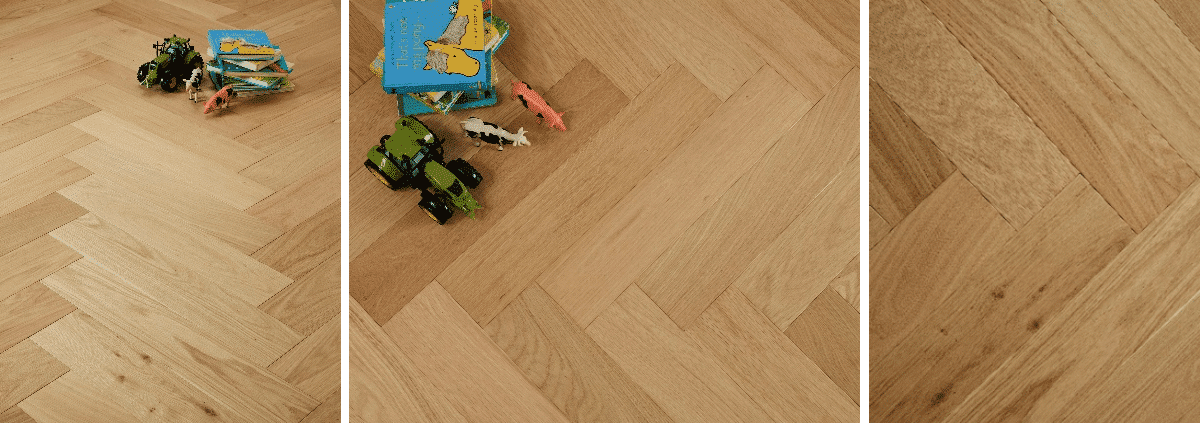
- Complexity: For intricate patterns like herringbone or chevron, professional installers are recommended.
Prepping Your Space
Preparation is key to successful floor sanding. Follow these steps:
- Clear the Area: Move all furniture, rugs, and decor from the room.
- Seal Off Rooms: Use plastic sheets to seal doorways and vents to prevent dust from spreading.
- Check Humidity Levels: Ensure the area is well-ventilated and humidity is controlled to prevent warping.
- Consult Expert Guides: For detailed instructions on how to lay wood flooring, refer to DIY.com.
Technique Matters: Sanding Tips
When you’re ready to start sanding, apply the following techniques for the best outcome:
- Sand with the Grain: Always sand in the direction of the wood grain to avoid scratches and achieve a smoother finish.
- Overlap Passes: When sanding, overlap your passes by 6-8 inches to ensure even sanding.
- Use the Right Pressure: Apply even pressure to avoid creating uneven surfaces. Too much pressure can damage the wood.
Post-Sanding Steps
Once sanding is complete, follow these steps to finish up:
- Clean Thoroughly: Vacuum the entire area to remove all dust before refinishing.
- Repair Any Damage: Fill any noticeable gaps or marks using wood filler before applying a finish.
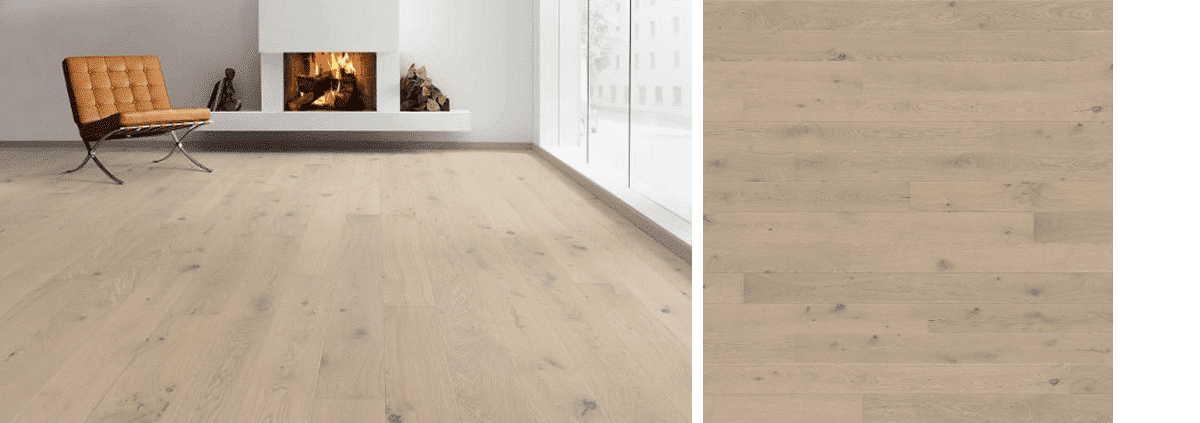
- Apply Finish: Choose a high-quality finish that suits your style, whether satin, semi-gloss, or gloss, possibly from our Balmoral engineered flooring range.
- Follow Up on Quality Guidelines: Refer to comprehensive guides from Wood Floors for additional refinishing standards.
Maintaining Your Newly Sanded Floors
To keep your solid wood floors looking exceptional after sanding, implement the following maintenance tips:
- Regular Cleaning: Sweep or vacuum regularly, and use a microfiber mop with a gentle cleaner.
- Avoid Excess Water: Keep mops damp, not soaking wet; excess moisture can warp wood.
- Use Protective Pads: Place furniture coasters under heavy items to prevent scratches.
Final Thoughts
Advanced floor sanding tips for solid wood flooring can significantly enhance the look and lifespan of your floors. Whether you choose to tackle the project yourself or hire professionals, understanding and applying these tips will lead to a stunning finish you’ll love for years to come. For expert assistance, contact the Nationwide Hardwood Flooring Company at 07940 528 315 or email us for more information about our flooring services. With our expertise and dedication, we ensure you achieve the best results for your solid wood flooring.


