
Best Floor Sanding Techniques for Hardwood Flooring UK: 7 Tips
Best Floor Sanding Techniques for Hardwood Flooring UK
If you’re looking to enhance the beauty and lifespan of your hardwood floors, you’ve come to the right place. The best floor sanding techniques for hardwood flooring UK will not only give your floors a fresh look but also improve their durability. In this comprehensive guide, we will explore proven methods, essential tools, and tips for achieving stunning results in your hardwood flooring projects.
Understanding the Basics of Floor Sanding
Sanding hardwood floors is a crucial step in maintaining their appearance and integrity. It involves removing the old finish and imperfections from the surface to prepare it for refinishing. This process can transform even the most worn-out floors into magnificent reflections of your style.
Why You Should Consider Sanding Your Floors
- Restoration: Over time, hardwood floors can accumulate scratches, dents, and discoloration. Sanding can remove these imperfections.
- Improved Appearance: Sanding prepares the wood for a new finish, making the color more vibrant and the grain more pronounced.
- Increased Longevity: Regular sanding extends the life of your hardwood flooring, reducing the need for costly replacements.
- Customized Finishes: Sanding allows for the application of various finishes, enabling personalization of your floors.
Preparation Steps for Effective Floor Sanding
Before you dive into the sanding process, proper preparation is key. Follow these steps to ensure the best outcomes:
1. Evaluate Your Hardwood Flooring
Begin by assessing the condition of your floors. Identify areas that need extensive work and determine if there are any underlying issues, such as water damage or structural problems.
2. Gather Necessary Tools and Equipment
Having the right tools can make a significant difference in your sanding project. Here’s what you’ll need:
- Sanding Machine: A drum sander or orbital sander is essential for effective sanding. Find quality sanding machines here.
- Sanding Discs/Belts: Choose the appropriate grit based on the condition of your flooring, typically starting from a coarse grit (40-60) to a fine grit (120-220).
- Vacuum Cleaner: A powerful vacuum to remove dust and debris for a smooth finish.
- Safety Gear: Protect yourself with goggles, gloves, and a dust mask.
3. Clear and Protect the Area
Remove all furniture, rugs, and other items from the room. Use drop cloths or plastic sheeting to protect adjacent areas from dust and debris.
Executing the Best Floor Sanding Techniques
Once you’ve prepared your space and gathered your tools, it’s time to start sanding. Follow these professional techniques for optimal results:
1. Start with Coarse Sanding
Begin with a coarse grit sandpaper and work in a systematic manner. Always sand in the direction of the wood grain to avoid damaging the fibers.
2. Sand Edges and Corners
Use an edge sander or handheld sander to reach tight corners and edges that the larger sander cannot access. This ensures even sanding throughout the floor.
3. Progress to Finer Grits
After the initial coarse sanding, gradually move to finer grits. Follow the same sanding techniques, ensuring to remove the dust between grits for a smooth finish.
4. Vacuum and Clean
Once you’ve completed sanding with the finest grit, vacuum the entire area thoroughly. Dust can impact the adhesion of finishes, resulting in an uneven appearance.
5. Apply the Finish
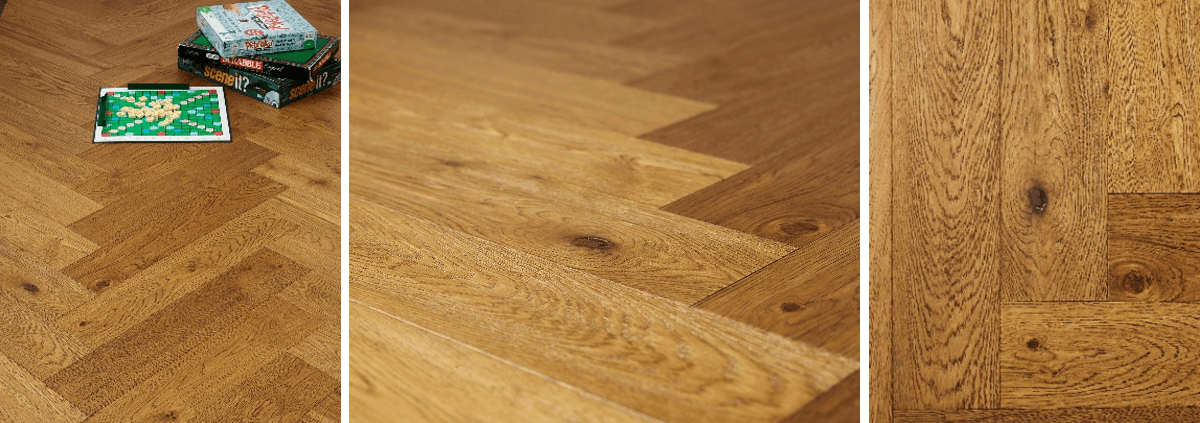
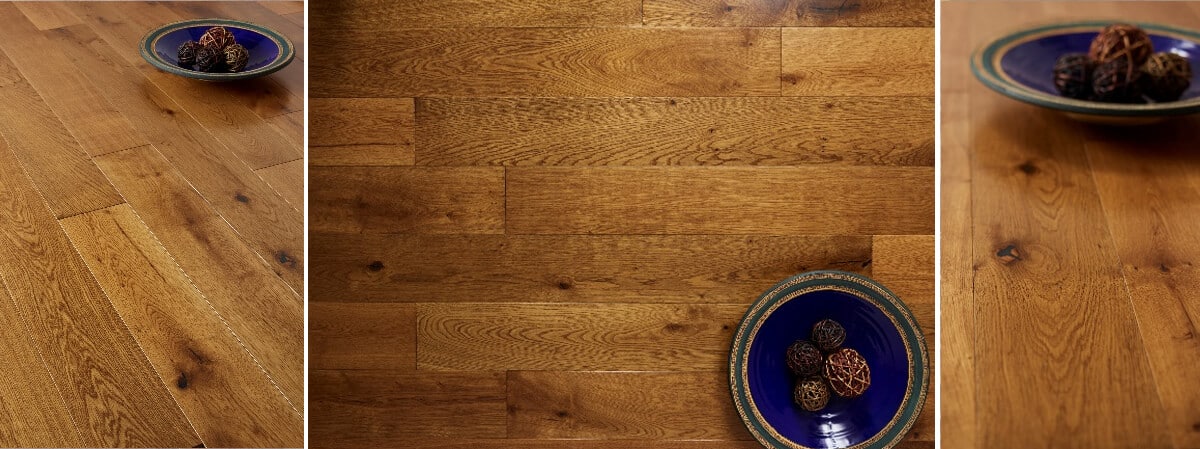
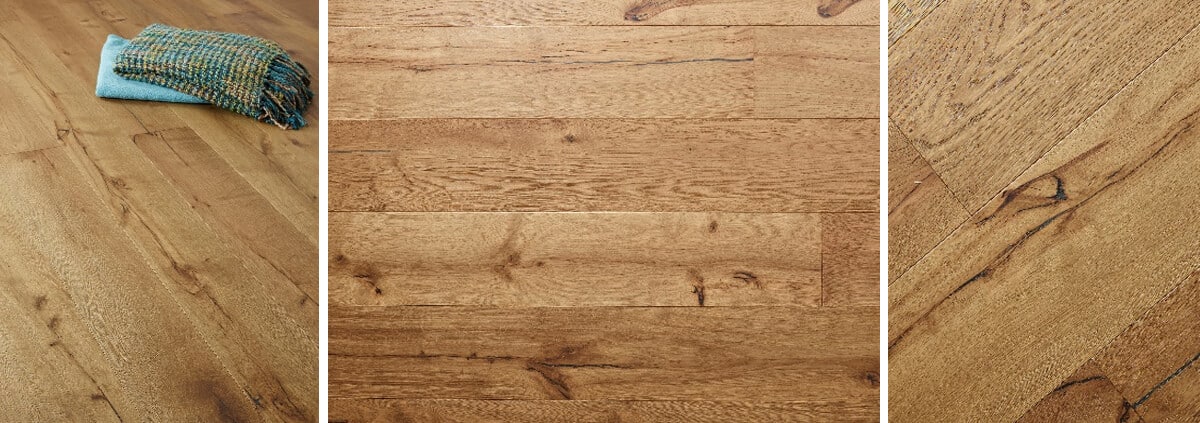
After sanding, allow the wood to breathe for a few hours. Apply your chosen finish—whether it’s oil-based, water-based, or a stain—using a brush or roller designed for such applications. Consider options from our Blenheim range or our Balmoral engineered flooring for quality outcomes.
Post-Sanding Maintenance of Hardwood Floors
After successfully sanding and finishing your floors, it’s crucial to implement a proper care routine to maintain their beauty:
- Regular Cleaning: Sweep or vacuum regularly to avoid dirt buildup and scratches.
- Use Protective Mats: Place mats at entry points to minimize tracked dirt and moisture.
- Humidity Control: Keep humidity levels stable to prevent wood expansion or contraction.
- Reapply Finish: Depending on traffic, consider reapplying the finish every few years to maintain protection.
Choosing the Right Floor Sanding Professionals in the UK
If you feel that the best floor sanding techniques for hardwood flooring UK are beyond your skill set, consider hiring professionals who specialize in flooring.
When selecting a floor sanding service, look for: Experience: Choose professionals with proven expertise and positive reviews. Quality Equipment: Ensure they use modern equipment designed for efficient sanding. Insurance and Certifications: Protect your investment and ensure that the contractors are accredited.
Conclusion
Enhancing the beauty of your hardwood floors does not have to be overwhelming. By applying the best floor sanding techniques for hardwood flooring UK outlined in this guide, you can achieve stunning results that add value to your home or business. Remember, whether you choose to tackle the project yourself or hire professionals, proper preparation and maintenance are crucial for enjoying the benefits of your beautiful hardwood floors for years to come.
For expert assistance and quality flooring services, contact the Nationwide Hardwood Flooring Company at 07940 528 315 or email enquiries@nhfcompany.co.uk.


