
Common Mistakes to Avoid When Sanding Wooden Floors: 7 Tips
Common Mistakes to Avoid When Sanding Wooden Floors
Sanding wooden floors is an essential part of maintaining their beauty and longevity. However, it’s easy to make mistakes that can lead to an unsatisfactory finish. Whether you’re a DIY enthusiast or hiring professionals, understanding the common mistakes to avoid when sanding wooden floors will help you achieve the best results.
Understanding the Importance of Proper Sanding
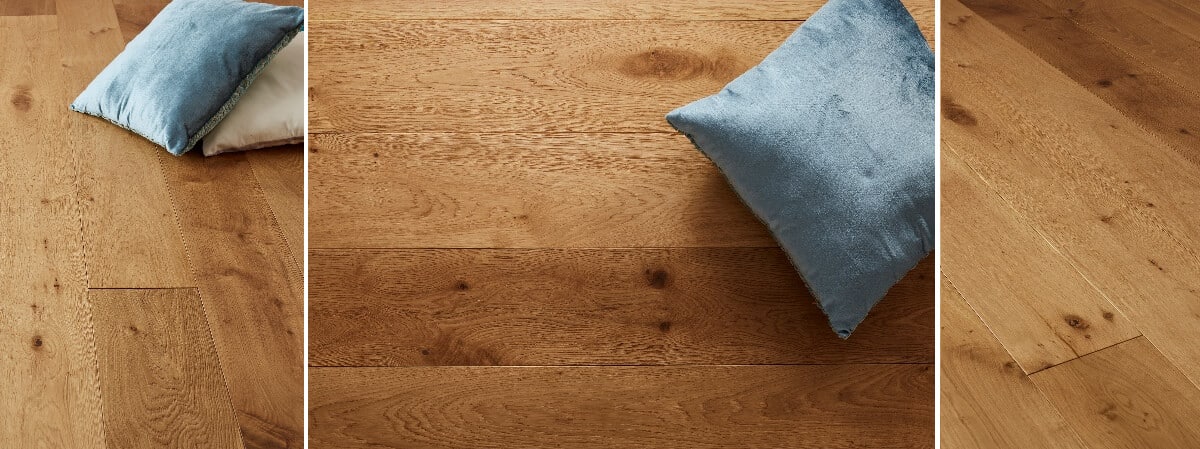
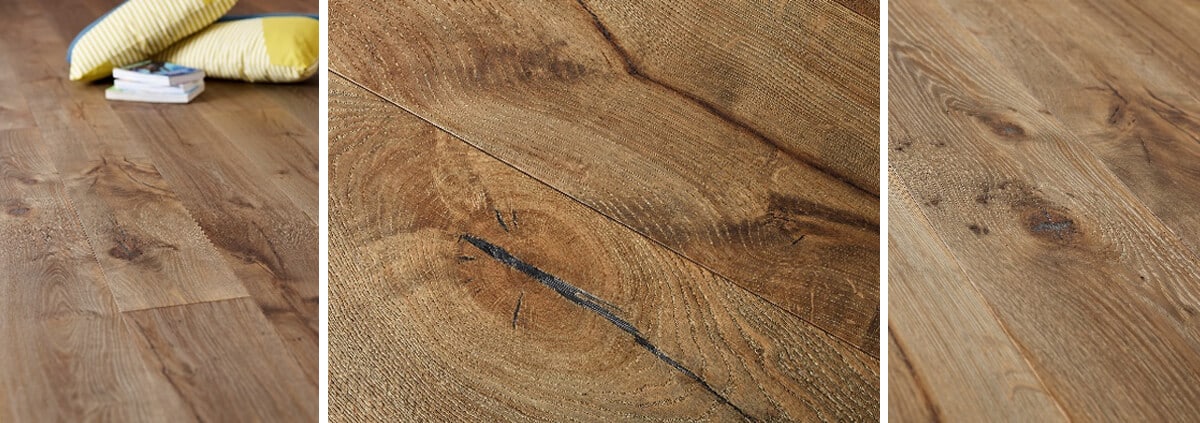
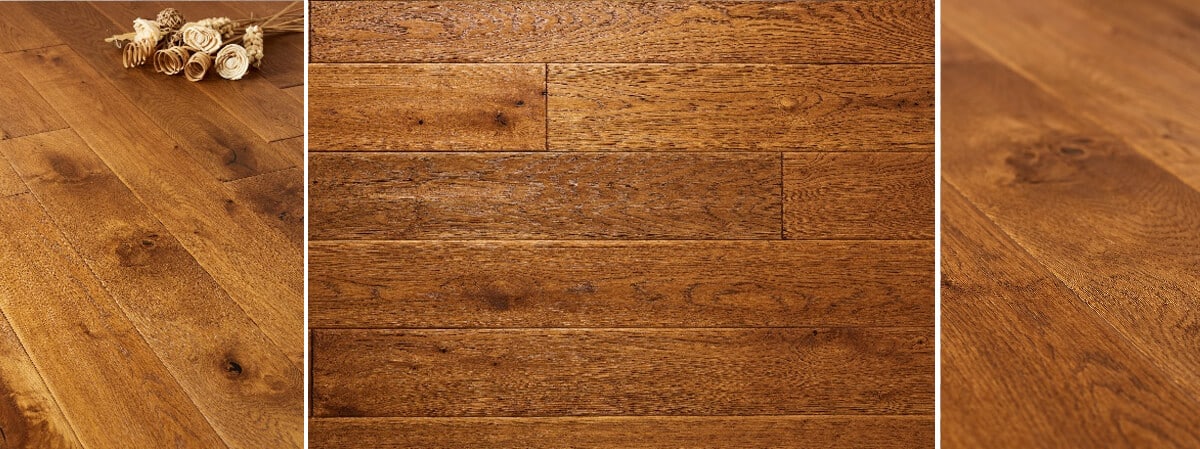
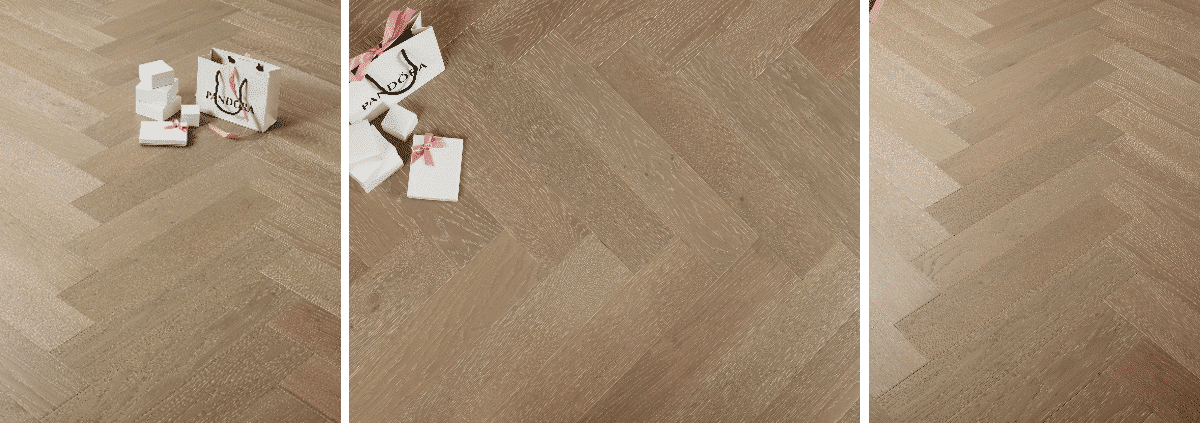
Prior to discussing the common mistakes, it’s important to understand why sanding is crucial. Sanding removes the old finish, scratches, and imperfections while allowing the wood to take on a new life. A well-sanded floor means a smooth and even surface ready for refinishing. For more detailed information on wood care and maintenance, visit Wood for Good (source).
1. Not Choosing the Right Sandpaper Grit
One of the first and most significant mistakes is neglecting to select the appropriate sandpaper grit. Each stage of the sanding process requires different grits:
- Course Grit (40-60): Removes old finishes and rough patches.
- Medium Grit (80-100): Smoothens the surface after initial sanding.
- Fine Grit (120-150): Prepares the floor for finishing.
Using a grit that is too coarse can lead to deep scratches, while a grit that is too fine might not remove enough material. For more guidance on the sanding process, check out National Wood Flooring Association (source).
2. Skipping the Preparation Phase
Before sanding, ensure the floor is free from dust, dirt, and debris. Missing this step can result in scratches and an uneven finish. Take time to:
- Remove all furniture and appliances from the area.
- Clean the surface thoroughly with a vacuum or broom.
- Check for protruding nails and replace or recess them.
3. Over-Sanding in One Area
A common mistake is focusing too much on one area, leading to uneven boards. Ensure you move evenly across the floor, using consistent pressure and speed to avoid low spots.
4. Ignoring the Grain Direction
Sanding against the wood grain can cause unnecessary scratches. Always sand in the direction of the grain to maintain a natural look. This also helps in achieving a smoother finish.
5. Not Using a Dust Collection System
Sanding produces a lot of dust, which can affect not just the finish but also your health. Failing to use a vacuum or dust collection system can leave behind particles that settle in the finish:
- Consider investing in a dustless sander.
- Wear a mask and goggles for protection.
6. Neglecting the Edges and Corners
It’s easy to forget the edges and corners, often resulting in uneven finishes. Use an edge sander or a hand sander to ensure these areas are equally smooth and well-prepared.
7. Failing to Allow Proper Drying Time
After sanding, it’s essential to let the wood rest and breathe before applying the finish. Allow ample time for the wood to acclimate to the surrounding environment. Also, ensure that the wood is completely dry before applying any finish to avoid trapping moisture underneath. For tips on wood acclimation, refer to Real Homes (source).
The Benefits of Professional Help
If you’re unsure about sanding your wooden floors, consider hiring a professional. At Nationwide Hardwood Flooring Company, we specialize in hardwood floor restoration and sanding. Our experts ensure a flawless finish by avoiding common pitfalls. Contact us at 07940 528 315 or email us at enquiries@nhfcompany.co.uk for a consultation.
Conclusion
Sanding wooden floors is a delicate task that requires knowledge and precision. By avoiding these common mistakes, you can achieve a stunning result that enhances the beauty of your home. Remember, good preparation and the right techniques are key to success.


