
DIY Herringbone Flooring Kits: 10 Essential Tips
Explore DIY Herringbone Flooring Kits for Home Installation
Transform your living space with the exquisite beauty of herringbone flooring. A popular choice among homeowners, herringbone patterns provide an unmistakable elegance and charm. With the rise of DIY home improvement projects, various DIY herringbone flooring kits for home installation are now available, allowing you to achieve that sophisticated look without the costly expense of hiring professionals.
What is Herringbone Flooring?
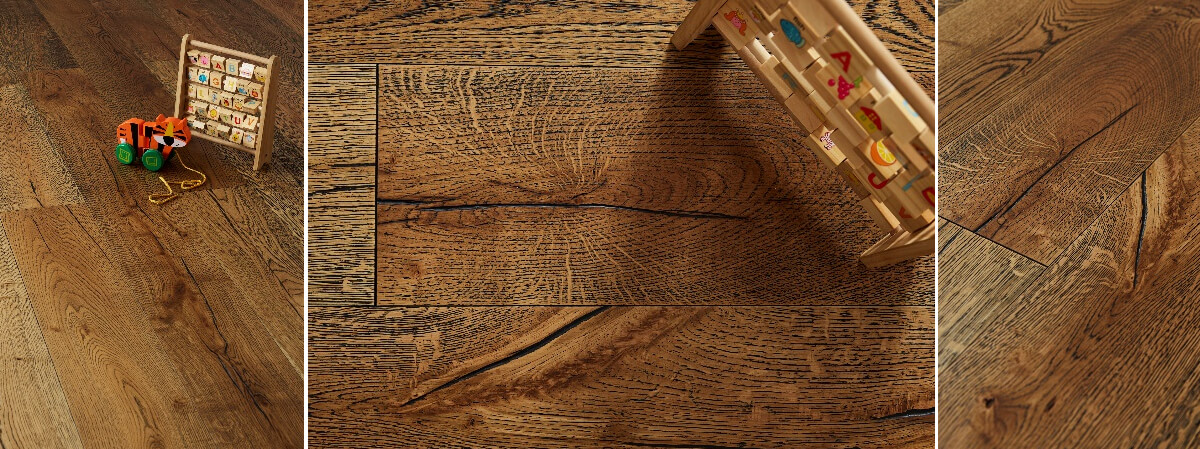
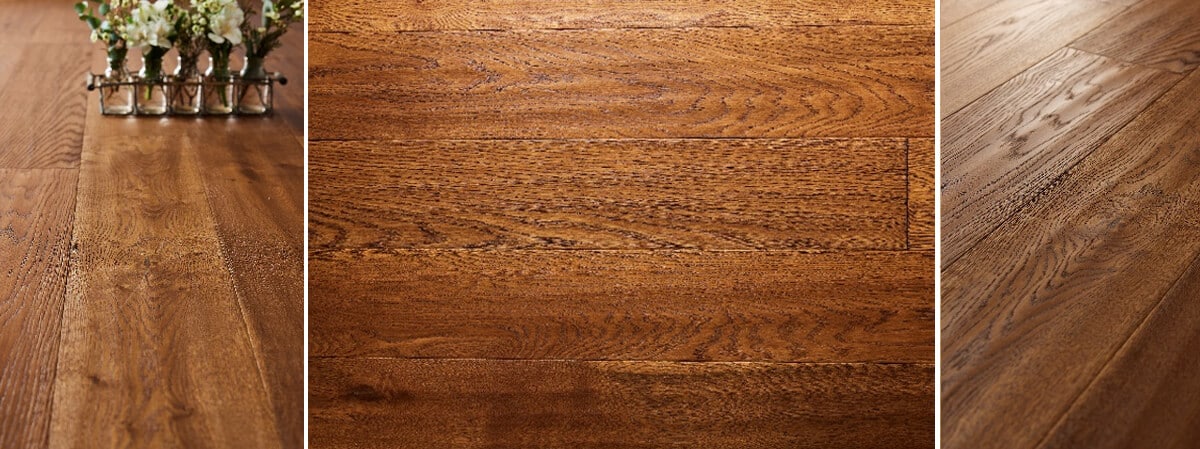
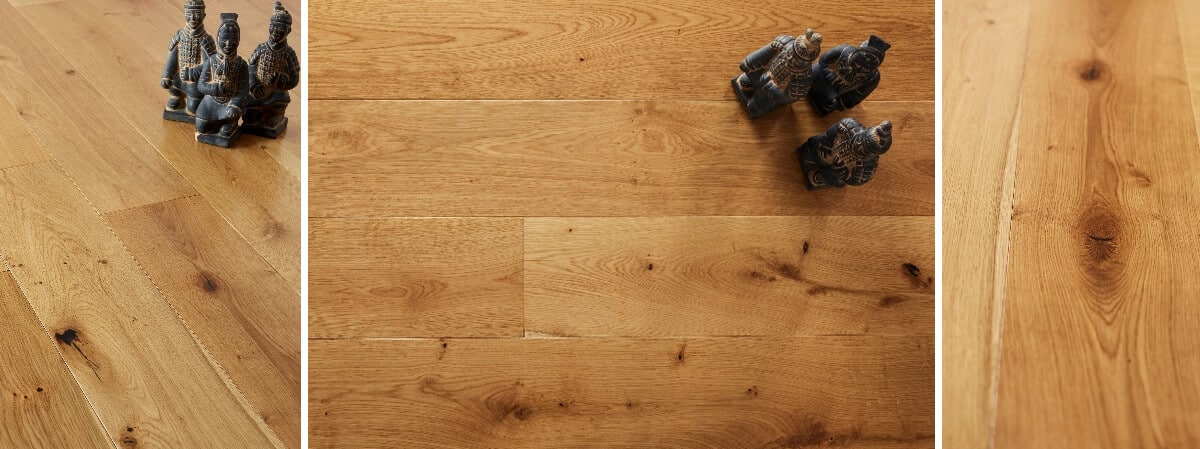
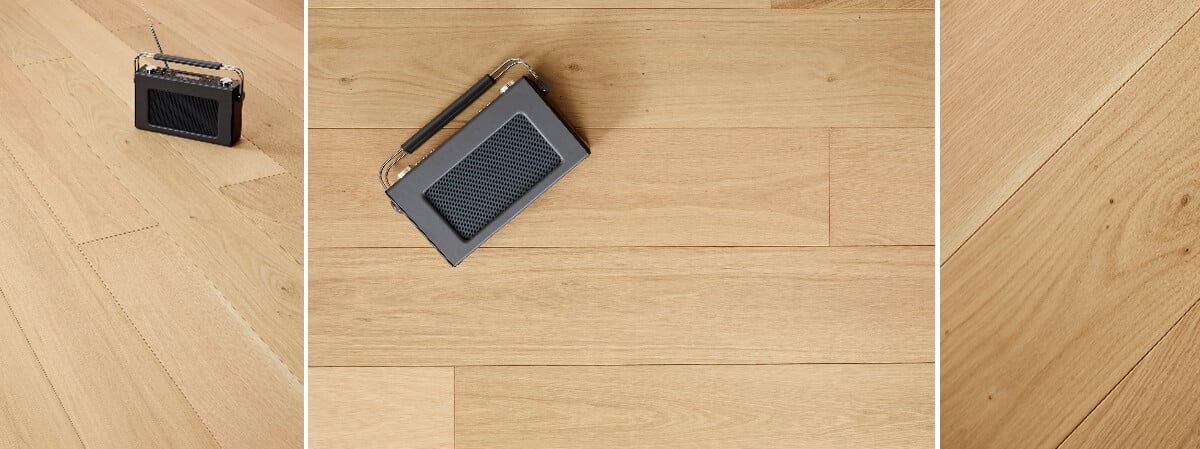
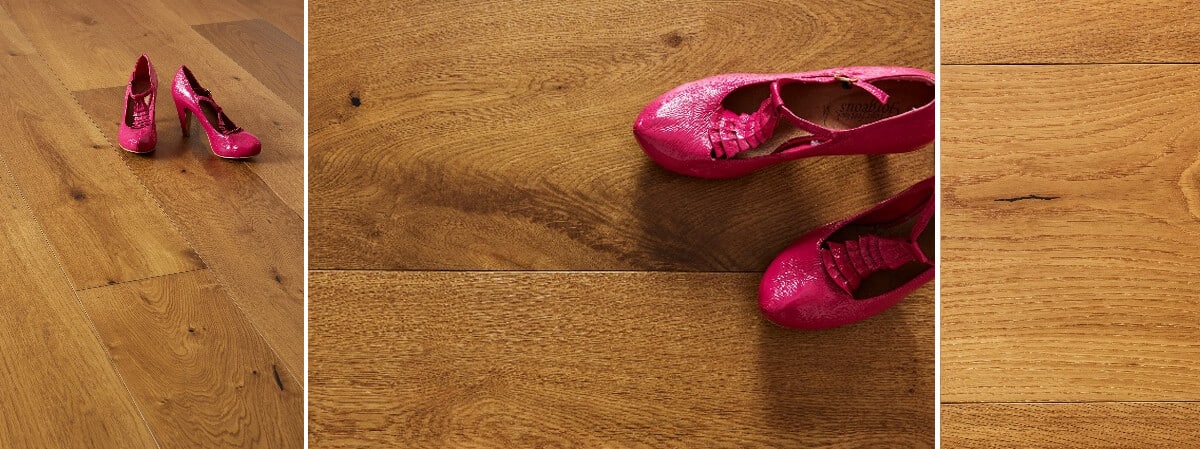
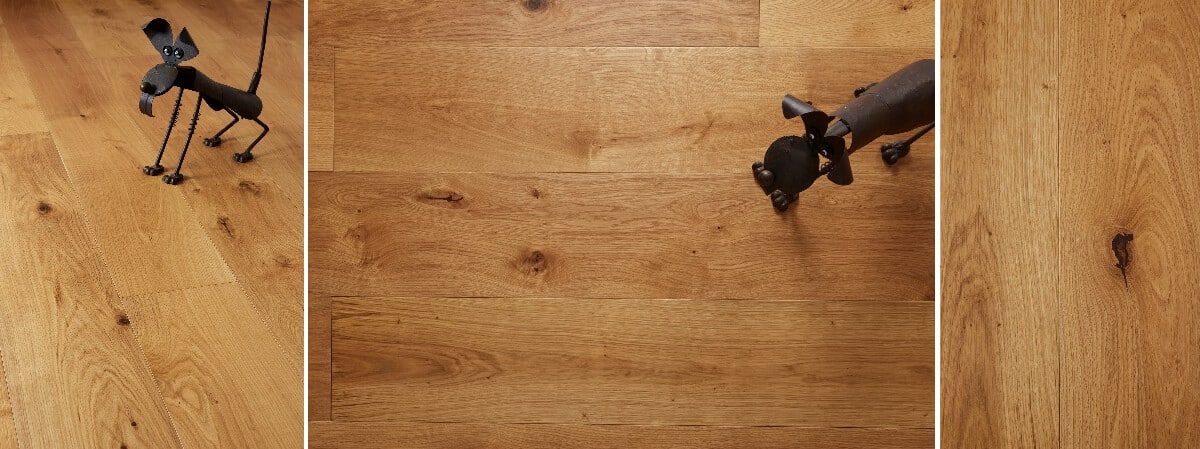
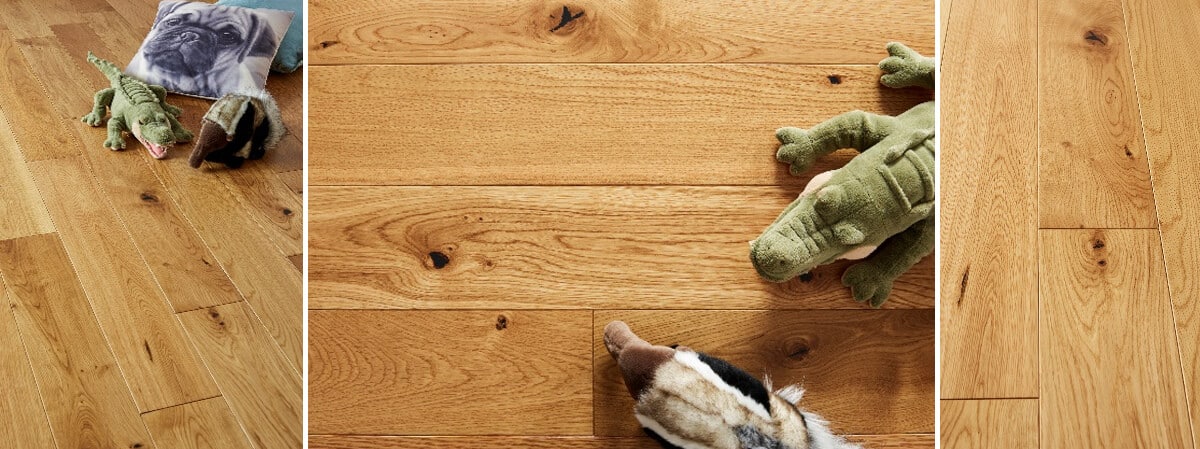
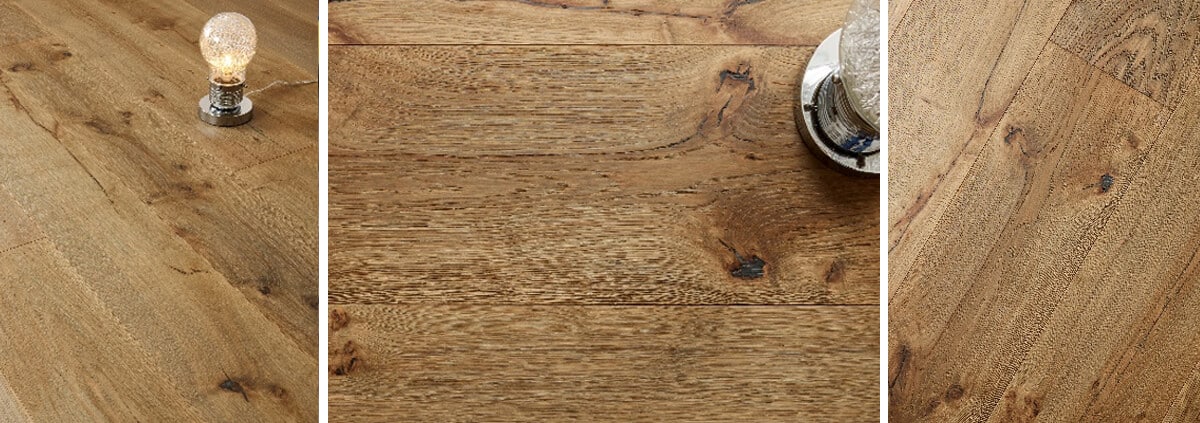
Herringbone flooring is a distinctive pattern formed by arranging rectangular planks in a zigzag pattern. This classic design has been a preferred choice in both contemporary and traditional settings. Comprised typically of hardwood or engineered wood, herringbone flooring offers durability combined with aesthetic appeal.
Why Choose DIY Herringbone Flooring Kits?
- Cost-Effective: One major advantage of DIY kits is the savings. Materials can often be purchased at a lower price compared to hiring contractors.
- Creative Control: With DIY kits, you’re in charge of your design. Make specific choices to meet your creative vision.
- Accessibility: Many DIY kits come complete with everything you need to get started, eliminating the need to search for individual pieces.
- Skill Development: Installing flooring yourself can be a satisfying learning experience, increasing your DIY skills.
Choosing the Right Materials
When selecting your DIY herringbone flooring kit, consider the following:
- Material Type: Look for kits that offer solid hardwood or engineered timber options, ensuring longevity and quality.
- Size of Planks: Standard plank sizes can vary; choose a size that suits your space and aesthetic preferences.
- Finish Options: Depending on your room’s decor, a natural finish may highlight the wood’s grain, while darker stains may add warmth.
Tools Required for DIY Installation
Before you begin, gather the necessary tools to ensure a smooth installation process. Common tools needed include:
- Measuring tape
- Utility knife
- Flooring adhesive
- Square
- Rubber mallet
- Jigsaw saw (if needed)
- Level
- Vinyl flooring roller (optional)
Step-by-Step Guide to Installing Herringbone Flooring
Follow these steps to successfully install your herringbone flooring:
- Preparation: Ensure your subfloor is clean, dry, and level. Any imperfections can affect the installation.
- Layout Planning: Use a measuring tape to determine the center of the room. Lay the first row of planks, ensuring they form a straight line.
- Cutting the Planks: Use your jigsaw saw to cut the planks at the proper angles where needed, making sure that the herringbone design is preserved.
- Applying Adhesive: Using a trowel, apply the adhesive evenly on the subfloor before carefully placing each plank into position.
- Securing the Planks: With a rubber mallet, gently tap the planks into place. Ensure snug interlocking without gaps.
- Continuing the Pattern: Repeat the process until the entire area is covered. Double-check your measurements frequently.
- Finishing Touches: Once installed, let the adhesive cure as per the manufacturer’s instructions. Then, install any transitions or trim for a polished look.
Maintenance Tips for Herringbone Flooring
To keep your flooring looking impeccable, follow these maintenance tips:
- Regular Cleaning: Sweep or vacuum regularly to prevent dirt buildup. A damp mop can be used for deeper cleaning, but avoid excess water.
- Area Rugs: Use area rugs in high-traffic zones to protect against wear and tear.
- Humidity Control: Maintain a consistent humidity level in your home to prevent warping.
- Refinishing: Depending on usage, consider refinishing your herringbone flooring every few years to restore its original luster. For professional quality refinishing tips, check Bona.
Where to Buy DIY Herringbone Flooring Kits
When looking to purchase DIY herringbone flooring kits for home installation, there are numerous retailers online and in-store. Look for local suppliers in your area for material availability and consultation. Consider options like Eastbury Multi-Ply Flooring or Chalfield Multi-Ply Flooring for premium quality. Additionally, you can find a comprehensive guide on flooring options at Which?.
Conclusion
Opting for DIY herringbone flooring kits for home installation allows you to elevate your space with style while also honing your DIY skills. Understanding the process, tools required, and maintenance can ensure your flooring remains a stunning feature in your home for years to come. Explore the numerous options available, such as Burghley Multi-Ply Flooring and Hardwick Multi-Ply Flooring, and get started on your flooring transformation today!


