Easiest Way to Sand Hardwood Floors – 7 Expert Tips
Easiest Way to Sand Hardwood Floors
The easiest way to sand hardwood floors combines the right equipment, preparation, and finishing. At Nationwide Hardwood Flooring Company, we specialise in professional wood floor installation and sanding services across the United Kingdom. Whether your property is in Manchester, Birmingham, Edinburgh, or London, our team ensures your hardwood floors are restored beautifully with minimal disruption.
Why Sanding Matters for Beautiful Hardwood Floors
Sanding removes old finishes, smooths uneven surfaces, and readies wood for fresh sealants, restoring its natural appearance and durability. Proper sanding is the key step towards extending the lifespan of your timber flooring. For an in-depth overview of wood floor refinishing benefits, explore guidance from the National Wood Flooring Association.
Understanding the Basics Before You Begin
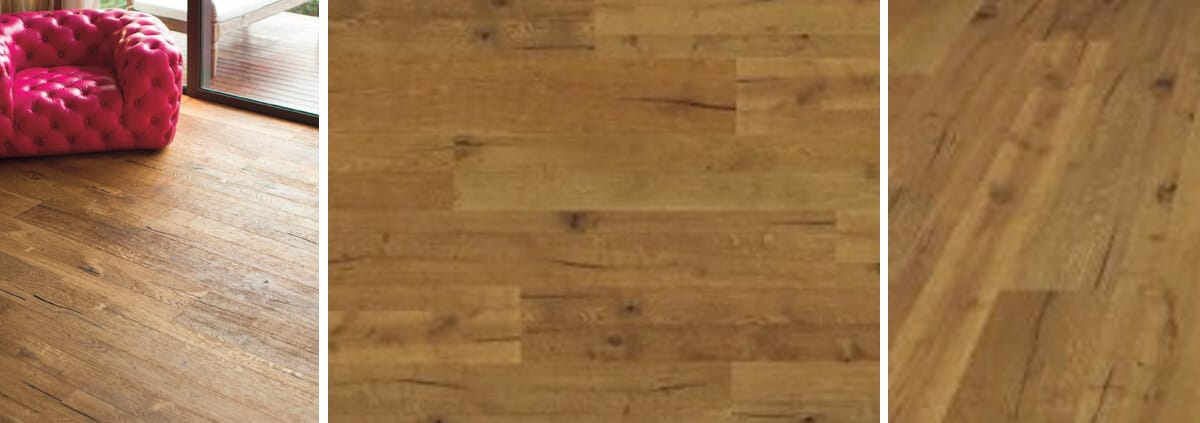
Before beginning, assess the type of wood and its condition. Oak, maple, and walnut respond differently to sanding, and each has an optimal grit progression. Engineered floors such as Loch Tay Multi-Ply Flooring are durable and ideal for light refinishing. Learn about species and characteristics on British Woodworking Federation.
Local Expertise Across the UK
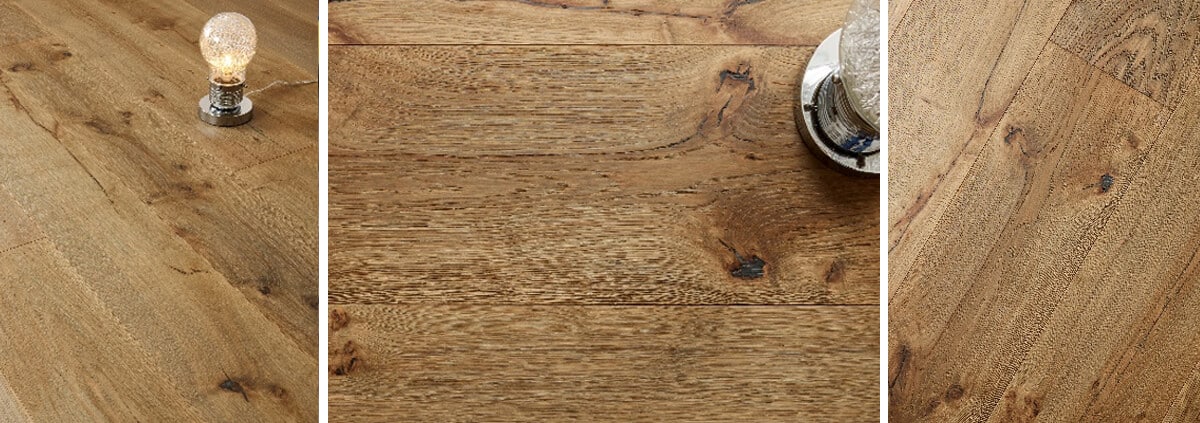
From heritage homes in Richmond to contemporary lofts in Manchester, our teams adapt every sanding approach to local architectural trends and flooring materials. We also recommend versatile upgrades such as Chatsworth Herringbone Multi-Ply Flooring for a bespoke aesthetic.
Easiest Way to Sand Hardwood Floors: Step-by-Step Guide
Step 1: Prepare the Area Thoroughly
Remove all furniture, cover vents, and fill any gaps using resilient wood filler. Thorough preparation prevents dust accumulation and produces an even finish. Our experts can also assist with pre-installation—learn more through our installation guide.
Step 2: Select the Right Equipment
Using professional-grade drum and edge sanders ensures smooth, fast, and precise sanding. Complement your work with high-quality sandpaper. For best practices, read Family Handyman’s sanding tutorial.
- Drum sanders: Excellent for open spaces.
- Edge sanders: Crucial for trimming perimeters and corners.
- Fine grit sandpaper (100–120): Perfect for final detailing.
Step 3: Use a Grit Sequence
Start with coarse grit (36–40), continue to medium (60–80), then finalize with fine (100–120). Following this progression, as recommended by This Old House, prevents over-sanding and protects the natural grain.
Step 4: Sand Edges and Corners
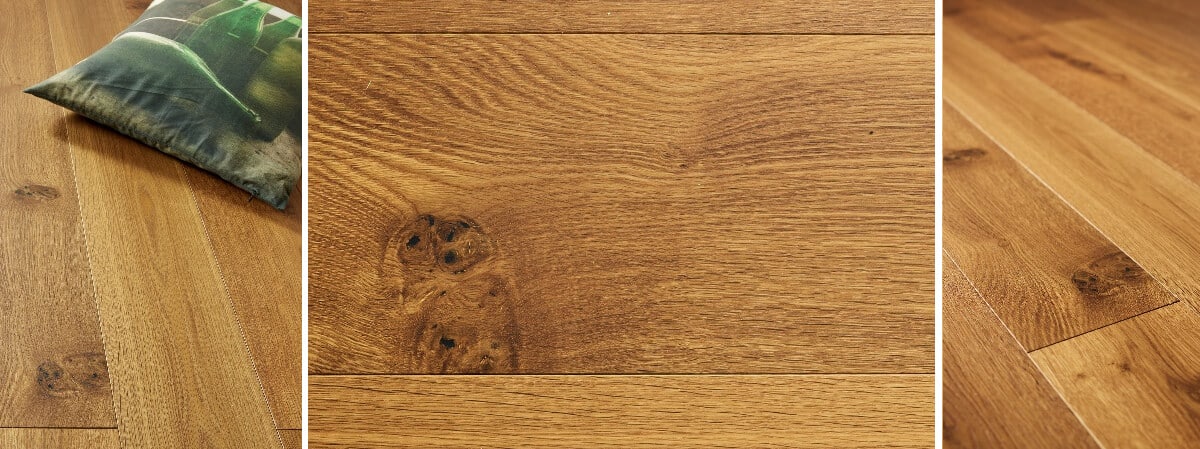
Edges near skirting boards need delicate sanding, especially on floors like Buckingham Solid Flooring. Take extra care with intricate herringbone or parquet designs.
Step 5: Vacuum and Inspect
After each sanding stage, use a HEPA vacuum to remove dust. Clean surfaces deliver a flawless finish and healthier environment—learn more about HEPA filtration standards on EPA.gov.
Step 6: Apply Protective Finish
Apply oils, polyurethanes, or lacquers based on your aesthetic. Oil finishes enhance natural hues; lacquers provide durability. Explore sustainable options recommended by Forest Stewardship Council (FSC).
Step 7: Allow Proper Drying
Give finishes at least 24–48 hours to cure before walking on the surface. Ensure adequate ventilation to avoid trapped moisture.
Professional Tools Used by Experts
Professionals use advanced tools like Lagler Hummel and Bona FlexiSand machines for even, dust-free results. The Bona equipment line offers industry-leading reliability for refinishing tasks.
Choosing the Right Sandpaper Grit
Choose grit based on the wood condition:
- 36–40 grit: Removes old varnish.
- 60–80 grit: Smooths out deep imperfections.
- 100–120 grit: Finishes surface ready for sealing.
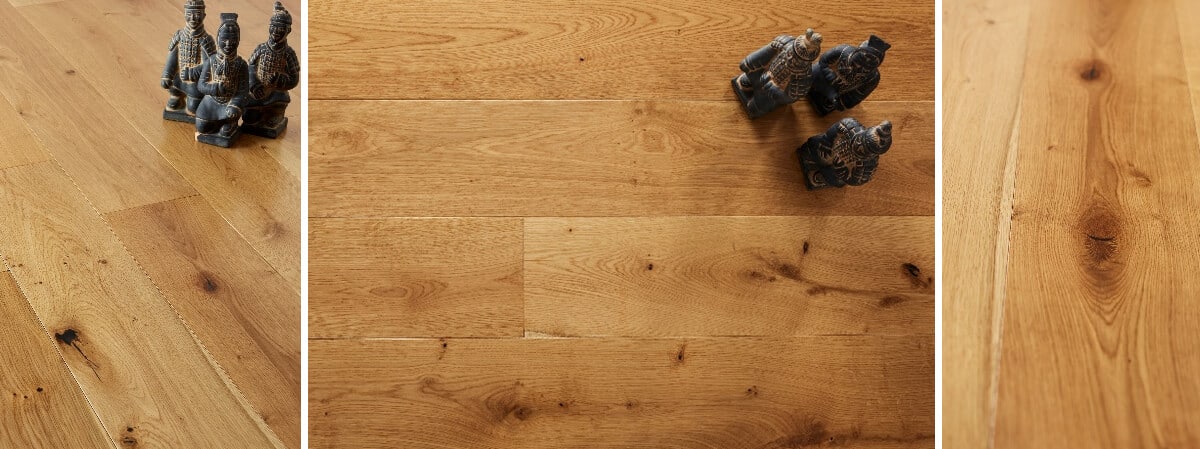
Perform a patch test before large-scale sanding to confirm results, especially on engineered materials like Blenheim Multi-Ply Flooring.
Maintenance After Sanding
Once your floors are refinished, regular upkeep ensures long-term appeal. Clean with microfiber mops and avoid wet cleaning. For comprehensive cleaning advice, review care recommendations from Bona’s floor care solutions.
Common Mistakes to Avoid
- Skipping grit sequences results in visible sanding lines.
- Uneven pressure can cause dips.
- Ignoring dust control reduces finish quality.
Experience and consistency matter—our company history reflects decades of craftsmanship and attention to detail.
Eco-Friendly Sanding and Finishing
We use low-VOC finishes to protect indoor air quality. Discover health and safety standards at HSE Woodworking Safety. Our focus on sustainability includes recycling sawdust for reuse by local craftsmen and eco-programs.
Final Thoughts
Mastering the easiest way to sand hardwood floors is achievable with preparation, quality equipment, and professional insight. For bespoke flooring transformation, explore The Primes Engineered Flooring collection or consult our specialists via the contact form. Let Nationwide Hardwood Flooring Company help you achieve elegant and lasting hardwood flooring results.


