
Engineered Flooring Installation Tips and Tricks - 7 Effective Ways
Engineered Flooring Installation Tips and Tricks
If you’re considering engineered flooring for your home or office, you’re making a wise choice. Not only is it a beautiful enhancement to any space, but it’s also durable and cost-effective. In this comprehensive guide, we’ll explore essential engineered flooring installation tips and tricks to ensure a successful project and lasting results.
Why Choose Engineered Flooring?
Engineered flooring is built to withstand fluctuations in moisture and temperature, making it suitable for various environments. Whether you are looking to install it in living rooms, kitchens, or even bathrooms, engineered flooring will meet your needs without compromising on style. For further options, consider our Balmoral Engineered Flooring, which combines elegance with durability. According to the National Wood Flooring Association, engineered wood is also an eco-friendly choice as it uses less wood compared to solid hardwood.
1. Selecting the Right Engineered Flooring
Before beginning your installation, it’s important to choose the right product. There are many varieties available on the market:
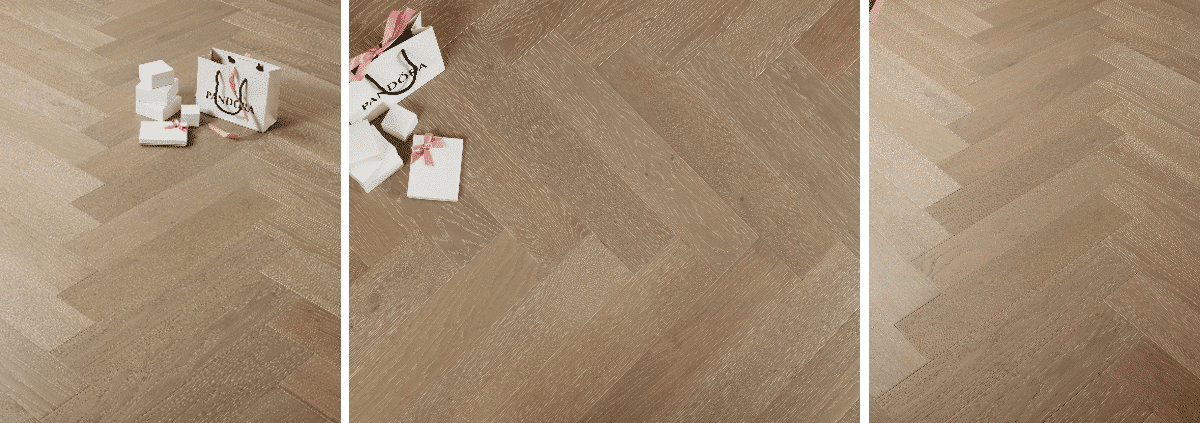
- Herringbone Patterns: They offer a classic look and feel, such as our Eastbury Multi-Ply Herringbone.
- Solid Oak Variants: Known for their robustness and timeless appeal.
- Discount Wood Flooring: Great value for those on a budget.
Consider Your Space
Think about the style and function of your space. If you live in a humid area, opt for a type of engineered flooring that is moisture-resistant. Our Haro Engineered Flooring is an excellent choice in such environments. For more insights on flooring options, visit Good Housekeeping’s guide on choosing the right flooring.
2. Preparing for Installation
Preparation is key to a successful engineered flooring installation. Here are the steps to ensure you’re ready:
- Acclimatize the Flooring: Let your engineered flooring sit in the room for 48 hours to adjust.
- Level the Subfloor: Any imperfections can lead to poor installation and a lack of longevity.
- Gather Tools: Ensure you have all necessary tools such as underlayment, spacers, moisture meters, and cutting tools.
3. Installation Techniques
There are various methods to install engineered wood flooring. The two most common methods include:
- Floating Floor Method: This method involves interlocking planks without attaching them to the subfloor.
- Nail or Staple Method: This is often used for thicker boards.
Follow the Manufacturer’s Instructions
Always refer to the installation guidelines provided by the manufacturer, as different products may have specific requirements. For instance, our Timbertop Engineered Flooring has specific guidelines that ensure it looks its best upon installation. For detailed guidelines, you can also check Wickes’ installation advice.
4. Expansion Gaps
Leave sufficient expansion gaps around edges to allow for natural movement of the wood. This is crucial for preventing warping or buckling. A space of about 1/4 inch is typically recommended.
5. Post-Installation Care
After installation, taking care of your flooring ensures longevity. Here’s how:
- Regular Cleaning: Sweep and vacuum regularly to eliminate dust and debris that can scratch the surface.
- Use Protective Pads: Place felt pads under furniture to avoid scratches.
- Avoid Excessive Moisture: Clean spills immediately and use moisture-resistant cleaners.
6. Professional Installation Considerations
If DIY isn’t your style, consider hiring a professional. A skilled flooring contractor can ensure a more precise fit and finish. This can be particularly beneficial when dealing with complex designs like herringbone or chevron patterns. Our experienced team specializes in wooden floor installation and can help you achieve the ideal look for your space.
The Value of Professional Expertise
Hiring a flooring contractor saves time and guarantees quality results. They can also provide tips on care and maintenance tailored to your specific flooring type. Their knowledge is invaluable, especially when it comes to intricate patterns like Benton Multi-Ply Herringbone.
7. Common Mistakes to Avoid
To ensure a smooth installation process, here are some common mistakes to watch out for:
- Against Expansion Gaps: Failing to leave expansion gaps is a common mistake that can lead to damage.
- Incorrect Acclimatization: Skipping the acclimatization period can lead to warping.
- Poor Subfloor Preparation: Neglecting to prepare your subfloor can compromise the entire installation.
Conclusion
In conclusion, following these engineered flooring installation tips and tricks can lead to beautiful and long-lasting results. Whether you opt for a classic herringbone design or a simple plank layout, proper installation will enhance the beauty and durability of your flooring. For more stylish options, explore our range of Chalfield Multi-Ply Herringbone Flooring. For additional insights on flooring trends, visit Interior Design.
Enjoy the transformative effect of engineered flooring in your space! For more information, please contact the Nationwide Hardwood Flooring Company at 07940 528 315 or email us at enquiries@nhfcompany.co.uk to speak with our experts.