
Herringbone Flooring Installation Tips to Enhance Homes
Herringbone Flooring Installation Tips and Tricks
If you’re considering a stylish and timeless look for your home, herringbone flooring installation is a fantastic option. This classic design not only adds character but also enhances the overall value of your property. Based in Kent and serving clients nationwide, including London, Surrey, Essex, and Sussex, Nationwide Hardwood Flooring Company is here to help you achieve the perfect finish. In this comprehensive guide, we’ll explore essential tips and tricks for installing herringbone flooring.
Understanding Herringbone Flooring
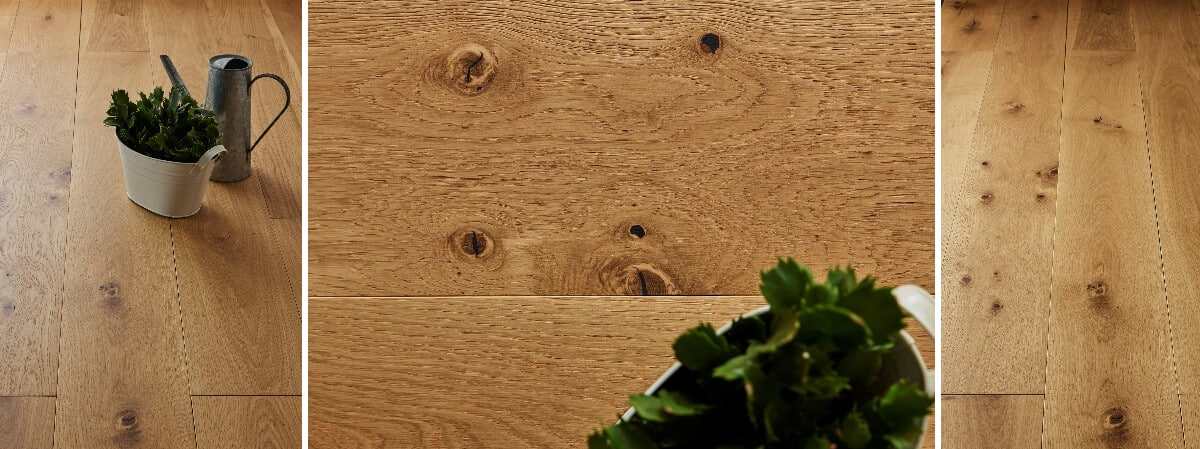
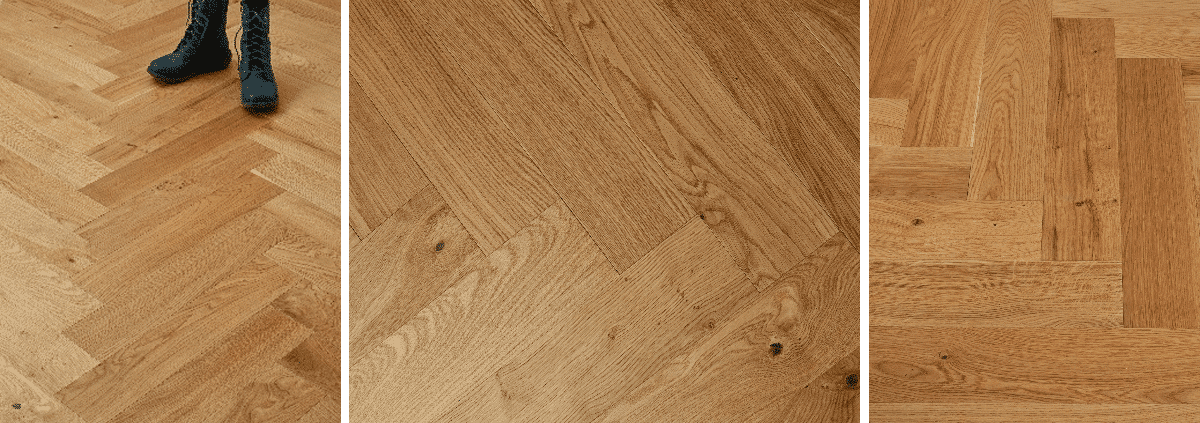
Herringbone flooring is characterized by its distinctive zigzag pattern that resembles the bones of a herring fish. This flooring style is available in various materials such as engineered wood, solid wood, and laminate, allowing for versatility in both residential and commercial spaces. For more insights into wood flooring types, check out Wood for Good.
Why Choose Herringbone Flooring?
- Aesthetic Appeal: Herringbone patterns add a unique flair to any room.
- Durability: Quality herringbone flooring is built to last, making it suitable for high-traffic areas.
- Easy Maintenance: Regular cleaning keeps your floor looking new without much hassle.
Preparation Before Installation
Before diving into the installation process, it is crucial to prepare adequately. Here are some preparation tips:
1. Choose the Right Material
Determining whether you want engineered wood, solid wood, or other materials is the first step. Engineered herringbone flooring is popular as it offers stability and resistance to moisture, making it perfect for areas like kitchens or bathrooms. For guidelines on material selection, refer to Wickes.
2. Acclimatize Your Flooring
Allow your flooring to acclimatize in the room where it will be installed. This process usually takes 48 hours and helps prevent any expansion or contraction post-installation.
3. Ensuring a Level Subfloor
Your subfloor must be level and clean for the best installation results. This step is critical, as an uneven subfloor can lead to issues down the line, such as squeaking or warping. The LABC provides excellent resources for building standards and regulations that ensure proper subfloor conditions.
Tools Required for Installation
Gather the necessary tools before starting your herringbone flooring installation to ensure a smooth process:
- Measuring tape: Accurate measurements are essential.
- Circular saw: For cutting flooring boards to size.
- Floor stapler or nail gun: Helps secure boards effectively.
- Spacers: To maintain expansion gaps around the edges.
- Leveling tool: Ensure the subfloor is perfectly level.
The Installation Process
With your preparations complete and tools on hand, it’s time to start your herringbone flooring installation. Follow these steps carefully for the best results:
Step 1: Plan Your Layout
Decide on the starting point of your herringbone pattern. Most installers begin in the center of the room or along a straight wall for a polished look.
Step 2: Dry Fit the Pieces
Before gluing or nailing the flooring in place, dry fit the pieces to ensure the pattern flows correctly. This step allows for minor adjustments before final placement.
Step 3: Start Installing
Begin with the centerpiece, securing it to the subfloor. Continue adding pieces, following the herringbone pattern using spacers to maintain consistent gaps for expansion.
Step 4: Cutting the Boards
As you reach the edges of the room or obstacles, you will likely need to cut boards to fit. Measure carefully and make precise cuts with your saw.
Step 5: Completeness Check
After securing all pieces, check the entire floor for any inconsistencies or adjustments that need to be made. Ensure that the herringbone pattern is aligned and visually appealing.
Finishing Touches
Once your herringbone flooring installation is complete, there are a few finishing touches to consider:
1. Add a Protective Finish
Applying a protective finish helps guard against scratches and moisture. Choose a finish that complements your flooring material.
2. Trim Installation
Install baseboards or quarter rounds to cover expansion gaps and give the flooring a polished look.
Maintenance Tips for Herringbone Flooring
To enjoy your herringbone flooring for years to come, it’s essential to follow a proper maintenance routine:
- Regular Cleaning: Sweep or vacuum to remove dust and debris.
- Mopping: Use a damp mop with a gentle cleaner designed for wooden floors.
- Avoid Excess Water: Never soak your floor, as it can warp the wood.
- Direct Sunlight: Use curtains or blinds to avoid sun damage.
Conclusion
With the right tools, preparation, and techniques, herringbone flooring installation can transform your space into a stylish and sophisticated area. At Nationwide Hardwood Flooring Company, we offer high-quality materials and expert installation services throughout Kent, London, and other UK regions. Whether you’re considering a herringbone layout for your living room, kitchen, or hallway, we have the expertise to meet your needs. For professional assistance in choosing the right flooring, contact us today at 07940 528 315 or email enquiries@nhfcompany.co.uk.


