
Herringbone Flooring Installation Tips: 7 Expert Steps
Herringbone Flooring Installation Tips
If you’re considering enhancing the beauty of your home with a herringbone flooring pattern, you’ve made a superb choice! The herringbone flooring installation adds a touch of elegance and sophistication to any space. In this comprehensive guide, we will explore essential herringbone flooring installation tips that can help you achieve a stunning and professional-looking floor.
Understanding Herringbone Flooring
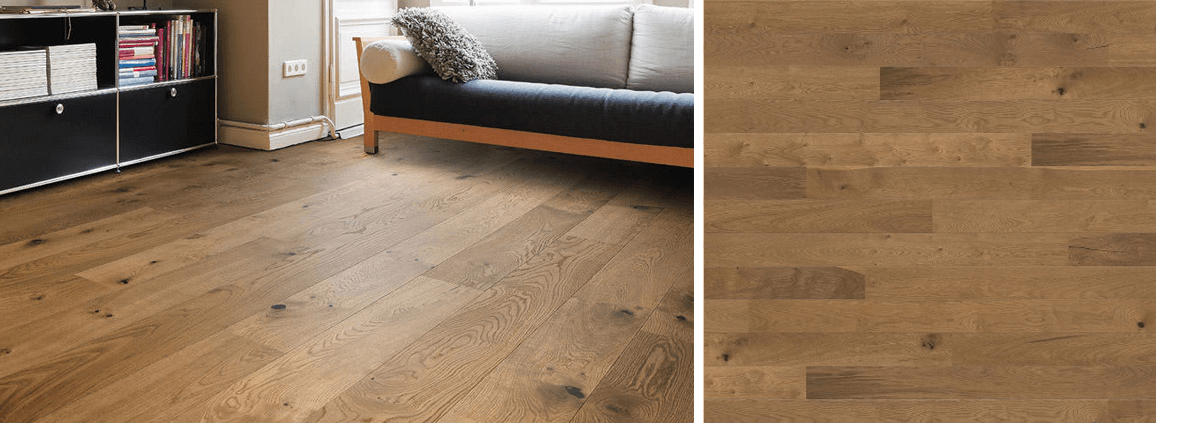
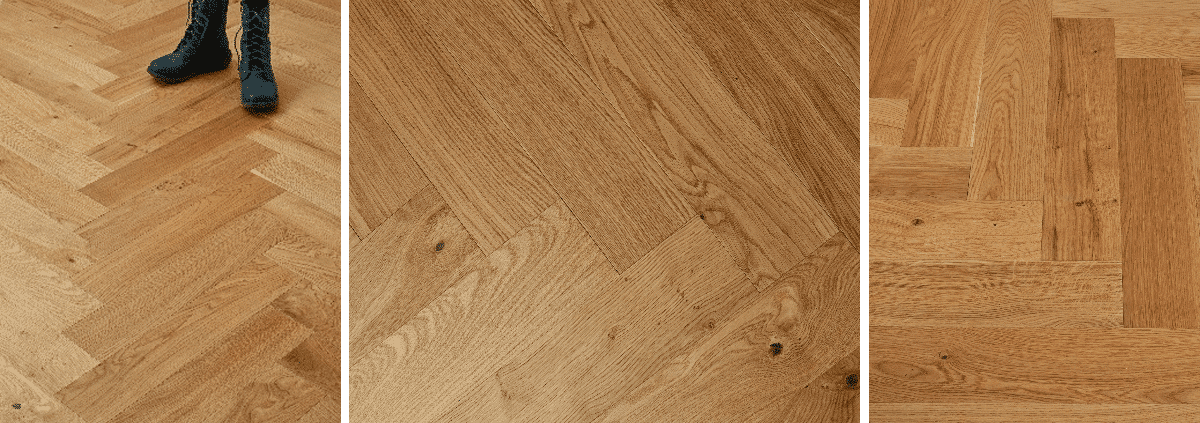
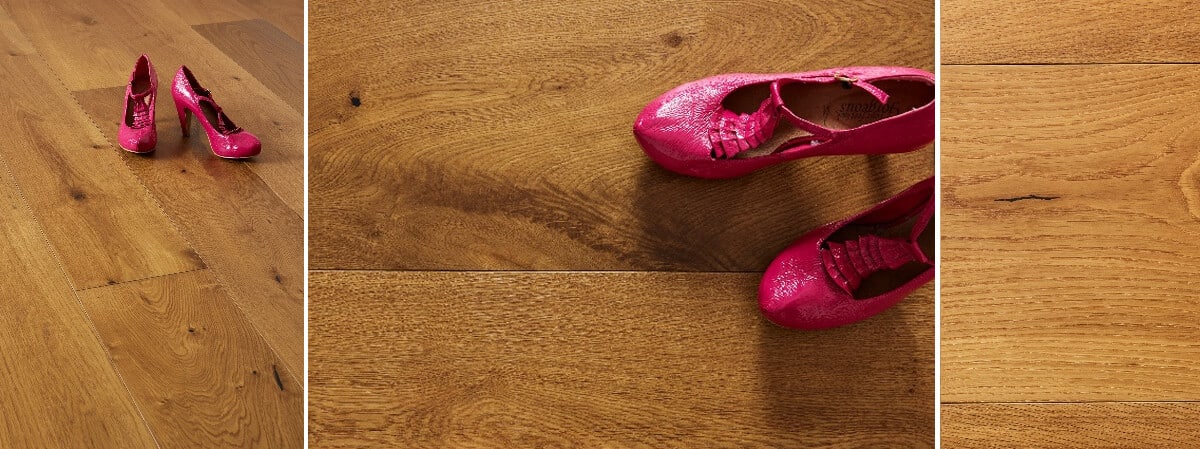
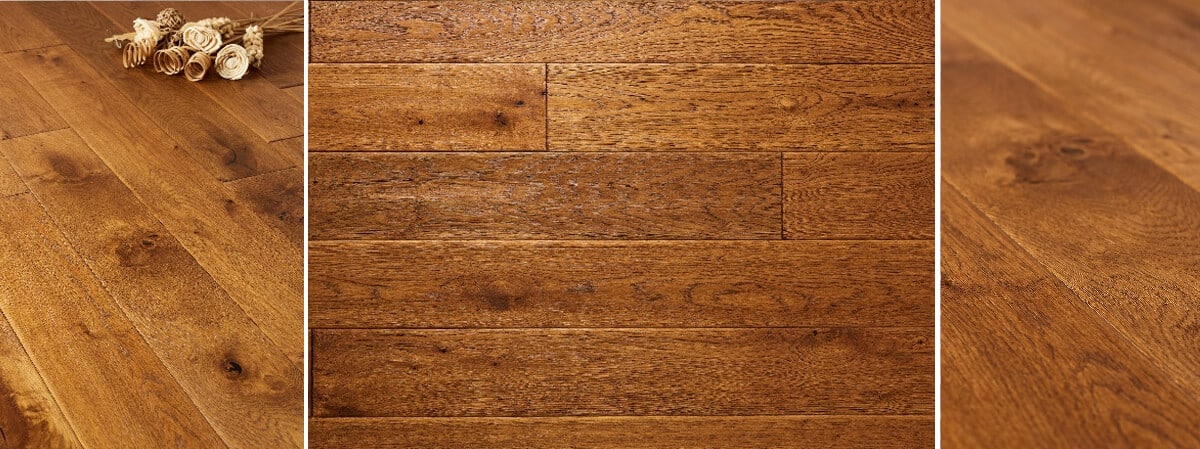
Herringbone flooring is characterized by its distinctive zigzag pattern formed by rectangular planks laid in a particular sequence. It is available in various materials, including solid wood, engineered wood, and laminate. This unique design not only enhances aesthetic appeal but also adds value to your property.
Benefits of Herringbone Flooring
- Timeless Elegance: Herringbone flooring offers a classic, timeless look that suits both modern and traditional interiors.
- Increase Property Value: Quality herringbone floors can increase the resale value of your home, making them a worthwhile investment.
- Versatile Style: Herringbone flooring can complement various decor styles, making it an excellent choice for any room in your home.
Herringbone Flooring Installation Tips
To ensure a smooth and successful installation, follow these herringbone flooring installation tips detailed below.
1. Plan Your Layout
Before starting the installation, it’s essential to plan your layout. Measure the space accurately and determine the best orientation for the herringbone pattern. A popular choice is to start from the center of the room and work your way outwards, which aligns well with our detailed wooden flooring installation guides.
2. Choose the Right Material
Selecting the appropriate material for your herringbone floor is crucial. Options like engineered wood flooring or solid wood flooring provide durability and aesthetics. If you’re in a moisture-prone area, engineered wood is recommended as it resists warping and buckling. You can explore more options like Balmoral engineered flooring or check prices for the Barn multi-ply flooring. For more information on the benefits of different wood species, visit Wood for Good.
3. Prepare Your Subfloor
Ensure your subfloor is clean, dry, and level. Any imperfections can affect the finished look of your herringbone flooring. You may need to use a floor leveling compound for significant dips or bumps. Learn more about subfloor preparation at Contract Flooring Association.
4. Acclimate Your Flooring
Before installation, allow your flooring to acclimate in the room where it will be installed. This process helps the wood adjust to the humidity and temperature of the space, preventing future warping or cracking.
5. Use Spacing Clips
During installation, use spacing clips to maintain equal gaps between planks. This spacing is vital for expansion and contraction, especially with temperature changes.
6. Lay Your First Row
Start laying your first row, ensuring the planks are perfectly aligned. You can use a chalk line to create a straight edge for your initial installation line. This will set the tone for the rest of your flooring.
7. Cutting and Fitting
As you progress, you may need to cut planks to fit around edges and corners. A miter saw works best for making precise cuts. Take your time and measure carefully to maintain the integrity of the herringbone pattern.
Common Mistakes to Avoid
Installation can be tricky, and it’s important to avoid these common mistakes during your herringbone flooring installation:
- Neglecting the Subfloor: Always ensure the subfloor is clean and dry before starting your installation.
- Skipping Acclimation: Don’t forget to acclimate your flooring—it can lead to problems later on.
- Poor Planning: Take the time to plan your layout to avoid uneven installations.
Professional Installation Services
If you’re feeling overwhelmed with the installation process, consider hiring professionals. Our Nationwide Hardwood Flooring Company offers expert installation services across Kent and beyond. Our team of skilled floor fitters ensures that your herringbone flooring is installed with precision and care, utilizing top-quality products like Benton multi-ply flooring. For reliable advice on various flooring options, check Which? Flooring Reviews.
Conclusion
Herringbone flooring adds elegance and character to any space, and with these tips, you can achieve a beautiful result. Whether you choose to install it yourself or hire a professional, understanding the installation process is essential. For more information, feel free to reach out to Nationwide Hardwood Flooring Company at 07940 528 315 or via email at enquiries@nhfcompany.co.uk.


