
Herringbone Wood Floor Restoration Techniques: 5 Tips
Expert Herringbone Wood Floor Restoration Techniques
If you’re looking to bring new life to your stunning herringbone wood floors, understanding the right restoration techniques is essential. Herringbone wood floors offer timeless elegance and character to any space, but over time they can lose their luster. Our expert team at the Nationwide Hardwood Flooring Company is here to guide you through effective restoration techniques that will rejuvenate your flooring and maintain its beauty for years to come.
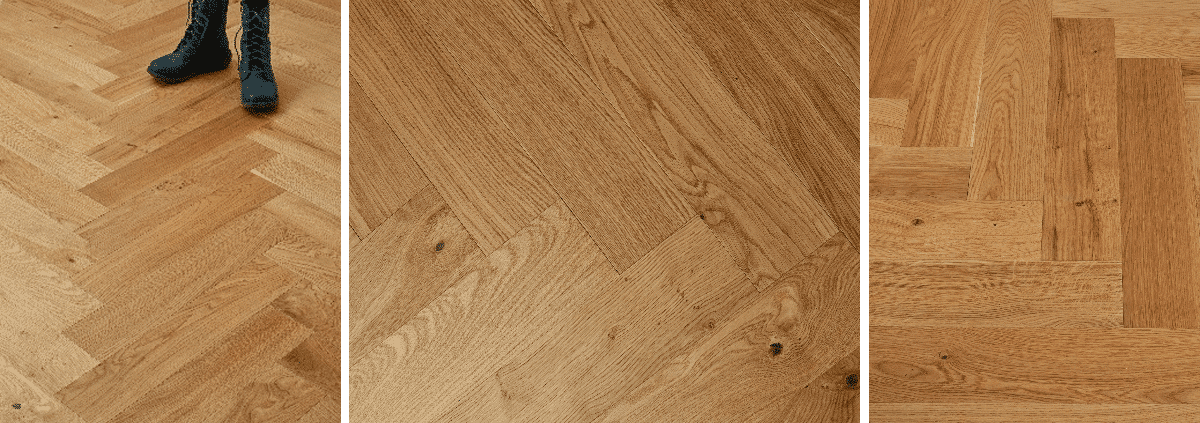
Understanding the Herringbone Pattern
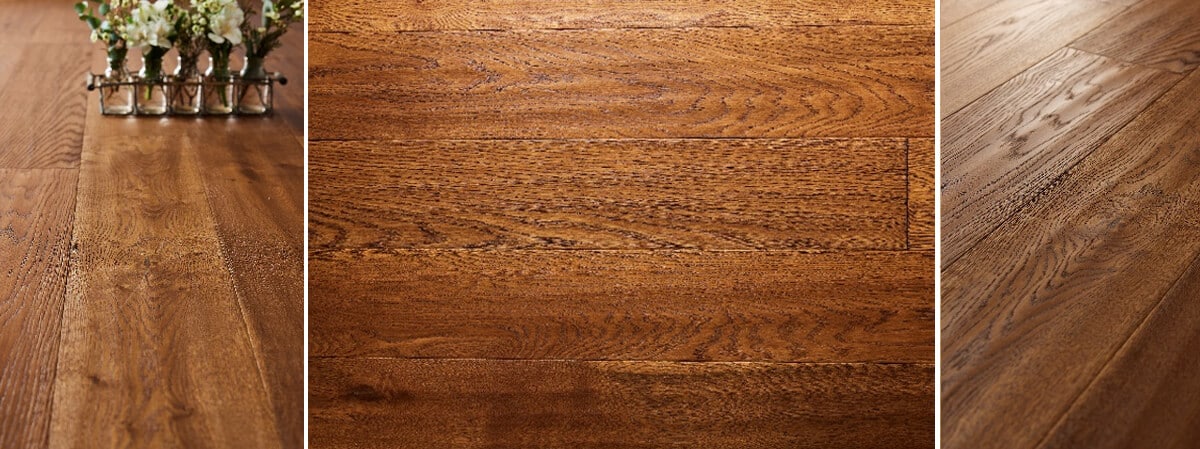
The unique herringbone pattern is one of the most recognizable designs in hardwood flooring. Composed of rectangular pieces laid in a distinctive zigzag formation, it adds a level of sophistication to any room. However, this intricate design can require special care during the restoration process. As you consider herringbone wood floor restoration techniques, it’s crucial to consider the type of wood used, its finish, and the specific conditions of your flooring. For more information about different wood species, check out this resource on oak.
Why Restoration is Important
Over time, even the highest quality wood floors can develop scratches, dents, and a dulled finish due to daily wear and tear. Regular maintenance and prompt restoration will not only enhance the aesthetic appearance of your herringbone flooring but also extend its lifespan. Here are several techniques to consider:
1. Clean Thoroughly Before Restoration
Before diving into restoration, it is essential to clean your floors. Use a soft broom or vacuum to remove dust and debris that can scratch the surface during restoration. For a deeper clean, a damp mop with a hardwood floor-safe cleaner can help remove grime without damaging the wood. You can find more cleaning tips on Bona’s official site.
2. Assess the Damage
Look for areas that exhibit severe signs of wear. Identify scratches, faded spots, or areas where the finish is wearing thin. This assessment will help you determine which areas require more intensive restoration techniques.
3. Sanding the Floor
Sanding is a fundamental step in the restoration process. It removes the upper layer of the wood, along with old finish and imperfections, revealing fresh wood underneath. Here’s how to do it:
- Choose the Right Grit: Start with a coarse grit sandpaper (around 36 to 40 grit) to tackle the more significant imperfections. Gradually move to finer grits (up to 120 grit) for a smoother finish.
- Use a Floor Sander: A drum or orbital sander will speed up the process. Make sure to sand in the direction of the wood grain to avoid leaving scratches.
- Maintenance Between Passes: Vacuum the floor between sandpaper changes to eliminate dust buildup that can create scratches.
4. Refinishing: Choosing the Right Finish
Once sanding is complete, applying the right finish is crucial for protection and aesthetics. Here are a few options:
- Oil-Based Polyurethane: Offers great durability and a warm tone to the wood but takes longer to dry.
- Water-Based Polyurethane: Dries quickly and clears, allowing the wood’s natural beauty to shine through.
- Satin vs. Matte vs. Gloss: Choose a sheen that matches your desired look. Satin offers a subtle finish while gloss provides a more polished appearance.
5. Incorporating Herringbone Repairs
If your herringbone wood floor has damaged sections, you may need to replace individual pieces before the restoration process. Carefully remove the damaged pieces using appropriate tools, and replace them with new or matching wood pieces. Make sure they fit seamlessly into the existing pattern, and follow the same sanding and finishing techniques for uniformity. For tips on proper wood repair, consider visiting TRADA’s resources.
Local Herringbone Restoration Experts in Kent
For those residing in Kent and the surrounding areas, our team at the Nationwide Hardwood Flooring Company specializes in herringbone wood floor restoration techniques.
With years of experience in serving customers in London, Surrey, Essex, and Sussex, we pride ourselves on delivering high-quality craftsmanship and exceptional service. Our products come from reputable ranges, ensuring that your flooring not only looks great but also stands the test of time. You can find more trustworthy services in your area by checking out Flooring International.
Why Choose Us?
- Expertise: Our skilled team understands the nuances of restoring herringbone patterns.
- Quality Products: We offer premium flooring options including engineered and solid wood flooring.
- Customer Satisfaction: With a customer-first approach, we ensure that your vision is realized in every project.
Contact Us Today!
If you’re ready to transform your herringbone wood floor, reach out to our team for a consultation. Call us at 07940 528 315 or email us at enquiries@nhfcompany.co.uk. Don’t let dull wood take away from the beauty of your home or business; consider these herringbone wood floor restoration techniques to rejuvenate your space effectively.
Final Thoughts on Herringbone Wood Floor Restoration Techniques
Restoring your herringbone wood floors can enhance the beauty of your property, providing a timeless elegance that complements any design interior. By following these expert herringbone wood floor restoration techniques, you can ensure your floors remain the captivating centerpiece they were meant to be.
Whether you’re in London, Surrey, Essex, or across the UK, we are here to help with all your flooring needs, from supply to installation, sanding, and restoration.


