
Installing Herringbone Patterns DIY: 5 Essential Tips
Installing Herringbone Patterns DIY: A Comprehensive Guide
If you’re looking to add a touch of elegance and sophistication to your home, herringbone flooring is the perfect choice. This classic pattern has made a significant resurgence in popularity, particularly in the UK. In this comprehensive guide, we’ll explore the steps you need to take when installing herringbone patterns DIY in your space.
What is Herringbone Flooring?
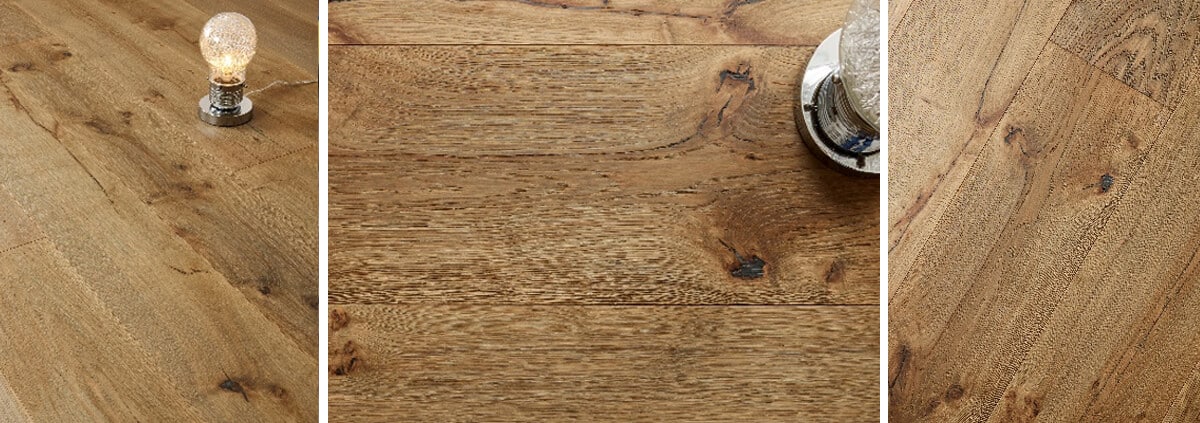
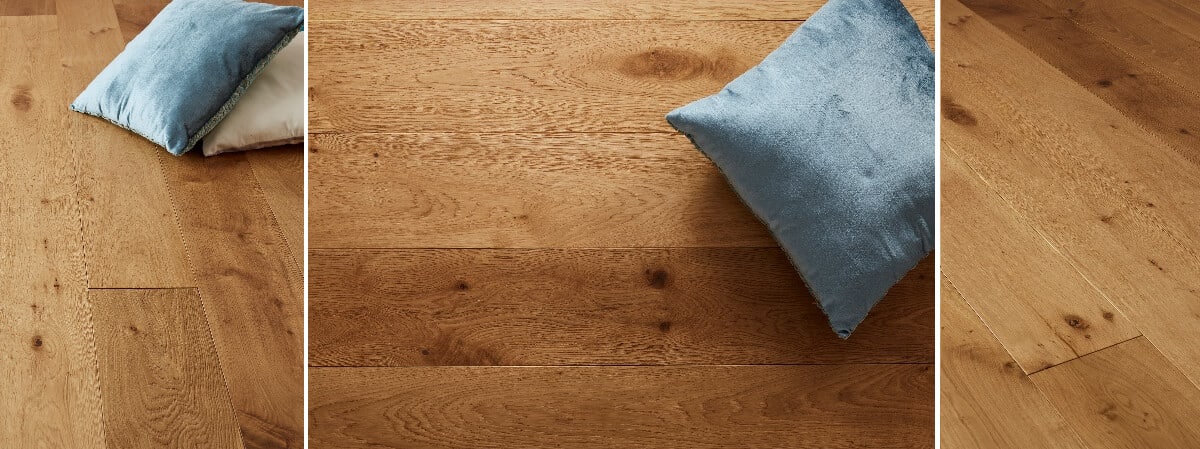
Herringbone flooring consists of rectangular pieces of wood laid in a zigzag pattern. This design not only provides visual interest but also creates a sense of space and movement in any room. Whether you choose engineered hardwood flooring or solid wood, installing herringbone patterns can be a rewarding project.
Benefits of Herringbone Flooring
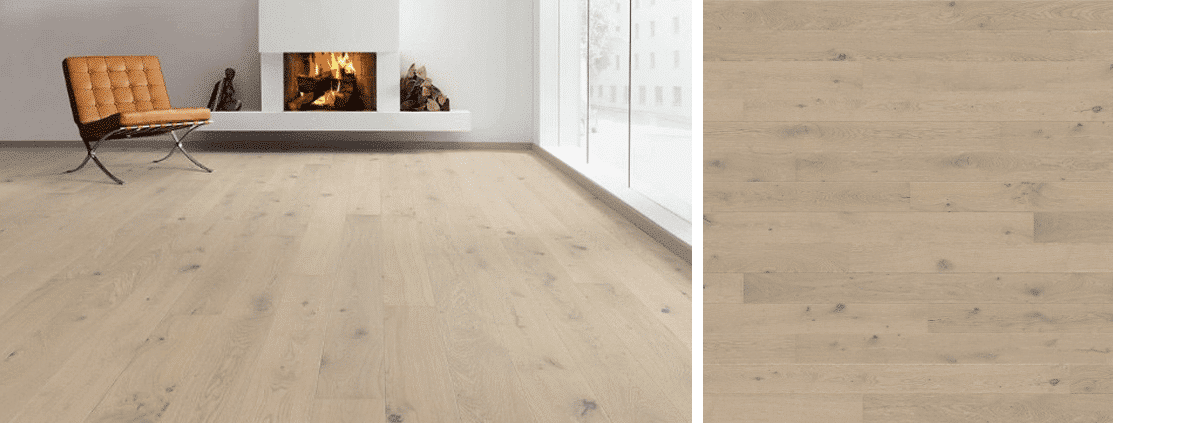
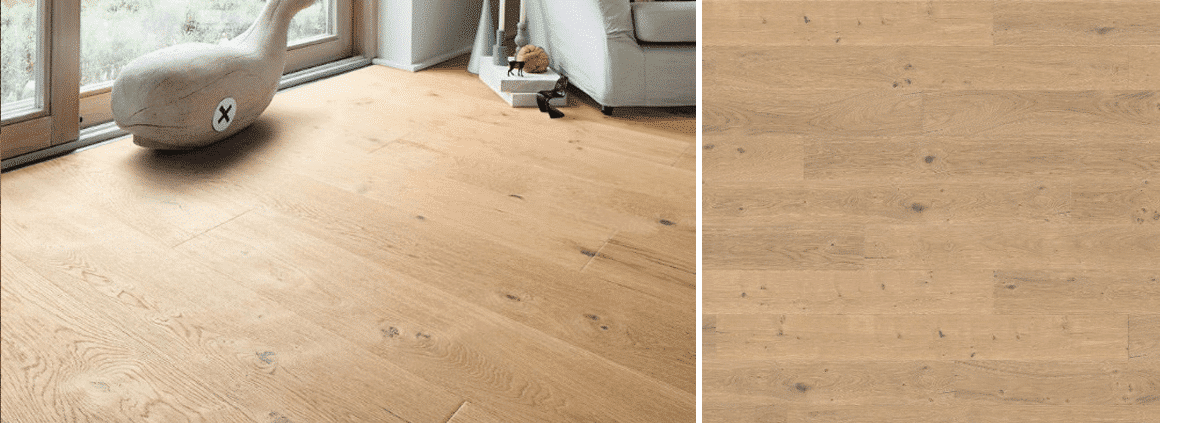
- Durability: Quality hardwood floors, such as oak hardwood flooring, are built to last.
- Versatility: Herringbone patterns can complement both modern and traditional interior styles.
- Value Addition: Installing premium hardwood floors can increase the resale value of your home. For more insights, visit Real Homes.
Essential Tools for DIY Installation
Before you start the installation process, make sure you have the following tools:
- Measuring tape
- Chalk line
- Carpenter’s square
- Utility knife
- Flooring adhesive or nails
- Floor roller or tapping block
- Safety goggles
Preparation Steps for Installing Herringbone Patterns DIY
Choosing Your Material
Decide whether you want to use engineered wood flooring or solid hardwood. Engineered timber floors are often preferred for installations over concrete subfloors, while solid wood might be ideal for wooden subfloors. Consider your space, budget, and desired aesthetics when making your selection. For more about choosing wood types, check out Wood for Good.
Measuring Your Space
Accurate measurements are crucial for a successful installation. Use your measuring tape to find the square footage of the area where you plan to install the flooring. Don’t forget to add an extra 10% to account for waste and mistakes.
Preparing the Subfloor
Your subfloor must be clean, dry, and level. Remove any old flooring and thoroughly clean the surface to ensure a proper bond with your new flooring. If necessary, use a leveling compound to correct any uneven areas. For guidelines on building regulations, refer to UK Government Building Regulations.
Step-by-Step Guide to Installing Herringbone Patterns
1. Establish a Starting Point
Using your chalk line and carpenter’s square, mark a reference line on the floor to guide your installation. It’s essential to start in the center or a straight edge of the room to maintain symmetry.
2. Lay the First Rows
Begin laying out the first row of herringbone pieces, aligning them with your reference line. Use flooring adhesive as needed, ensuring each piece is snugly fitted against the next.
3. Continue the Pattern
As you continue installing, ensure that each piece is correctly angled to form the herringbone pattern. Use your floor roller or tapping block to secure the pieces in place without damaging them.
4. Cut Pieces as Needed
Use your utility knife to cut pieces to fit around corners or along edges. This step may require some patience, as it’s essential to ensure a tight fit without gaps.
5. Finishing Touches
Once all flooring is laid, allow the adhesive to dry completely as per the manufacturer’s instructions. After that, consider adding baseboards or moulding to complete the installation and provide a polished look.
Maintaining Your Herringbone Flooring
To keep your new herringbone floors looking gorgeous, proper maintenance is key. Here are a few tips:
- Regularly sweep or vacuum to prevent dirt accumulation.
- Use a damp mop with a gentle cleaner specifically designed for wood floors.
- Avoid excessive water exposure, as this can damage the flooring.
- Consider consulting resources like Good Housekeeping for more cleaning tips.
Local Insights for Herringbone Flooring in Kent
As a resident of Kent, you are in the perfect location to explore showrooms and flooring stores that can help you find herringbone patterns made from premium hardwood. Don’t forget to check out places like Bluewater Shopping Centre, renowned for its variety of home improvement stores.
Additionally, many local installation professionals are available to assist you if the DIY route seems daunting. Companies such as Nationwide Hardwood Flooring Company provide quality materials and expert installation services. Whether you choose to hire a professional or take on the project yourself, your herringbone floors will undoubtedly impress.
Conclusion
Installing herringbone patterns DIY can elevate your home’s interior and bring a timeless charm to your space. With the right preparation, tools, and dedication, you can successfully transform your floors into a stunning design feature. Should you feel uncertain about the project, don’t hesitate to reach out to local professionals for assistance.
For quality materials and expert installation, contact Nationwide Hardwood Flooring Company at 07940 528 315 or email us at enquiries@nhfcompany.co.uk.


