
Kent Wood Floor Refinishing Techniques: 5 Powerful Tips
Kent Wood Floor Refinishing Techniques
If you’re looking to revive the look of your hardwood flooring, understanding the best Kent wood floor refinishing techniques is essential. Whether for aesthetics or maintenance, refinishing can breathe new life into your floors. Here, we will explore the most effective methods and tips for achieving stunning results.
Why Refinish Your Floors?
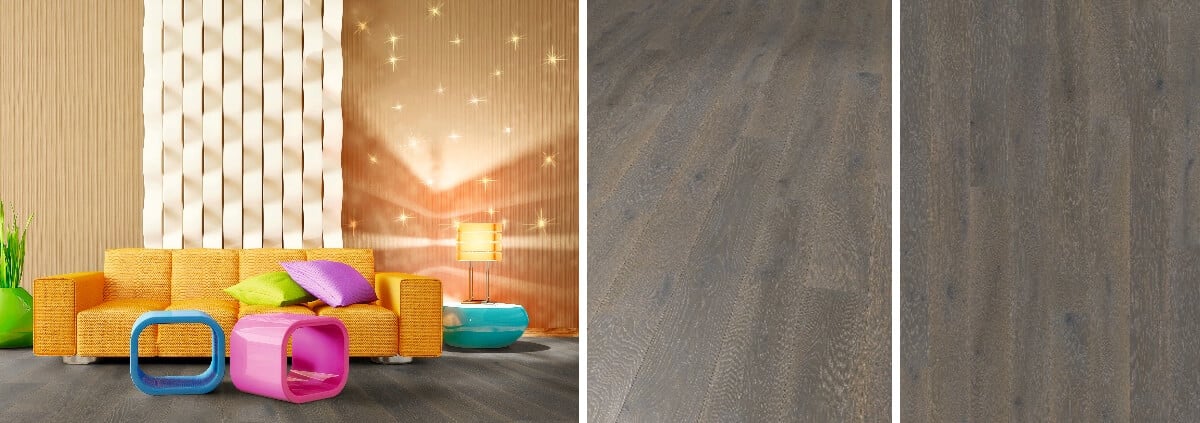
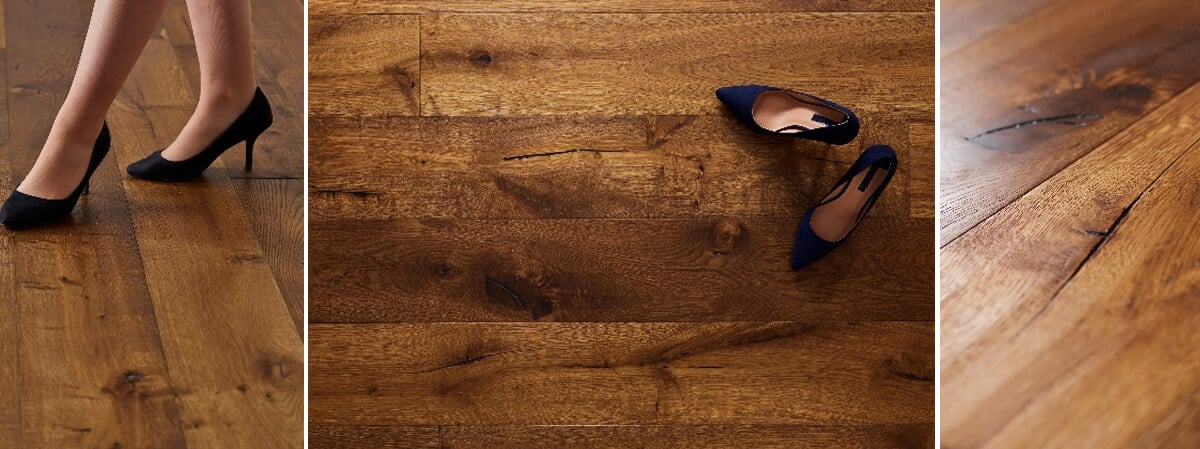
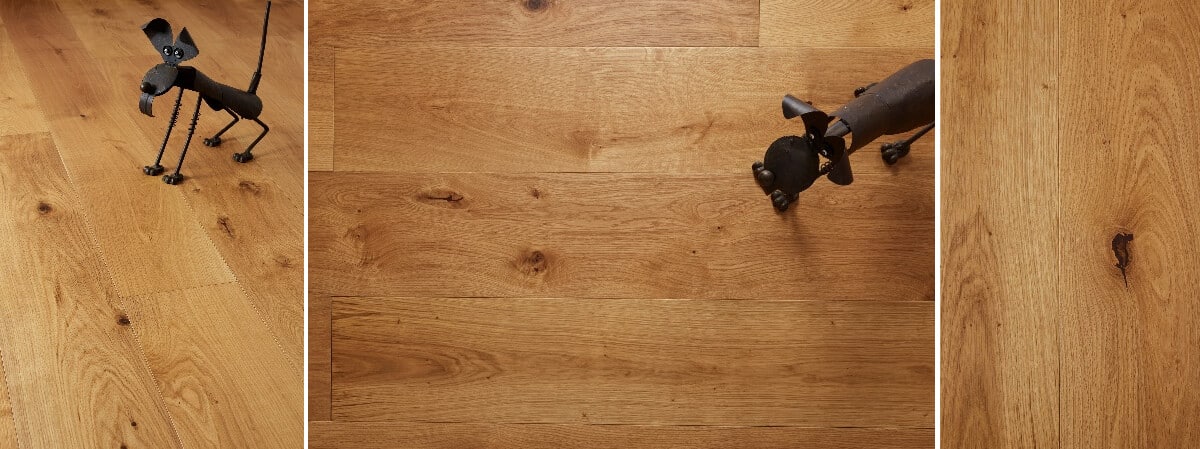
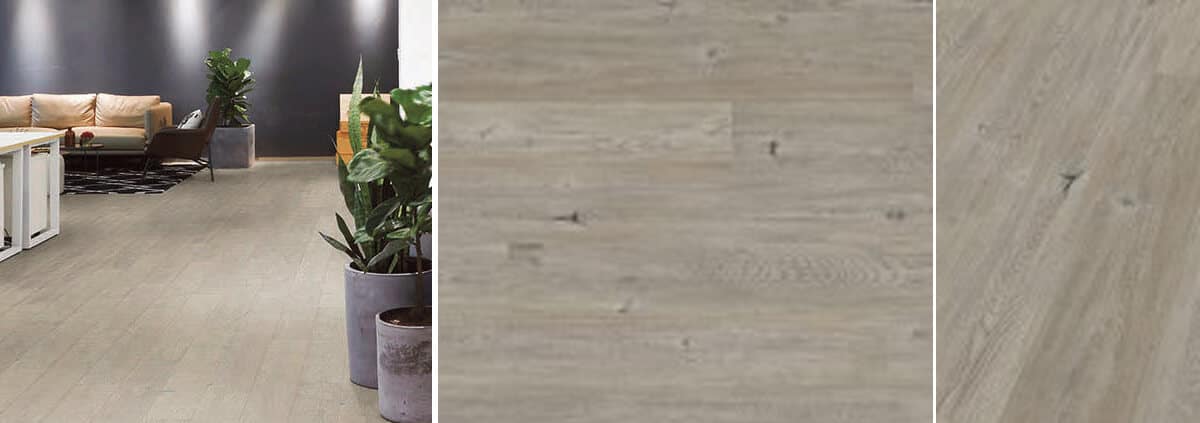
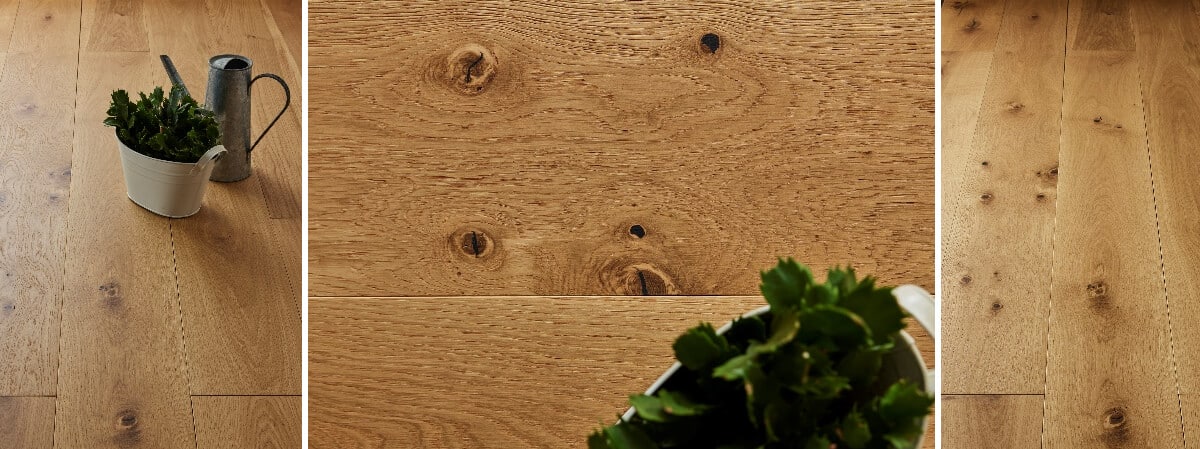
Hardwood floors are a significant investment, and keeping them in top condition is crucial for maintaining their value. Over time, wear and tear can lead to scratches, dents, and a dull finish. Refinishing not only enhances the visual appeal but also protects the wood from further damage. According to the Forest Stewardship Council, sustainably managed wood contributes positively to both your environment and property value.
Common Signs Your Floors Need Refinishing
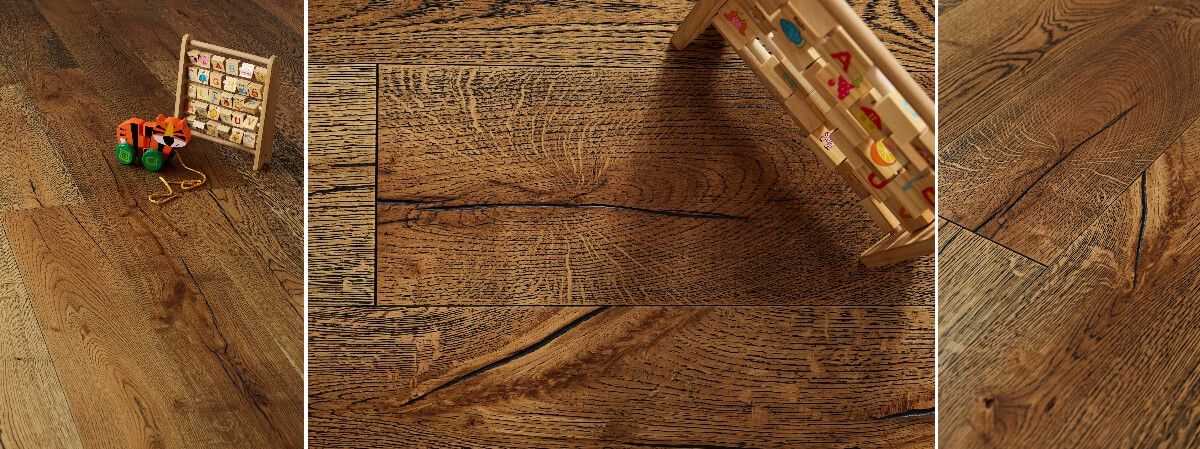
- Faded or Dull Appearance: If your wood floors appear lifeless or lose their sheen, it might be time for refinishing.
- Scratches and Dents: Minor scratches can be polished out, but deeper marks may require sanding and refinishing.
- Loss of Finish: If the finish is wearing away in high traffic areas, refinishing can restore the protective barrier.
- Water Damage: Stains from spills or moisture can compromise the wood and call for urgent attention.
Step-by-Step Kent Wood Floor Refinishing Techniques
Here are expert techniques you can use to achieve professional-looking results right in Kent.
Step 1: Assess the Condition of Your Floors
Before you begin, examine the extent of the wear and tear. Minor damage can often be addressed with screening and recoating, while significant scratches or discoloration might need a full refinish. Refer to Which? Flooring for detailed guidelines on evaluating your wooden floors.
Step 2: Gather Your Tools and Materials
To refinish your hardwood floors, you’ll need:
- Sander (drum or orbital)
- Sandpaper (various grits)
- Flooring finish (polyurethane, oil-based, or water-based)
- Paint roller and brush
- Safety gear (goggles, dust mask)
Step 3: Prepare the Room
Remove all furniture and rugs from the room. Ensure that doors and windows are open for adequate ventilation. If possible, cover vents to keep dust from circulating throughout your home. For more tips on preparation, visit DIY.com.
Step 4: Sanding Your Floors
Sanding is crucial for removing the old finish and preparing the wood for a new coat. For best results, follow these sanding tips:
- Start with a coarse grit sandpaper (40-60 grit) to remove the old finish.
- Progress gradually to finer grits (80-120 grit) to achieve a smooth surface.
- Always sand in the direction of the wood grain to avoid damaging fibers.
- Use a vacuum to remove all dust between sanding stages.
Step 5: Cleaning and Repairing
After sanding, clean the floor thoroughly to remove any dust. Inspect for any repairs. Fill small cracks and dents with wood filler that matches your flooring. Reference resources like Bona Equipment for quality tools used in floor maintenance.
Step 6: Applying the New Finish
Once the floors are clean and repaired, apply your chosen finish. Here’s how:
- Use a paint roller for larger areas and a brush for edges and corners.
- Apply thin layers to avoid drips and uneven finishes.
- Follow the manufacturer’s instructions for drying times between coats.
Step 7: Final Touches
After applying the last coat, allow sufficient drying time before moving furniture back in. Using furniture pads can help prevent scratches in the future. The Fiddes Finishes website offers insights on maintaining your finish post-application.
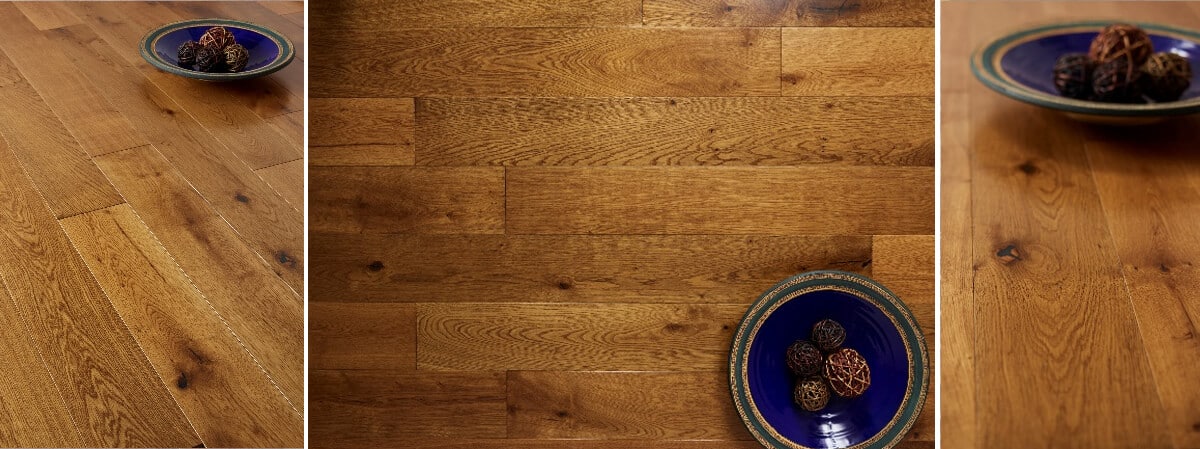
Choosing the Right Finish for Your Kent Floors
Different finishes offer varying levels of protection and aesthetics. Here’s a quick guide:
- Oil-Based Polyurethane: Durable and provides a warm appearance but has a strong odor and longer drying time.
- Water-Based Polyurethane: Quick drying and less odor but may require more applications for durability.
- Penetrating Oils: Enhance grain visibility and provide a natural finish but require more frequent reapplication.
Hiring Professionals for Kent Wood Floor Refinishing
For those who prefer a hassle-free experience, hiring professionals is always a viable option. Experts can ensure that the job is done correctly and efficiently, saving you time and effort. For guidelines on selecting a reliable contractor, consult the Contract Flooring Association.
Why Go Professional?
- Expertise: Professionals know the nuances of different wood types and finishes.
- Quality Equipment: They use high-grade tools that ensure a flawless finish.
- Time-Saving: You can enjoy your beautiful floors sooner.
Local Kent Hotspots to Explore Post-Refinishing
Once your wood floors are refinished, enjoy the stunning aesthetic by exploring some local Kent attractions:
- Dover Castle: A historic fortress offering breathtaking views and fascinating history.
- Canterbury Cathedral: A UNESCO World Heritage site known for its stunning architecture.
- Chartwell House: The former home of Winston Churchill, providing tours and beautiful gardens.
Conclusion
Refinishing your hardwood floors using the right Kent wood floor refinishing techniques can significantly enhance your home’s beauty and its value. Whether you take the DIY route or hire a professional, proper care and maintenance of your floors will ensure they last for years to come. For assistance or inquiries, feel free to reach out to the Nationwide Hardwood Flooring Company at 07940 528 315 or email enquiries@nhfcompany.co.uk. Let’s bring beauty back to your hardwood floors!


