
Professional Hardwood Floor Sander Tips
Mastering the Art of Using a Professional Hardwood Floor Sander
Hardwood floors are a beautiful and timeless addition to any home, offering elegance and warmth. To maintain their beauty and ensure longevity, professional sanding is an essential task. At Nationwide Hardwood Flooring Company, we understand how crucial it is to use the right tools and techniques when sanding hardwood floors. In this guide, we’ll explore the best practices for using a professional hardwood floor sander to achieve smooth, flawless finishes.
Why Choose Professional Hardwood Floor Sanders?
Opting for professional-grade sanders ensures you receive high-quality results while saving time and effort. Unlike DIY sanding tools, professional sanders are designed for intensive work and provide a consistent surface finish. Let’s look at the benefits of choosing a professional sander:
- Efficiency and Speed: Professional sanders are powerful enough to cover large areas quickly.
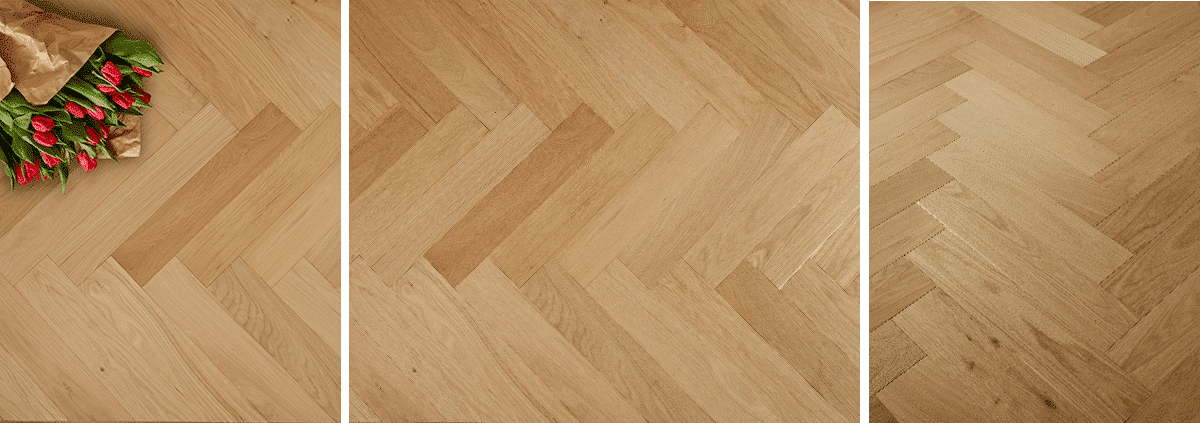
- Versatility: These sanders are equipped to handle different wood types and surfaces, including herringbone patterns and engineered oak flooring.
- Precision: Achieve an even finish without the risk of uneven patches or scratches.
Types of Professional Hardwood Floor Sanders
Various types of sanders are available for professional floor sanding. Understanding their uses will help you choose the right one for your needs:
- Belt Sanders: Ideal for initial sanding of wooden floors to remove old finishes and level uneven surfaces. Learn more about their functionality on HowStuffWorks.
- Drum Sanders: Known for their power, drum sanders are perfect for removing tough finishes and deep scratches. For more technical details, visit DIY Network.
- Orbital Sanders: These provide a finer finish and are used for the final sanding stages to ensure a smooth surface. See Family Handyman for tips on using orbital sanders effectively.
How to Use a Professional Hardwood Floor Sander: Step-by-Step Process
Using a professional hardwood floor sander correctly involves several precise steps to ensure the best results. Here’s a step-by-step process:
Step 1: Prepare the Room
Remove all furniture and cover vents and electrical outlets to protect them from dust. Check the floor for nails or staples that could damage the sander. For comprehensive preparation tips, visit Bob Vila.
Step 2: Choose the Right Grit Sandpaper
Start with a coarse grit sandpaper to remove old finishes. Gradually move to finer grits for a smooth finish. Understanding grit size and usage can be found at This Old House.
Step 3: Begin Sanding
Operate the sander across the floor with steady, even movements. Follow the grain of the wood to prevent scratches.
Step 4: Edge and Detail Sanding
Use an edging sander to reach corners and edges. For intricate areas, hand sand with finer grit paper.
Step 5: Clean and Finish
Vacuum the sanding dust and wipe with a damp cloth. Apply a wood finish or stain of your choice for beautiful results. Consider using finishes like Loch Tummel Multi-Ply Flooring for a quality finish.
Local Insights: Sanding Your Floors in London
London is known for its diverse architecture, including beautifully designed wooden floors. Whether your home features luxury floors in Kensington or traditional wood in Chelsea, maintaining their appearance is essential. Contact Nationwide Hardwood Flooring Company at 07940 528 315 or email us at enquiries@nhfcompany.co.uk for expert advice and floor sanding services across the London area.
Conclusion
Achieving perfectly smooth and durable wooden floors is possible with the right tools and expertise. By following this guide and using a professional hardwood floor sander, you can transform your floors into stunning showcases of your home’s beauty. For expert assistance, reach out to Nationwide Hardwood Flooring Company – your trusted partner in floor care and maintenance.


