
Sand and Seal Timber Floors: Ultimate Guide
The Ultimate Guide to Sand and Seal Timber Floors
For homeowners in the UK, timber floors are a popular choice due to their durability and timeless appeal. However, maintaining their beauty requires regular care, including sand and seal processes. This guide will walk you through the steps needed to effectively sand and seal your timber floors, ensuring they remain a beautiful and valuable part of your home. For a comprehensive understanding of the benefits of timber flooring, visit Houzz UK Floors.
Why Sand and Seal Your Timber Floors?
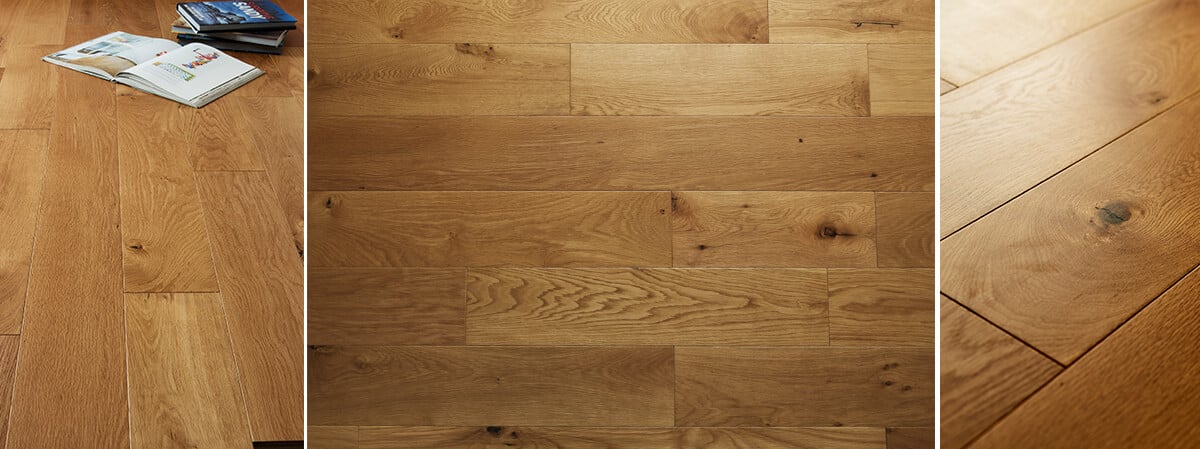
Timber floors can significantly enhance the aesthetic appeal of your home. Over time, however, they are prone to scratches, dullness, and other signs of wear and tear. Sanding and sealing not only restore the floor’s original beauty but also extend its lifespan by providing a protective layer. Discover more about the importance of maintaining wooden floors to understand the significance of professional care.
Benefits of Sanding Timber Floors
- Removes Imperfections: Sanding eliminates scratches, dents, and stains.
- Restores Aesthetic Appeal: Brings back the natural shine and texture of the wood.
- Prepares for Sealing: Creates a smooth surface for sealant application.
Advantages of Sealing Timber Floors
- Protection Against Moisture: Sealants prevent water damage and warping.
- Enhanced Durability: Increases resistance to foot traffic and wear.
- Maintains Floor Color: Sealers help preserve the wood’s natural color and grain.
How to Sand Timber Floors in London
London homes often feature elegant timber flooring, but keeping them pristine requires specific care techniques. Here’s a step-by-step approach:
Preparation
Before starting the sanding process, ensure that the room is cleared of furniture and the floor is cleaned to remove dust and dirt. Check out Which’s guide for professional assistance and tips on floor preparation.
Step 1: Selecting the Right Equipment
Choose a sander that is suitable for your floor type. A drum sander is ideal for large areas, while an edger works best for corners and edges. Consider exploring TimberLake Flooring for high-quality material options.
Step 2: Sanding the Floors
Start with a coarse-grit sandpaper to remove the old finish and level the floor. Progressively use finer grits to smooth the surface. Remember to follow the grain of the wood to prevent damage.
Step 3: Cleaning Up
Once sanding is completed, vacuum thoroughly to eliminate all dust. This ensures a clean surface for sealing.
How to Seal Your Timber Floors in London
Sealing is crucial for protection and should be done soon after sanding. Here’s how:
Choosing the Right Sealer
Consider the type of timber and the desired finish. This Old House offers in-depth insights into choosing between oil-based and water-based sealers.
Step 1: Applying the Sealer
Using a brush or roller, apply the sealer evenly across the floor, following the grain. Ensure to apply multiple coats for maximum protection, allowing adequate drying time between coats.
Maintenance Tips
Regularly dust and clean your floors with a damp mop to keep them looking fresh. Avoid using harsh chemicals that can damage the sealant.
Local Spots to Check Timber Floor Craftsmanship in London
Explore the exquisite timber work at local historical landmarks such as the Tower of London, which features stunning wooden interiors showcasing traditional craftsmanship. Learn from the experts by visiting Wood Floor Showcase to see some remarkable examples.
Conclusion
Sanding and sealing timber floors are integral to maintaining their beauty and functionality in your home. Whether you do it yourself or hire professionals, ensuring the job is done correctly will keep your floors looking stunning for years. For expert guidance, reach out to Nationwide Hardwood Flooring Company via contact us or call 07940 528 315. Embrace the elegance and practicality of well-maintained timber floors.


