
Sanding Softwood Floors: Top Techniques & Tips
Sanding Softwood Floors: A Comprehensive Guide
If you own softwood floors, keeping them in pristine condition is key to maintaining their beauty and longevity. Sanding is an essential process for revitalizing softwood flooring, making it look as good as new. This guide dissects the art of sanding softwood floors, offering insights into the techniques, tools, and tips needed for achieving the best results.
What are Softwood Floors?
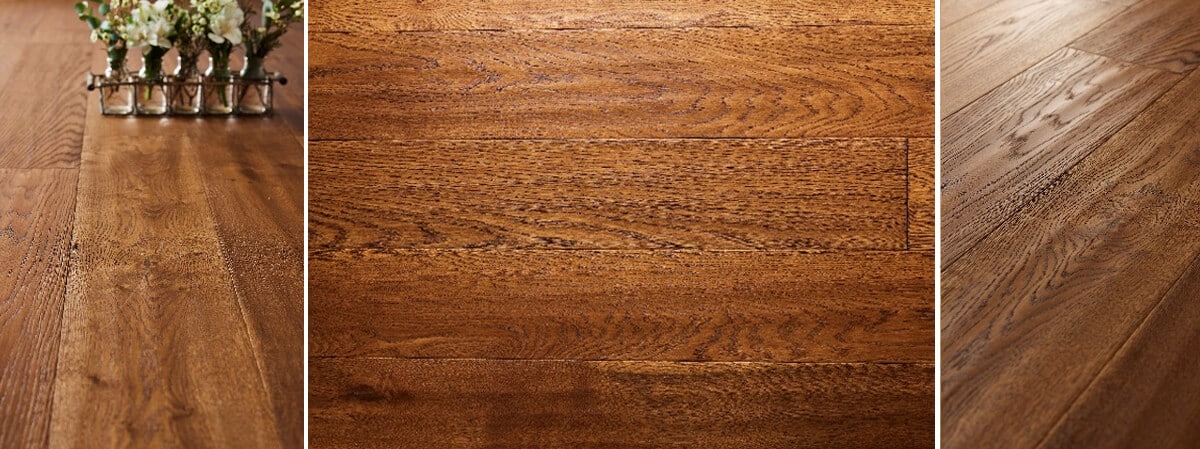
Softwood floors, characterized by their lighter color and distinctive grain patterns, are typically made from species such as pine, cedar, and spruce. These floors are popular in homes due to their natural appearance and warm ambiance. However, given their softer nature, they require careful handling during processes like sanding. For more insight into different types of flooring, consider checking out the range of multi-ply flooring options. You can also explore different wood species on The Wood Database.
Why Sand Softwood Floors?
Over time, all wooden floors, including softwoods, accumulate scratches and lose their shine. Sanding removes the top layer of the wood along with any imperfections, dirt, or stains, exposing the fresh wood underneath. This process not only restores the floor’s aesthetics but also prepares it for refinishing with varnish or oil, which protects and enhances the wood’s natural beauty. Learn more about wooden floor installation and maintenance techniques for protecting your investment. For further information on wood finishing techniques, refer to This Old House.
Tools and Materials Required
- Orbital Sander or Drum Sander
- Various Grit Sandpapers (60, 80, 120)
- Vacuum Cleaner
- Safety Gear (Masks, Goggles, Ear Protection)
- Wood Filler (if repairing gaps or holes)
- Varnish or Floor Oil
- Paint Rollers or Brushes
Choosing the Right Sanding Equipment
For softwood floors, an orbital sander is often recommended over a drum sander due to its ability to reduce the risk of gouging. Its gentle action helps ensure even sanding without damaging the softer wood fibers. Comprehensive information on sanding tools can be found at Popular Woodworking.
Step-by-Step Guide to Sanding Softwood Floors
Step 1: Preparation
Clear the room of all furniture and ensure good ventilation. Check the floor for nails or staples sticking out which should be tapped in to prevent damaging the sander. Use wood filler to repair any significant gaps or holes in the floor.
Step 2: Initial Sanding
Begin with a coarser sandpaper (60-grit) to remove the old finish and get rid of significant imperfections. Move the sander in the direction of the grain. Keep the sander moving at a steady pace to prevent uneven sanding.
Step 3: Intermediate Sanding
Switch to an 80-grit sandpaper for the intermediate sanding. This step helps in smoothing the marks left by the coarser paper and begins the process of fine finishing.
Step 4: Final Sanding
Finish with a fine 120-grit sandpaper. This stage is crucial for achieving a smooth surface and preparing the wood for finishing treatments like staining or sealing.
Step 5: Cleaning
Thoroughly vacuum the floor to remove dust. It’s vital to ensure the surface is clean before applying any kind of finish.
Step 6: Finishing
Depending on the desired finish, you may choose varnish for a glossy appearance or oil for a more natural look. Apply evenly with a brush or roller and allow it to dry completely. For further guidance on varnishing techniques, visit Family Handyman.
Tips for Sanding Softwood Floors
- Consistency is Key: Maintain a steady pace with the sander to avoid creating uneven surfaces.
- Test Before Applying Finish: Always test your chosen finish on a small area to ensure it meets your aesthetic expectations.
- Regular Maintenance: Use rugs in high traffic areas to minimize wear and extend the time between sanding cycles.
- Local Insight: In London, due to the typical Victorian and Edwardian house structures, which often feature compact rooms, smaller sanding machines are usually more effective for reaching tight corners than large industrial sanders.
Hiring Professional Services
Although DIY sanding is feasible, hiring a professional can ensure a high-quality finish and save time. Nationwide Hardwood Flooring Company offers expert floor sanding services throughout London. With years of experience and dedicated teams, we ensure your softwood floors regain their original luster. Visit our portfolio to see our previous projects and outcomes.
Conclusion
Softwood floors add elegance and warmth to any home. By properly sanding them, you can preserve their beauty and durability for years. Whether you choose to tackle this as a DIY project or engage professional services, understanding the process will help you make informed decisions, enhancing the lifespan of your softwood flooring.
Contact us today at 07940 528 315 or email enquiries@nhfcompany.co.uk for more information or to book a consultation. You can also reach us through our contact page.


