
Sanding Tongue and Groove Flooring: A Complete Guide
Sanding Tongue and Groove Flooring: A Comprehensive Guide
At Nationwide Hardwood Flooring Company, we understand the importance of maintaining your hardwood floors to ensure their longevity and aesthetic appeal. One critical aspect of caring for your tongue and groove flooring is sanding. This guide provides you with all the necessary insights into sanding tongue and groove flooring, tailored specifically for the beautiful locales of London. Learn more about our herringbone multi-ply options that complement such projects. For more general information on maintaining hardwood floors, you can visit the New York Times Wirecutter guide on cleaning wood floors.
Understanding Tongue and Groove Flooring
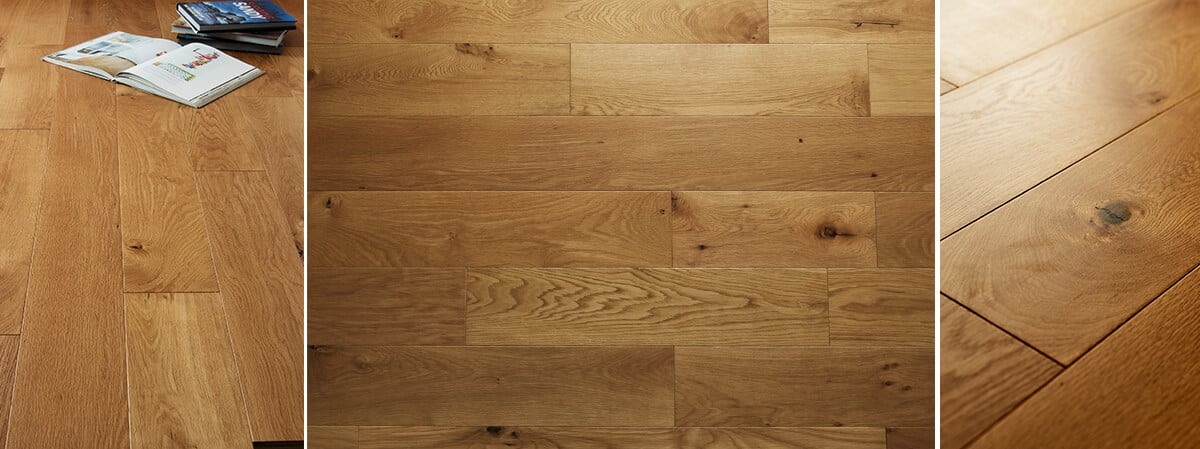
Tongue and groove flooring is a popular choice among homeowners due to its ease of installation and seamless finish. The design allows the edges of adjacent boards to fit snugly together, creating an interconnected surface. This interlocking system makes sanding a bit different from regular planks. For those considering alternate flooring choices, explore our Loch Achray multi-ply flooring options.
The Significance of Sanding
Sanding is crucial for restoring the original shine and smoothness of your floors. Over time, wood floors can become dull and worn. Sanding not only rejuvenates their appearance but also prepares the surface for any varnishes or sealants, enhancing durability. For tips on why sanding is essential, check out this guide by This Old House.
Preparation for Sanding Your Flooring in London
Before beginning the sanding process, it’s essential to prepare the floor and the environment. Here’s what you need to do:
- Ensure the room is well-ventilated to avoid dust accumulation.
- Move any furniture and cover fixtures to protect them from dust.
- Inspect the flooring for any loose boards or nails sticking out, as these need fixing before you sand. Consider our wooden floor installation services for professional assistance.
Local Hotspots in London with Great Flooring Inspiration
For inspiration on flawless flooring, you can visit some of London’s architectural gems, which feature beautifully maintained tongue and groove floors, such as the historic Hampton Court Palace and the iconic Victoria and Albert Museum. For more on these places, the Historic Royal Palaces website provides detailed visitor information.
The Sanding Process
The actual sanding process involves several steps and should be carried out with precision:
- Choosing the Right Equipment: Use a drum sander for larger areas and a palm sander for corners and edges.
- Starting with Coarse Grit: Begin with coarse sandpaper (around 40-grit) to remove the top layer of finish and level out any uneven spots.
- Progressing to Finer Grit: Move to a medium-grit sandpaper (60 to 80-grit) for smoothing out the initial sanding marks.
- Finishing with Fine Grit: Conclude with fine sandpaper (100 to 120-grit) to achieve a perfectly smooth surface ready for finishing treatments.
Safety Tips During Sanding
While sanding your floors, safety should be a priority. Wear protective goggles and a dust mask to prevent inhaling particles. Ensure all equipment is in good working condition and follow manufacturer guidelines. The CDC NIOSH provides more extensive safety guidelines for similar home improvement tasks.
Post-Sanding: What Comes Next?
Once sanding is complete, your floor is ready for finishing or staining. This step enhances the wood’s natural color and offers protection against wear and tear:
- Applying Sealant: Use a high-quality sealant to protect the wood from moisture and scratches. Consider our Timbertop engineered flooring for additional options.
- Adding a Stain: If you desire a specific hue, apply a suitable wood stain before sealing.
- Final Polish: A final polish brings out an extra shine and adds a layer of protection.
Maintaining Your Sanded Floors
Maintaining sanded tongue and groove flooring is simple yet essential. Regular sweeping and occasional mopping with a damp cloth will help retain their beauty. Avoid using harsh chemicals, which can damage the finish. For more tips, browse our blog. Additional maintenance tips can be found on the Bob Vila website.
The Role of Professional Flooring Installers in London
If you’re unsure about sanding your floors, consider hiring professional flooring installers like Nationwide Hardwood Flooring Company. Professionals have the skills and equipment to get the job done efficiently and safely. Read about our experience and expertise in the field.
For more information on our services or to get a quote for sanding your tongue and groove flooring, contact us at enquiries@nhfcompany.co.uk or call us on 07940 528 315. Alternatively, visit our contact page.
Conclusion
Sanding tongue and groove flooring can transform the look and feel of your home. Whether you’re in a historic townhouse or a contemporary apartment in London, maintaining your floors enhances both their durability and aesthetic appeal. Follow this guide for successful sanding and consider professional help if needed to achieve the best results for your home.
At Nationwide Hardwood Flooring Company, we’re dedicated to helping you keep your floors in prime condition. Don’t hesitate to reach out to our team for expert advice and services.


