
Staining Engineered Wood Floors: Pro Tips
Comprehensive Guide to Staining Engineered Wood Floors
Welcome to Nationwide Hardwood Flooring Company, your go-to provider for all things wood flooring. With over a decade of experience in supplying and installing quality wood flooring across the UK, we are here to guide you through the process of staining engineered wood floors, a crucial step in customizing your flooring to suit your aesthetic and functional needs.
Understanding Engineered Wood Floors
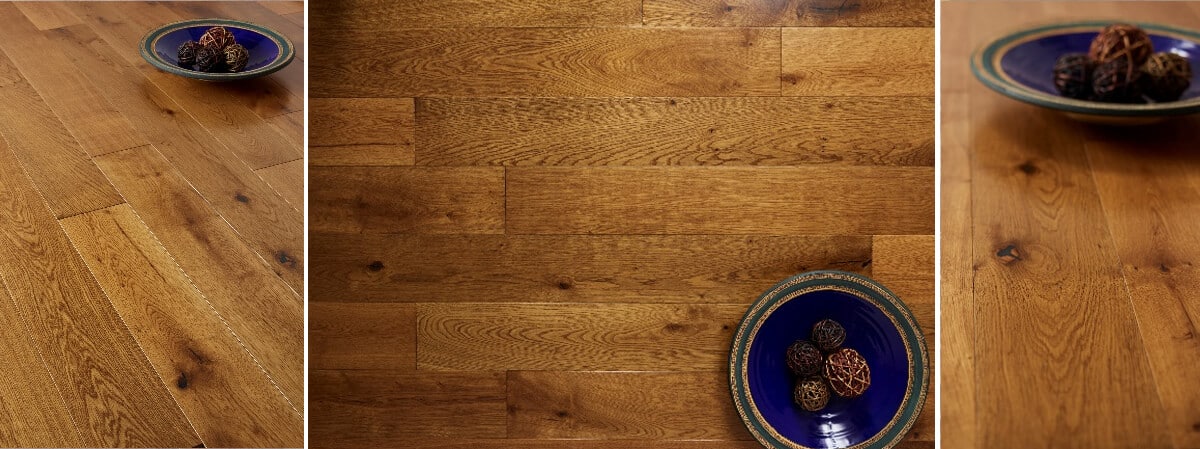
Engineered wood flooring is a popular choice among homeowners today owing to its durability and versatility. Composed of a solid wood veneer atop plywood layers, this flooring offers the perfect balance of beauty and strength. For those considering an upgrade, our Timbertop Engineered Flooring offers an excellent selection that complements any room design. But, unlike traditional hardwood, engineered wood requires specific considerations when it comes to staining.
Why Choose Engineered Wood Flooring?
Engineered wood floors can withstand temperature and humidity fluctuations better than solid wood, making them ideal for any room, including basements and kitchens. They are also more environmentally friendly due to optimized wood use. Consider our Loch Sheil Multi-Ply Flooring for an eco-friendly yet stylish choice. To explore more about the environmental benefits of engineered wood, visit the Wood for Good foundation which promotes sustainable wood products.
Local Insights: Engineered Wood Flooring in London
In the bustling city of London, engineered wood flooring has become a preferred choice for both residential and commercial spaces. Its ability to mimic the appearance of solid wood without the susceptible downsides makes it fitting for the historical and contemporary aesthetics found throughout the city. Whether you are looking to enhance a Victorian terrace or a modern apartment, engineered flooring offers flexibility and style.
Preparing for Staining Engineered Wood Floors
Before you begin the staining process, it is crucial to prepare your floors properly. This ensures the stain adheres correctly and appears even.
Step 1: Cleaning the Floor
Make sure to thoroughly clean the floor, removing all dust, dirt, and previous finishes. A clean surface ensures the stain penetrates evenly and highlights the wood grain properly. Refer to the HGTV Guide on Hardwood Care for detailed cleaning practices.
Step 2: Sanding the Surface
Though engineered wood has a thin veneer, light sanding may still be necessary. This helps remove any existing topcoat and smooths out any imperfections. Use fine-grit sandpaper to avoid damaging the veneer.
Step 3: Choosing the Right Stain
Stains come in various colors and bases. Consider the existing design elements in your space and select a stain that complements them. Oil-based stains are popular for their rich finish, while water-based stains dry faster and have fewer odors. Learn more about different stain options at This Old House.
Staining Process
Follow these steps to achieve a flawlessly stained engineered wood floor:
- Test a Sample: Always test the stain on a small, inconspicuous area first. This helps you gauge color appropriateness and ensures proper adherence.
- Apply the Stain: Use a brush or rag to apply the stain, going with the wood grain. Allow it to penetrate the surface for about 10-15 minutes before wiping off excess with a clean cloth.
- Drying Time: Let the stain dry completely, following the manufacturer’s recommendations. This usually takes between 6-8 hours, depending on environmental conditions and stain type.
- Applying Finish: Once the stain is fully dried, apply a polyurethane finish to protect the wood and enhance the stain’s longevity. Check out insights on finishes at Bob Vila.
Advantages of Staining Engineered Wood Floors
- Customization: Staining allows you to customize your flooring to match your personal taste and home’s interior style.
- Protection: It adds an additional layer of protection against wear and tear.
- Enhanced Appearance: Staining brings out the natural beauty of wood, highlighting its grain patterns and textures. Consider exploring our Herringbone Multi-Ply Chatsworth Flooring for a luxurious appearance.
Considerations for London Homes
If you live in London, where historical home values are high, maintaining your flooring’s visual appeal is crucial. Staining can rejuvenate old, tired floors and increase your home’s market value. Learn more about our completed projects across London.
Common Mistakes to Avoid
- Skipping Preparation: Inadequate preparation can lead to patchy finishes.
- Ignoring Drying Times: Insufficient drying times can cause smudged or uneven surfaces.
- Over-Sanding: This can thin the veneer, risking damage. Always sand lightly.
Professional Installation and Maintenance
Nationwide Hardwood Flooring Company can assist with professional installation and maintenance services to ensure your engineered wood floors are finished and maintained to the highest standards. Our expert team offers personalized consultations to help you achieve your desired aesthetic.
Contact Us: Call us at 07940 528 315 or email enquiries@nhfcompany.co.uk for more information about staining engineered wood floors or to schedule an installation consultation.
Conclusion
Staining engineered wood floors can transform the appearance of your home, providing a unique and custom look that is both durable and stylish. With proper preparation, application, and maintenance, you can enjoy a stunning floor that complements your living space and enhances your home’s overall appeal. For expert advice and service, look no further than Nationwide Hardwood Flooring Company, where quality and customer satisfaction come first.


