
Step-by-Step Herringbone Floor Installation: 7 Tips
Step-by-Step Herringbone Floor Installation Guide
Welcome to the Nationwide Hardwood Flooring Company’s comprehensive guide on step-by-step herringbone floor installation. If you’re in Kent or surrounding areas like London, Surrey, Essex, or Sussex, you’re in the right place to explore how to install a beautiful herringbone floor that transforms your space.
Why Choose Herringbone Flooring?
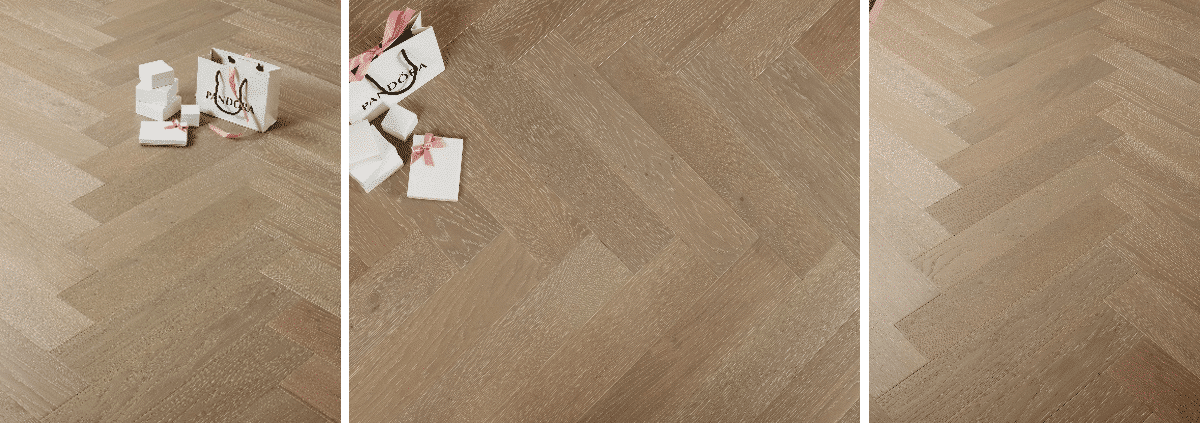
Herringbone flooring adds an element of sophistication and elegance to any interior design. It creates a unique pattern and is available in various materials, including engineered wood and solid hardwood. At Nationwide Hardwood Flooring Company, we offer a variety of herringbone flooring options that are durable and stylish, including Eastbury multi-ply flooring and solid wood herringbone. According to the National Wood Flooring Association, herringbone patterns can enhance the aesthetic and value of your property.
Understanding Herringbone Flooring
Before diving into the installation process, it’s essential to understand the types of herringbone flooring we provide:
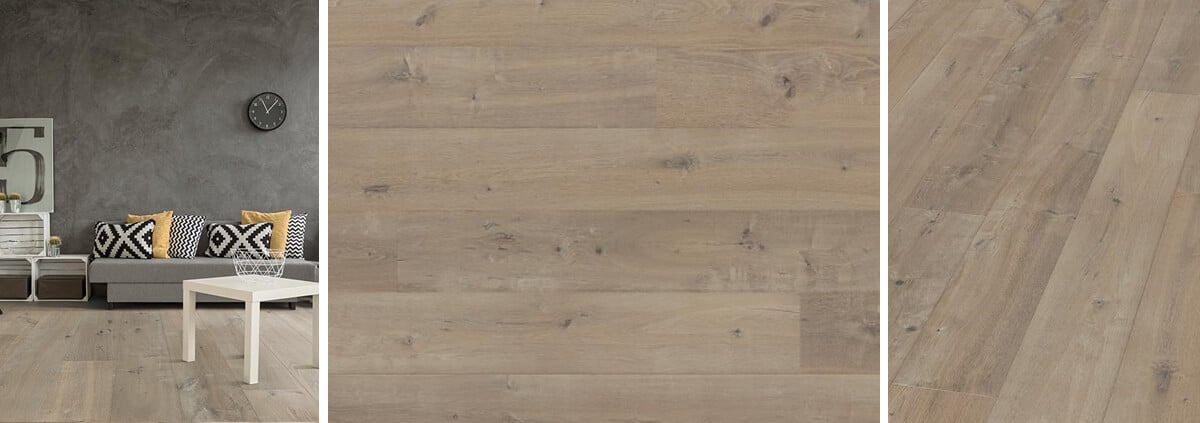
- Engineered Herringbone: Offers enhanced durability and stability, making it a popular choice for those in high-traffic areas.
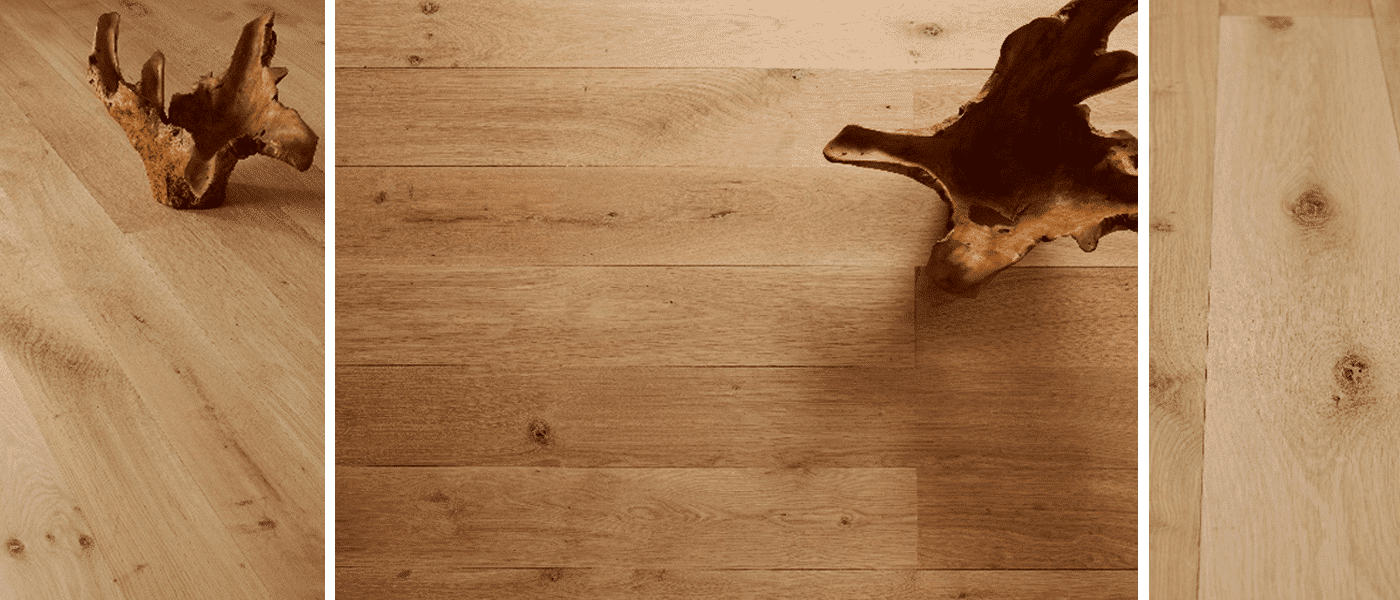
- Solid Wood Herringbone: A classic option that brings warmth and character to your home.
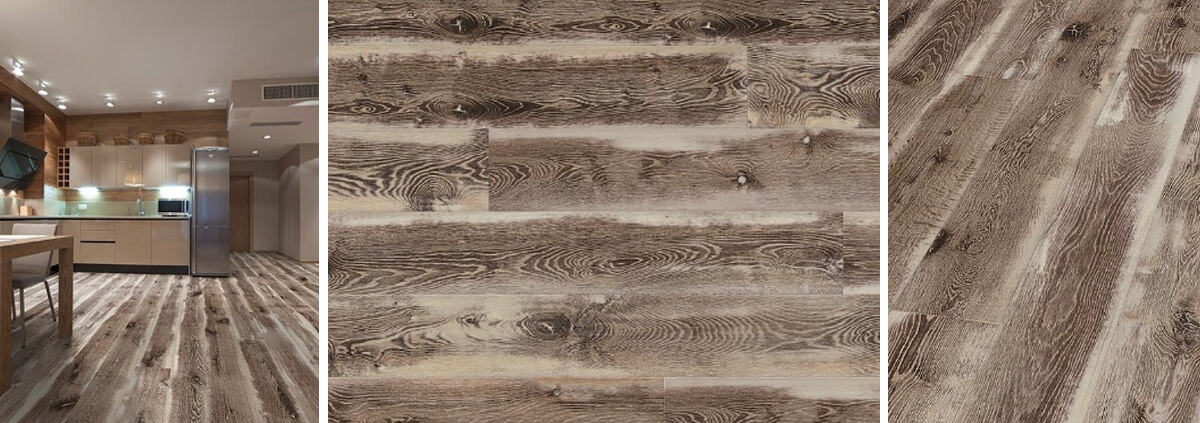
- Luxury Herringbone: High-end options for a touch of grandeur in your commercial or residential space.
Preparing for Installation
Before starting your step-by-step herringbone floor installation, you’ll need the following tools and materials:
- Tools: Measuring tape, saw, wood adhesive, spacers, hammer, tapping block, and flooring pull bar.
- Materials: Herringbone flooring tiles or planks, underlayment, and transition strips.
Step 1: Measure the Area
Begin by accurately measuring the area where you plan to install the herringbone flooring. Take into account any irregularities in the room shape and make precise calculations to avoid material wastage.
Step 2: Prepare the Subfloor
Your subfloor must be clean, dry, and level for a successful installation. Remove any old flooring and thoroughly clean the surface. For added insulation and soundproofing, consider laying down underlayment to enhance your flooring experience. According to Building Conservation, proper preparation of the subfloor is crucial for longevity.
Step 3: Plan Your Layout
Before installation begins, lay out your herringbone tiles or planks to visualize the pattern. Adjust your layout if needed for a seamless design, particularly in areas filled with angles or corners.
Step 4: Installation Process
Now it’s time to get started with the step-by-step herringbone floor installation:
- First Row: Start by placing the first row of herringbone at a right angle from the wall. Use spacers to maintain a consistent gap from the wall.
- Next Rows: Continue adding rows in a zigzag pattern. Ensure that each plank adheres securely with your wood adhesive to prevent any lifting or shifting.
- Using the Tapping Block: As you proceed, use the tapping block to ensure the planks fit snugly together without damaging the edges.
Step 5: Trimming and Finishing Touches
Once the entire area is covered, allow the adhesive to set as per the manufacturer’s instructions. Trim any excess flooring along the edges for a seamless finish. Finally, install transition strips where your herringbone flooring meets other surfaces.
Herringbone Flooring for Different Spaces
Herringbone flooring is suitable for various rooms. Here are some ideas:
- Living Rooms: Create an inviting atmosphere with elegant solid wood herringbone.
- Bedrooms: Utilize engineered options for durability.
- Commercial Spaces: Opt for luxury herringbone for that high-end look.
Maintenance of Herringbone Flooring
To keep your herringbone flooring looking its best:
- Regularly sweep or vacuum to remove dust and debris.
- Mop with a damp cloth and a gentle cleaning solution when necessary.
- Consider periodic refinishing for solid wood options to maintain their luster, which you can learn more about in our article on wood floor refinishing.
Choosing Nationwide Hardwood Flooring Company
For anyone looking for expert herringbone flooring installation in Kent and beyond, **Nationwide Hardwood Flooring Company** is the go-to choice. Our skilled team can ensure your installation is carried out flawlessly and efficiently. For examples of our past work, visit our projects. As noted by Flooring International, investing in quality flooring can significantly uplift your property’s ambiance.
Contact Us Today!
If you’re ready to transform your home with stunning herringbone flooring, call us at 07940 528 315 or email us at enquiries@nhfcompany.co.uk. We’ll be delighted to guide you through our range of options, including Chalfield multi-ply flooring, and how we can assist with your installation needs.
Let’s create the floor of your dreams with our exceptional herringbone flooring at Nationwide Hardwood Flooring Company!


