
Refinish Hardwood Floors: 7 Steps to Stunning Results
Complete Guide to Refinishing Hardwood Floors
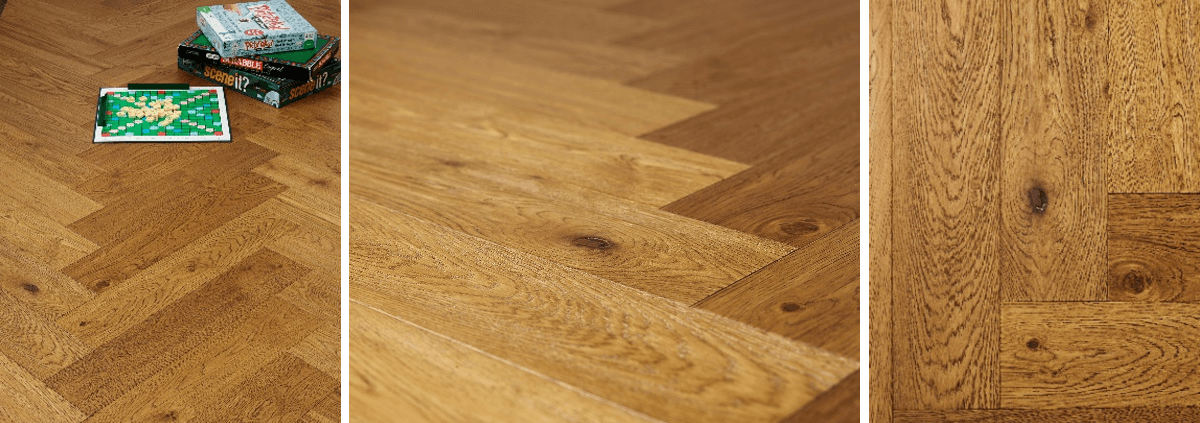
When it comes to revitalizing your home, few projects offer the transformative power of refinishing hardwood floors. Whether you’re updating the look of individual rooms or preparing your home for sale, understanding how to refinish hardwood floors is an invaluable skill. This comprehensive guide will walk you through each step, ensuring a professional finish that can significantly enhance your interior space.
Why Refinish Hardwood Floors?
Refinishing hardwood floors not only improves their appearance but also prolongs their lifespan. Over time, foot traffic, furniture movement, and exposure to sunlight can wear down the finish and dull the color of your floors. By refinishing, you’re restoring the surface, bringing back the vibrancy and clarity that make hardwood so appealing. For those considering new flooring options, explore our Blenheim multi-ply flooring range known for its durability and aesthetic appeal. For more insights into the benefits of refinishing and maintaining your hardwood floors, you can refer to the HGTV hardwood flooring guide.
Gathering the Right Materials
Before you embark on your refinishing journey, gathering the necessary materials and tools is crucial. Here’s what you’ll need:
- Sandpaper (coarse, medium, and fine grit)
- Drum sander and edge sander
- Vacuum cleaner with a fine dust filter
- Wood filler for cracks or gouges
- Staining kit (optional for adding color)
- Sealant or polyurethane finish
- Paintbrushes and roller
- Protective gear including mask and goggles
Step 1: Prepare Your Space
Start by removing all furniture and rugs from the room. Thoroughly clean the floor to remove dust and debris. Inspect the floor for nails that are protruding; if found, hammer them down or remove them to prevent damage to the sanding equipment. Our guides on wooden floor installation can provide further insights on maintaining and preparing floors effectively.
Tip for London Residents
If you’re based in a bustling area, such as London, remember to alert your neighbors about the potential noise during sanding. This courteous gesture helps maintain good community relations.
Step 2: Sand the Floor
This step involves using sandpaper of varying grits to strip off the old finish and prepare the wood for a new one. Start with a coarse grit sandpaper (40-grit) to remove the most worn surface, then transition to 60-grit for smoothing out the surface, and finally, 100-grit to finish the sanding process.
Use a drum sander for the main surface and an edge sander for corners and edges. Keep the sander moving at a steady pace to avoid creating uneven areas or gouges in the floor.
Managing Sanding Dust
Connect your sander to a vacuum system to manage dust efficiently. Remember to clean or replace vacuum filters regularly to maintain optimal performance. For more detailed instructions on sanding, you might find This Old House’s guide to sanding wood floors helpful.
Step 3: Fill in Gaps and Imperfections
Once sanding is complete, carefully vacuum the floor to remove all dust. Examine the floor for any cracks or holes and fill them with a suitable wood filler. Be sure to choose a filler that can be sanded over and stained to match the wood.
Step 4: Apply Wood Stain (Optional)
If you wish to alter the color of your flooring, now is the time to apply wood stain. Use a test patch to ensure you like the color and evenness. Apply the stain with a cloth or brush, following the grain of the wood, and let it dry completely before proceeding to the next step.
Step 5: Seal the Floor
Sealing the floor is critical to protect it from future wear and tear. Select a sealant or polyurethane based on the finish you’re aiming for—matte, semi-gloss, or high-gloss. Apply the sealant using a brush or roller, working in the direction of the grain.
It’s advisable to apply multiple layers, with thorough drying and light sanding in between coats to ensure a smooth and hard-wearing finish. For tips on choosing the right sealant, consider visiting the Family Handyman guide on wood finishes.
Step 6: Let the Floor Cure
After sealing, the floor needs time to cure. This typically takes 24 to 48 hours, depending on the room’s humidity and temperature. Avoid walking on the floor during this time to allow the finish to harden properly. For inspiration and advice on achieving flawless results, visit our projects page to see how perfection is realized with meticulous care.
Step 7: Replace Furniture and Enjoy
Once the floor is fully cured, you can carefully replace the furniture. Consider using furniture pads to prevent scratches. Enjoy the renewed beauty of your refinished hardwood floors that adds warmth and elegance to your home. Explore our range of The Primes engineered flooring products for further enhancing your living spaces.
Conclusion
Refinishing hardwood floors might seem daunting, but with the right tools and patience, it can be a rewarding DIY project. If you prefer a professional touch, consider hiring flooring experts from Nationwide Hardwood Flooring Company. For more information, call us at 07940 528 315 or email enquiries@nhfcompany.co.uk. With our help, your floors can achieve a flawless finish that’s both stunning and long-lasting. For additional resources and tips on floor care, check out our blog.


