
Using a Floor Sander: 5 Steps Revealed!
Using a Floor Sander on Floorboards: A Comprehensive Guide
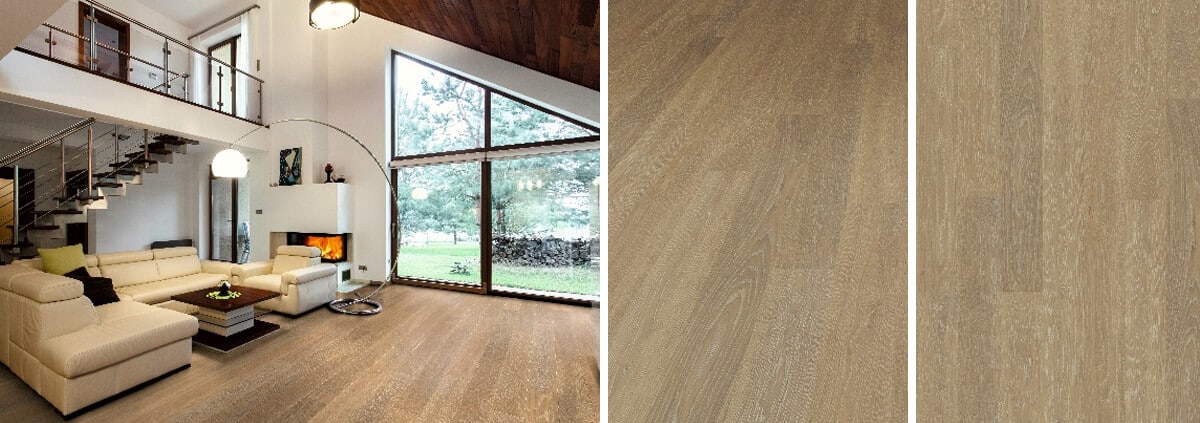
At Nationwide Hardwood Flooring Company, we understand the allure of beautifully polished floorboards. Whether you’re restoring an old home in Bath or simply renovating to enhance your living space, proper sanding is crucial to achieving a smooth and flawless finish. Discover more about our exceptional clients who have transformed their homes with our services.
Why Sand Your Floorboards?
Sanding your floorboards is essential for maintaining their longevity and aesthetic appeal. Removing the old finish, leveling uneven boards, and opening up the wood grain allows new stain or sealant to adhere better. This process not only enhances the beauty of your floors but also protects them from wear and tear.
For additional insights on why maintenance is important, you can visit the HGTV guide to caring for hardwood floors.
Local Insights: Bath
Located amidst the rolling countryside of southwest England, Bath is renowned for its Roman baths and stunning Georgian architecture. This historic city is not only a hotspot for tourists but also offers a rich tapestry of culture and style, which is reflected in the traditional and modern home designs found here. Whether you live near the famous Royal Crescent or a modern apartment, sanding the floorboards can seamlessly blend your flooring into the city’s classic charm. Interested in styles that match Bath’s elegance? Consider our Barn Multi-Ply Flooring. For more on Bath’s architectural heritage, visit the official Bath tourism site.
Step-by-Step Sanding Process
Step 1: Preparing Your Space
Before beginning the sanding process, it’s important to prepare your area thoroughly. Remove all furniture and curtains, and seal doors with plastic sheeting to prevent dust spread. Proper preparation will save you cleanup time later and ensure a better sanding result. Guidance on prep work can be found on the DIY guide by B&Q.
Step 2: Selecting the Right Sander
For most residential projects, a drum sander is ideal due to its power and efficiency on large, open areas. For corners and edges, you may need an edge sander or a detail sander to achieve a uniform finish. Our Primes Engineered Flooring is perfect for large spaces if you’re considering installing new materials.
Step 3: Starting with Coarse Sandpaper
Begin with a coarse sandpaper (such as 40-grit) to remove old finish and even out the surface. Move the sander along the grain of the wood to prevent damage. Repeat this step until the whole floor has been evenly sanded. For more on the types of sandpaper, check Family Handyman’s guide on sandpaper grit types.
Step 4: Sanding with Medium Grit
Once the floor has been stripped of its old finish, switch to a medium-grit sandpaper (such as 80-grit). This will smooth out any scratches left by the coarse grit.
Step 5: Finishing with Fine Grit
To achieve a perfect finish, use a fine-grit sandpaper (such as 120-grit). This last pass will smooth out the floor and prepare it for staining or sealing. You might consider using Herringbone Hardwick Multi-Ply Flooring for a sophisticated style.
Post-Sanding Care and Finishing
After sanding, it’s crucial to clean the floor thoroughly before applying any finish. Vacuum the entire area to remove dust, and wipe down with a damp cloth to ensure a spotless surface. Choose a finish that suits your style and the local climate in Bath, whether it’s oil, lacquer, or wax. For product references, you can consult This Old House’s guide on finishes.
Enhancing Your Home’s Aesthetic
Once sanded and finished, your floorboards will add a timeless appeal to your home. Consider incorporating chevron patterns or oak staining to reflect Bath’s historic elegance and your personal taste. Our clients often choose Eastbury Multi-Ply Flooring for an exquisite touch.
Conclusion
Whether you’re a DIY enthusiast or prefer professional installation, using a floor sander on floorboards is a rewarding process that can transform your living space. If you’re considering renovations in Bath, remember Nationwide Hardwood Flooring Company for exceptional quality and expert advice. Contact us today at 07940 528 315 or email enquiries@nhfcompany.co.uk or visit our contact page to start your flooring project.


